
Long-Lasting Trader Joe’s Holiday Floral Centerpiece
Project Inspiration
I love to host year round but especially during the holidays! Since these parties always include a delicious meal and lots of time spent at the dining room table, a beautiful floral centerpiece is the most impactful (and often the most complimented!) decor element to create. The problem with florals that aren’t in a vase with water is that they wilt and die very quickly, but the DIY secret I’m spilling today will help extend their life.
I always buy my flowers at Trader Joe’s—hopefully there’s one near you! Their prices are so good that you really can’t get them any cheaper. Even florists shop at TJs because the quality is great and the price is right—that’s the truth! If you’re planning to shop for flowers at Trader Joes, try to go as early in the morning as you can because the florists shop right when the store opens, so by 10AM, the selection is already picked through.
Supplies List & Cost Breakdown
For this DIY floral arrangement, I went to Trader Joe’s and purchased:
12 white roses - $9.99/dozen
6 white hydrangeas - $4.99/3, so $9.98
6 bundles of various filler greenery - $2.99-4.99 per bundle, so $23.94
5 bundles of a smaller filler flower (I used a white daisy variation) - $3.99/bundle, so $19.95
Total Supplies Cost = $63.86
Also, I used a few items I already had:
1 pack of floral vials (30 vials) - $5.99/30-pack (These are well worth the investment. Every single vase-less floral arrangement I do, I use these. They are a game-changer… and this DIY’s secret ingredient!)
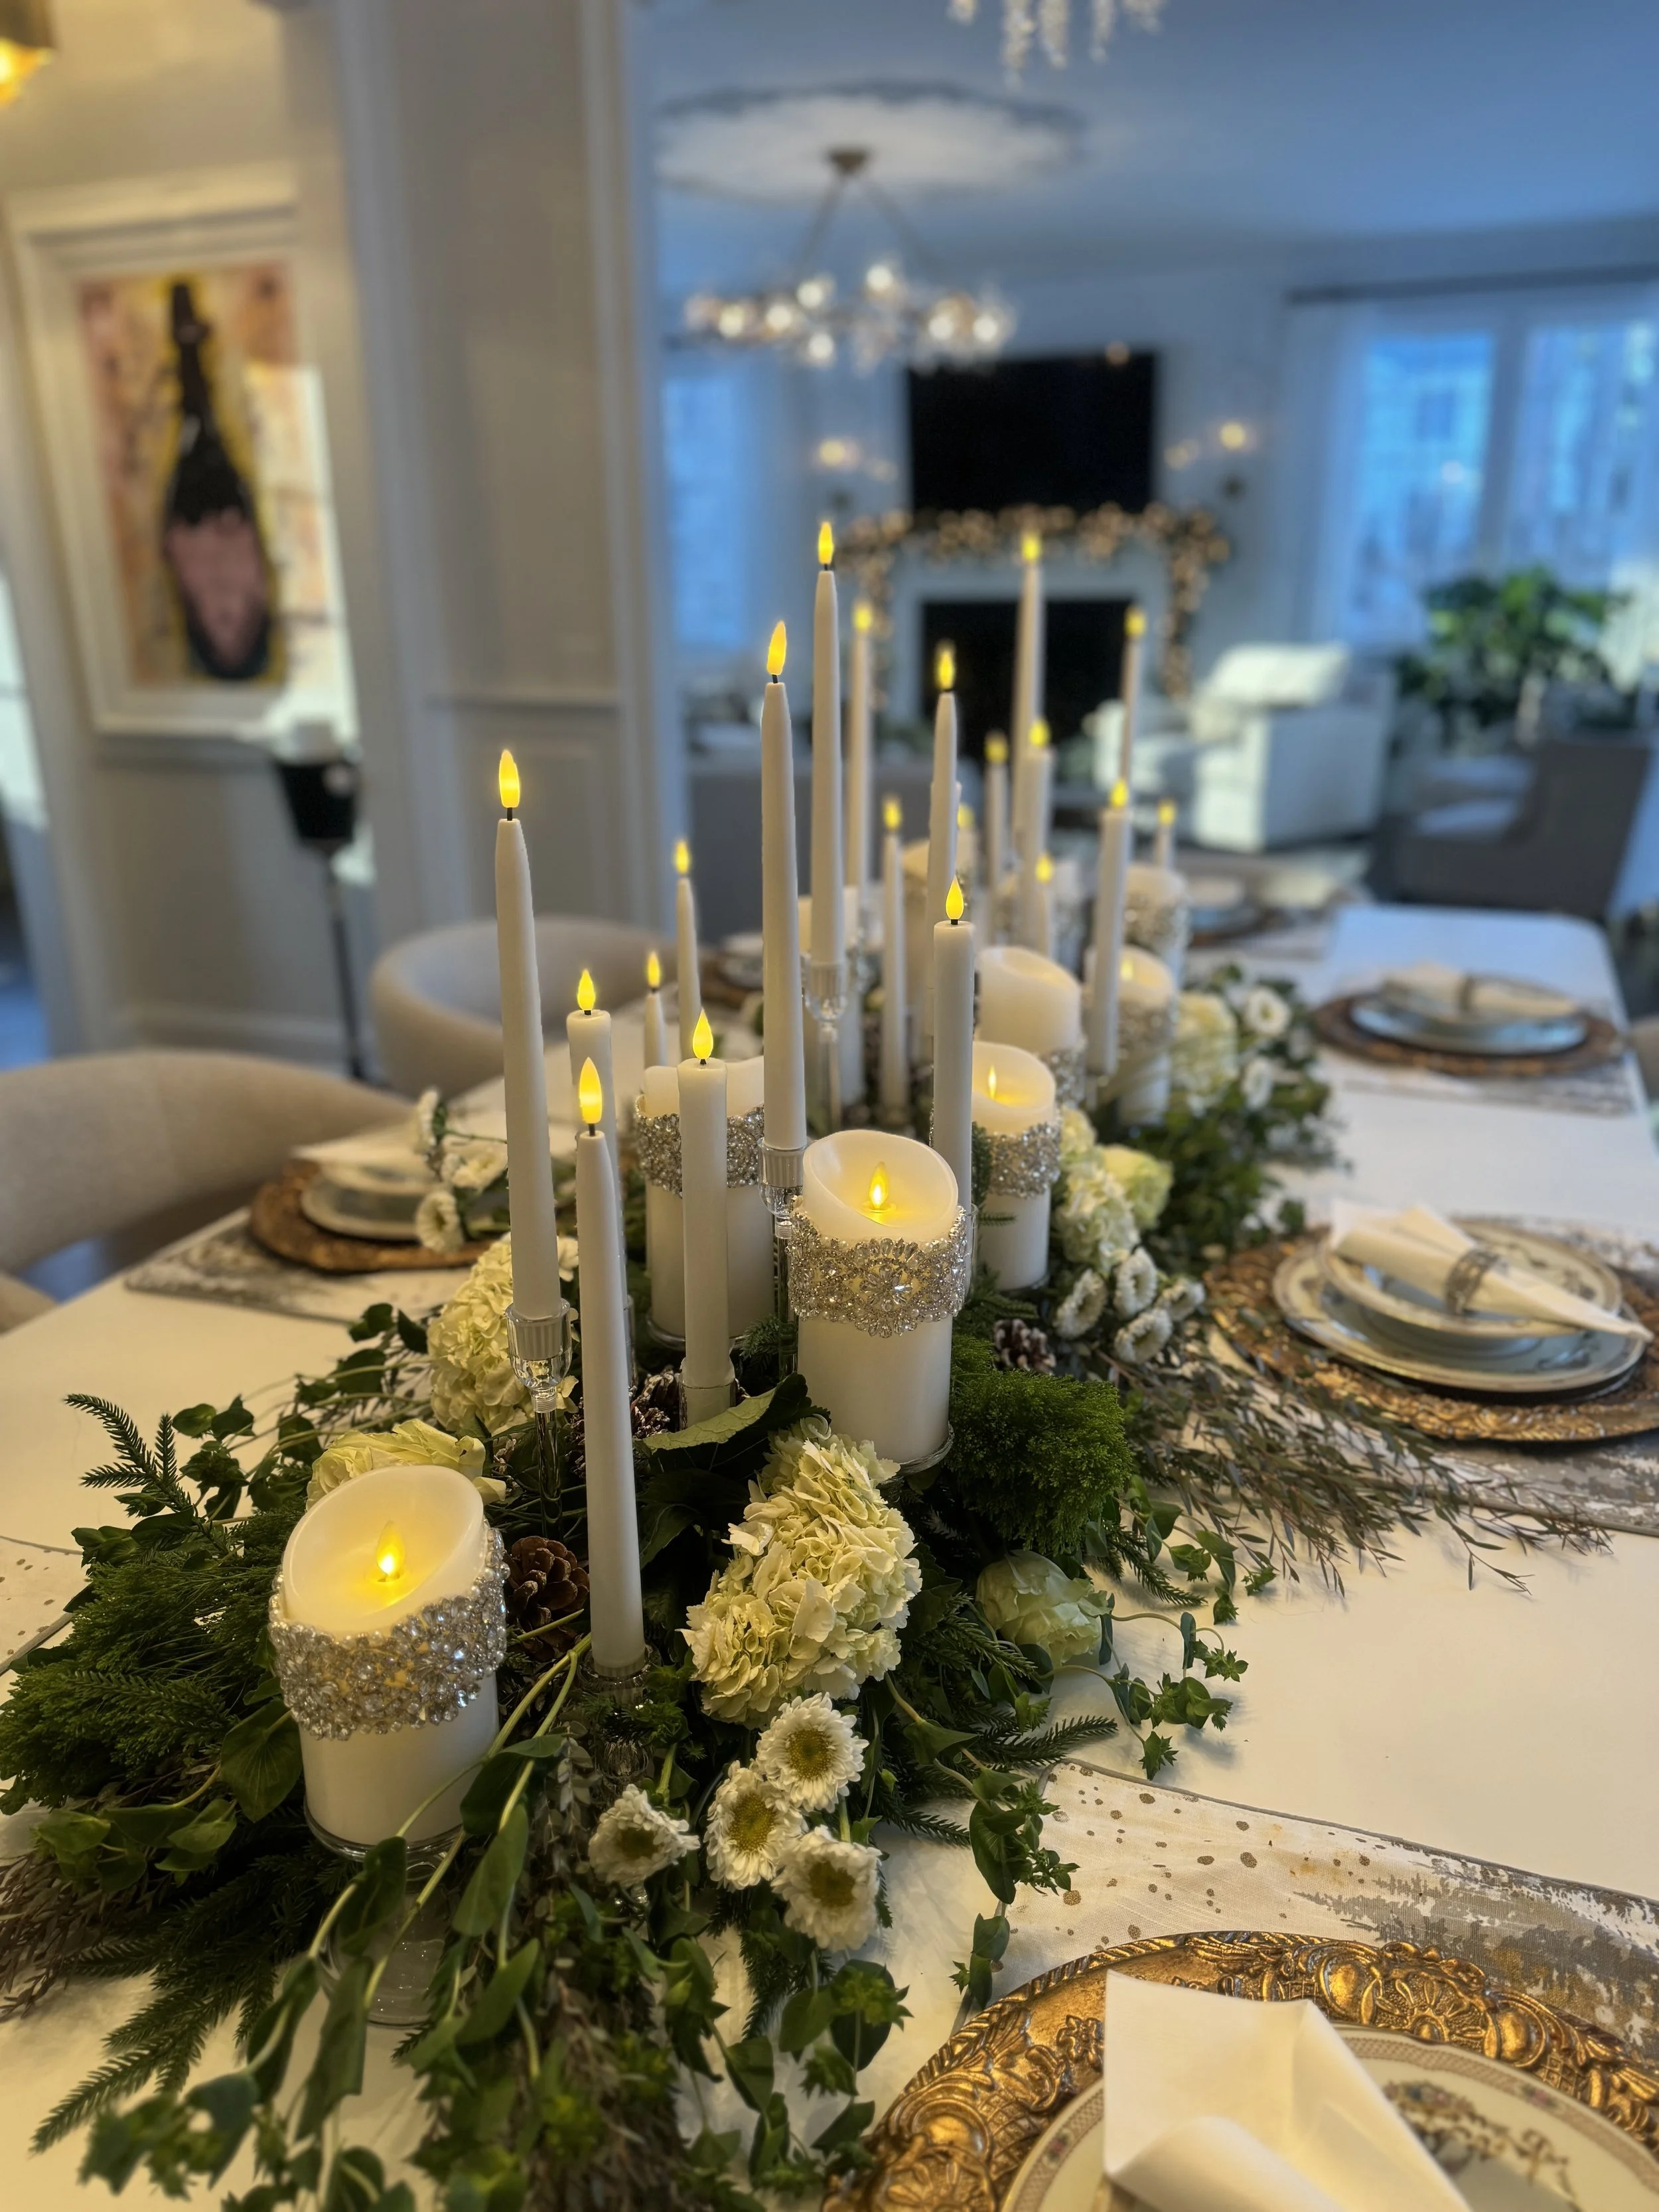
10 flameless pillar candles - $13.99/3-pack (where we got them - in another video we’ll show you how to decorate the pillar candles with bridal trim by the yard!)
20 flameless tall taper candlesticks - $26.99/6-pack (These go on sale often - that’s when I snagged a bunch a few years back!)
20 glass taper candlestick holders - $23.99/4-pack (These are so stunning and versatile. I used them year-round, so they’re definitely worth the investment. The various heights bring such elegance to wherever I put them.)
10 snow-covered faux pine cones - $18.98/20-pack
Scissors
The Secret
Most cut flowers can't stay fresh without water longer than a couple of hours. This floral centerpiece design doesn’t include a vase, so the Amazon vials are the secret to this beautiful vase-less centerpiece. These vials act like mini vases for each stem—giving the plants the water they need to keep their bright and beautiful appearance—and can be easily hidden with other elements of the design so no one will ever know. When using the vials, your arrangement will last for 2-3 days, and on the 3rd day, refill each vial back up with water to further extend its life. This is a game-changer for hosting, because I can arrange this centerpiece the day before I’m having people over to take the stress off of cooking, and it will still look beautiful and fresh! You can also use these vials over and over and over again for every holiday and gathering.
Step-By-Step Instructions
Clean off and set the table with whichever linens you’d like. For this arrangement, I kept my table bare and set out some seasonal fabric placements and my favorite gold chargers—both from Home Goods.
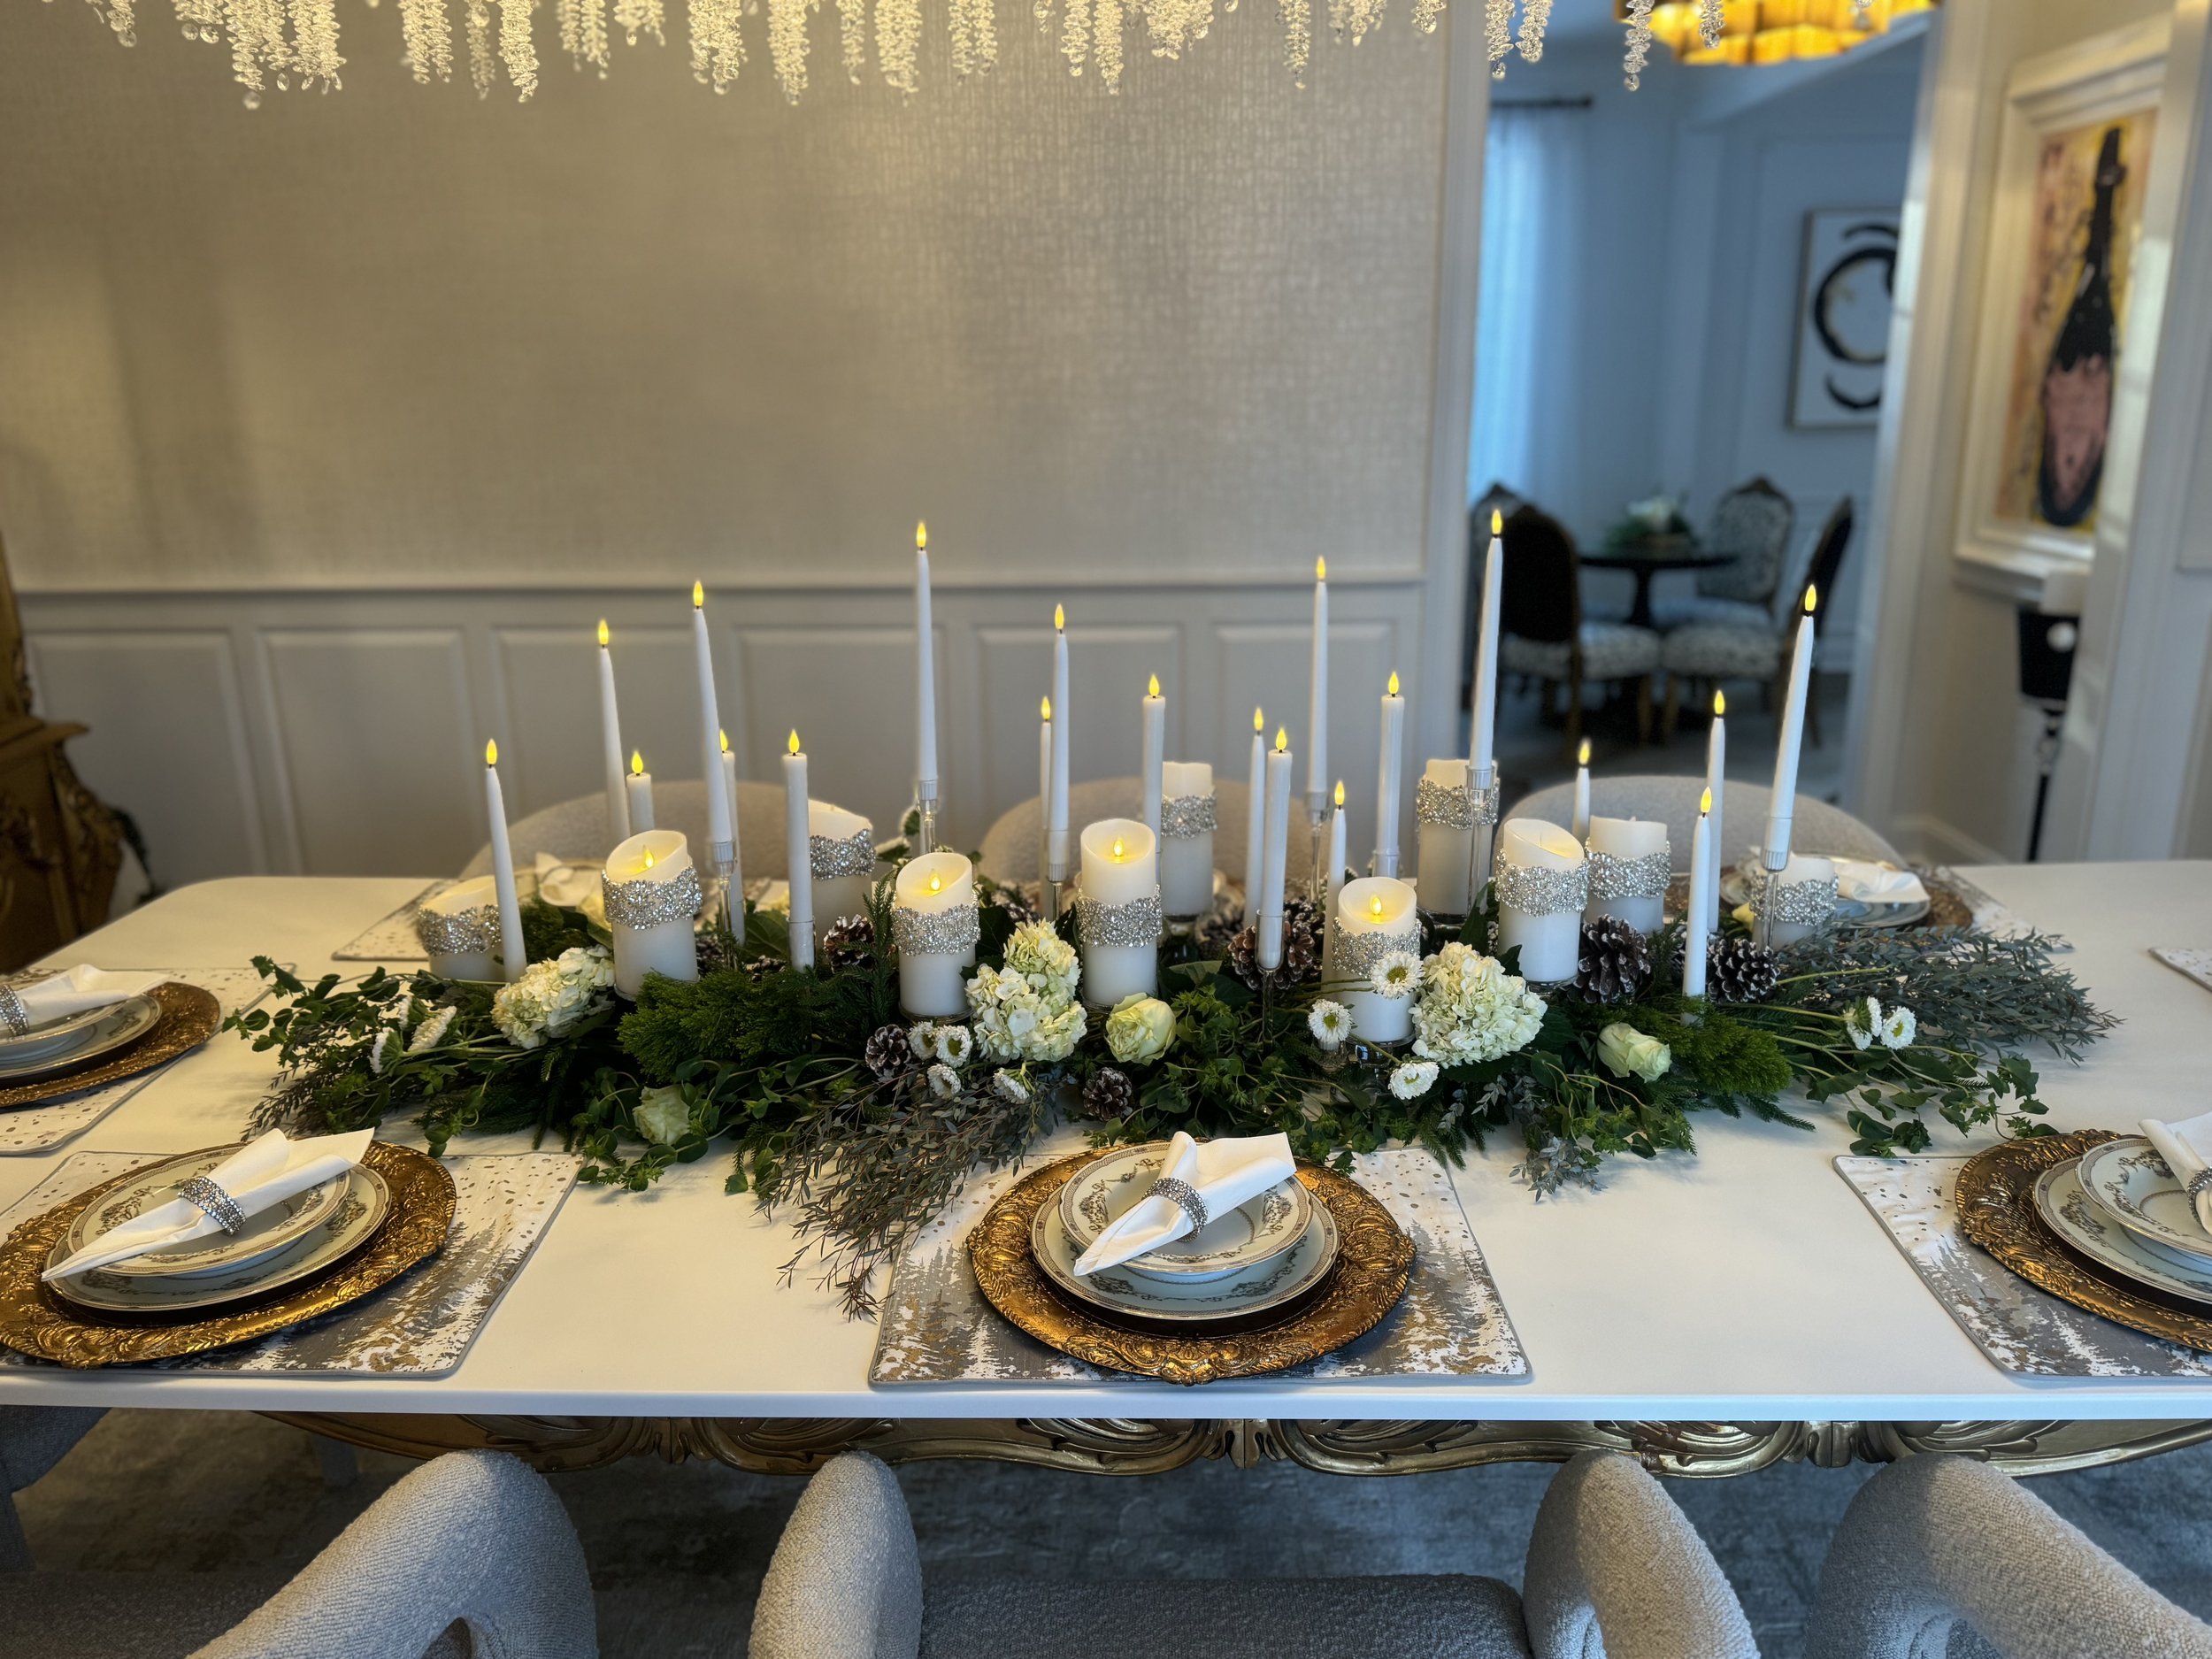
Arrange your candles on the table. Start with the taper candles, put them on the candlestick holders, and set them out along the center of your table. I like to put most of the tallest ones towards the center and scatter the shorter ones throughout the arrangement and toward the ends of the table.
Next arrange your pillar candles. Using the same general method, intersperse the pillar candles between the taper candles, making sure to spread out the different candle heights for an effortless look.
Prepare your florals. Trim the stems down a bit by using a clean pair of scissors to cut off ~1 inch from the bottom at a 45 degree angle. Trim off any bottom leaves (if you prefer).
Fill and attach the vials! Every stem gets a vial, so I find it easiest to bring all of your stems and vials near a sink. Fill up one vial with water, then stick one stem into it. Repeat this for all of your stems. The vials each have a very small hole, so don’t try to shove multiple stems into one or try to widen the hole because the water will spill out all over your table.


6. Next, you’ll arrange the first layer directly onto your table. I recommend using about half of your greenery and half of your filler flowers for this step. Start with your greenery and place each stem between the candles onto the table with the leaves pointed toward the edge of the table and the cut stem nestled between the candles. If you have multiple types of greenery like I did, try to put different kinds next to each other to showcase the variety. Repeat for the first half of the filler flowers you have as well.
7. The second layer of flowers will use our main flowers (in my case, the white roses and white hydrangeas). Similarly to the last step, you’ll want to place your main flowers around the centerpiece with the flower itself facing where your guests will be seated and the stems pointing into the center of the table. Try to tuck the main flowers’ stems into the greenery and filler flowers you’ve already laid down to start hiding the vials.
8. The third and final layer will utilize the remaining greenery and filler flowers. Use the same method from steps 5 & 6, however this time, the main goal of this layer is to hide all of the remaining visible vials.
9. For a final seasonal touch, spread snow covered pinecones throughout the top layer of florals.
10. Turn on your battery powered flameless candles and stop to smell the roses!
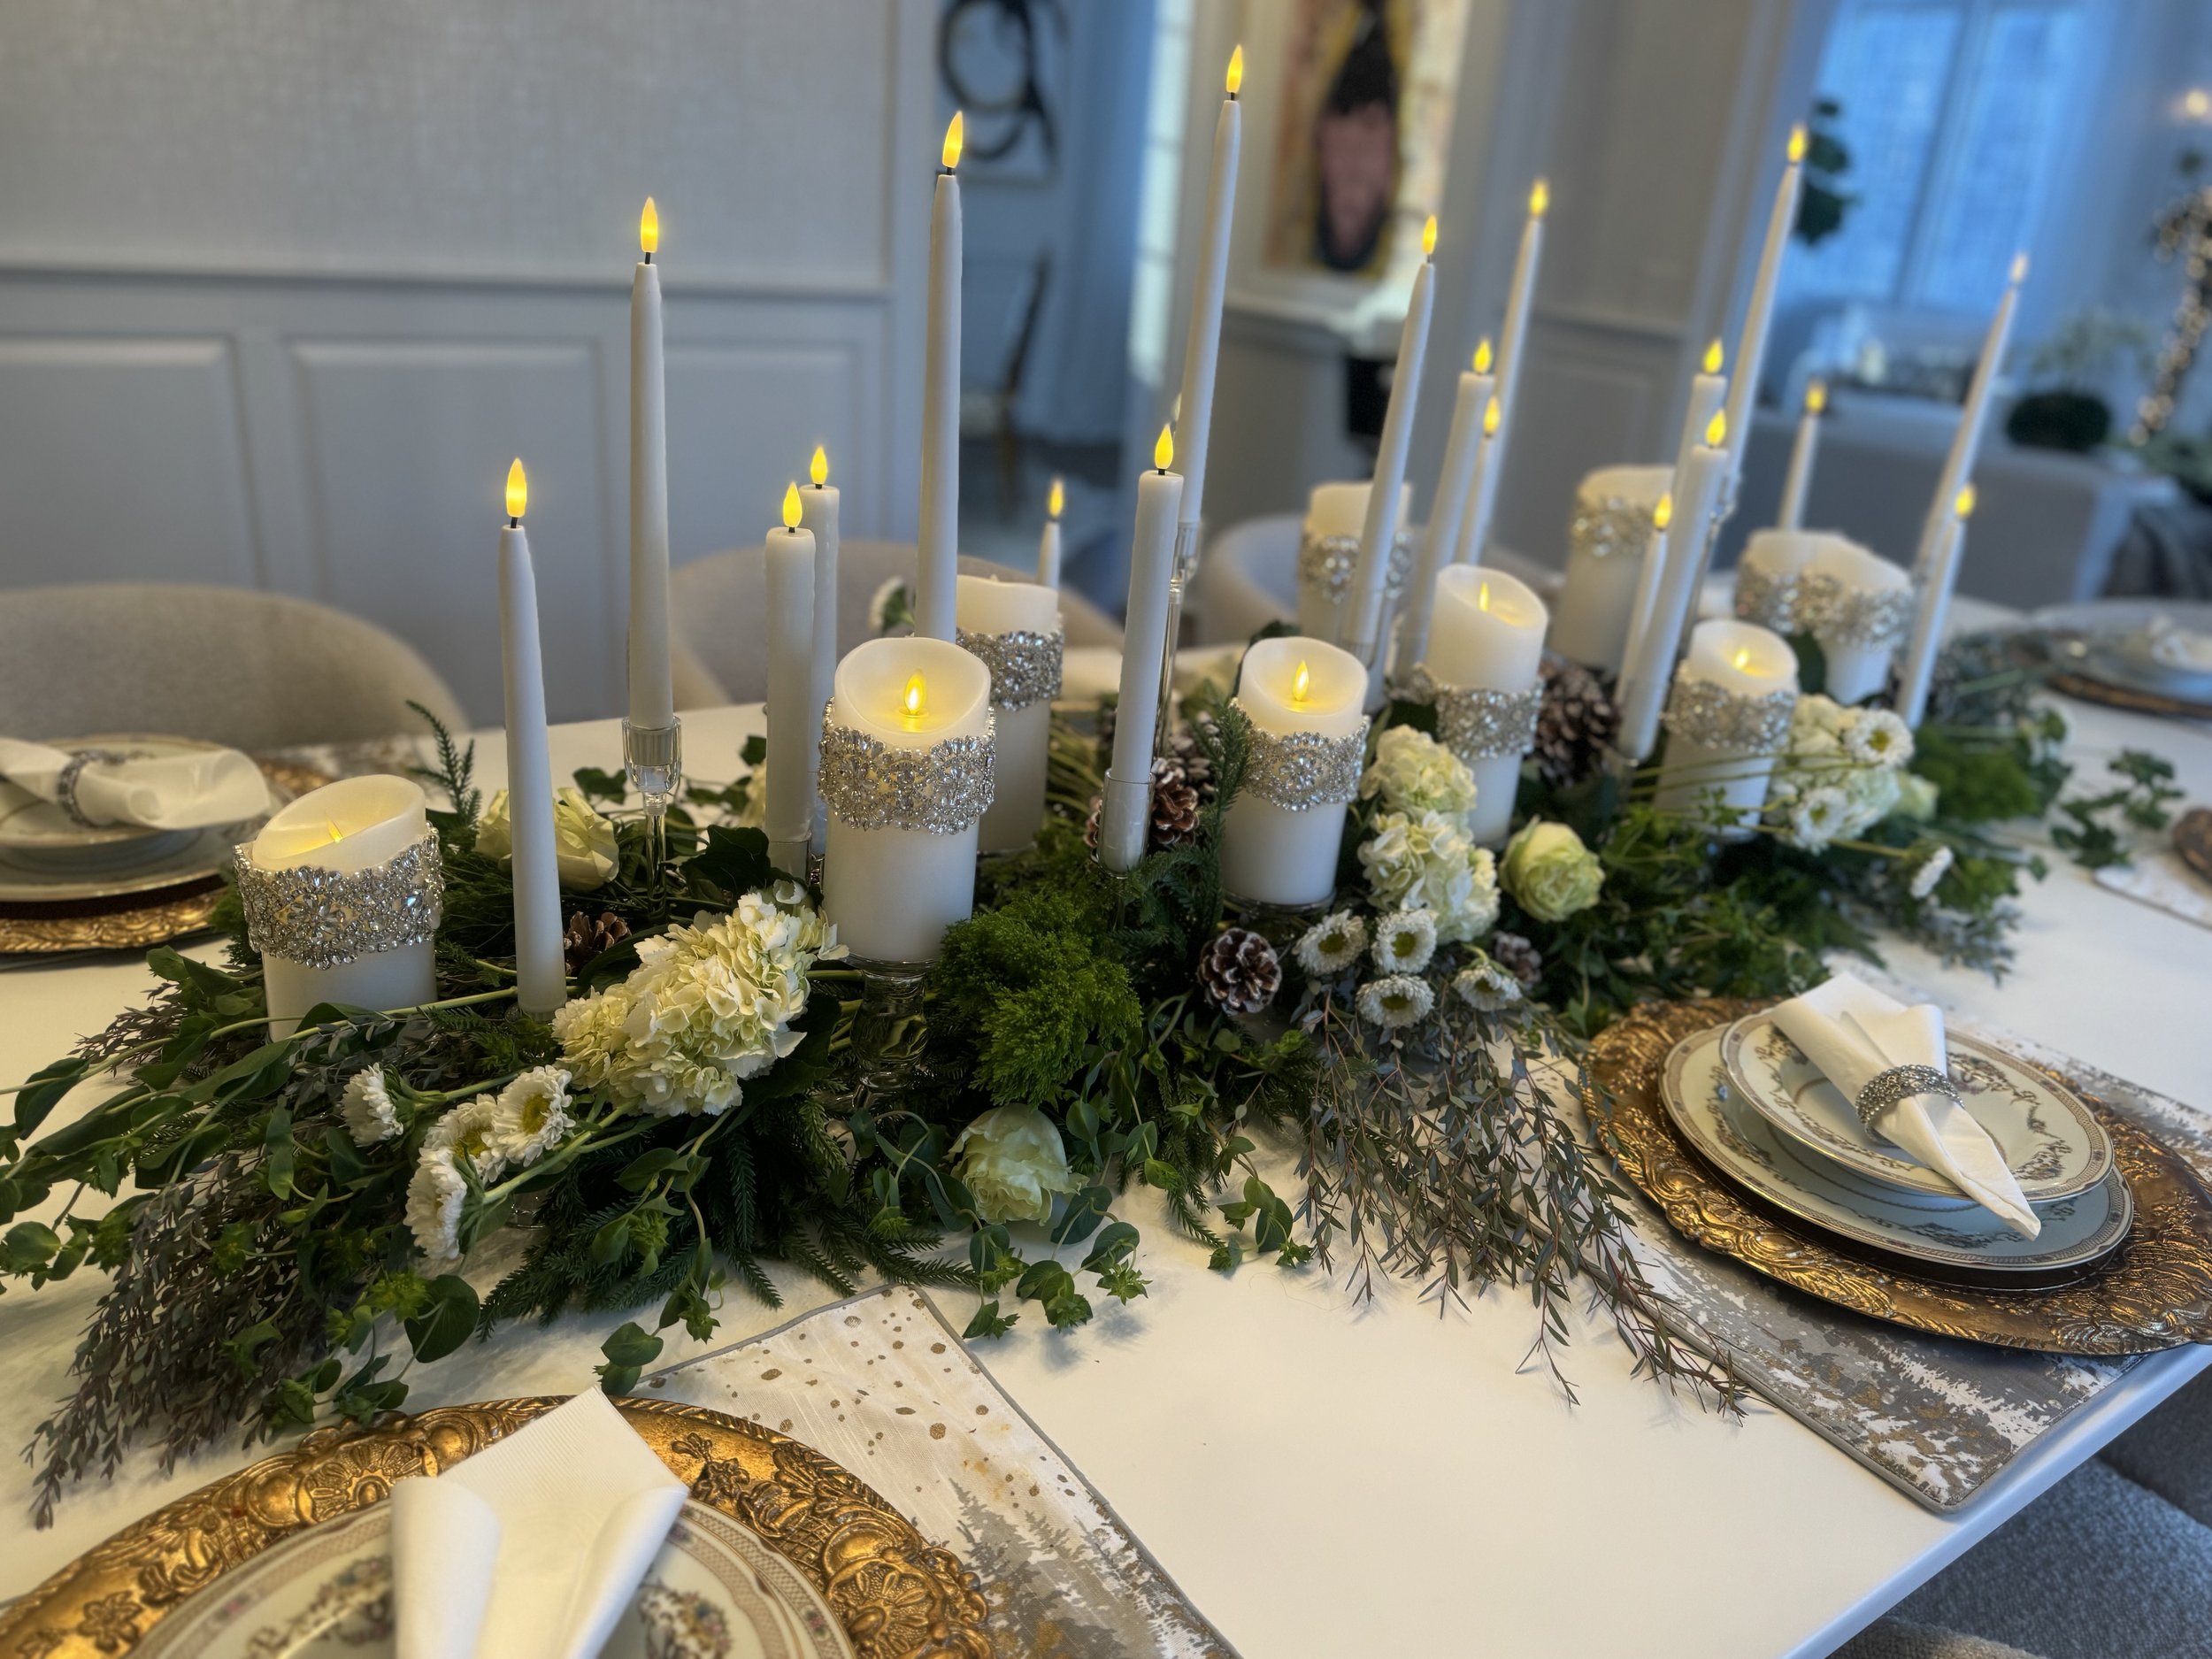
The Final Result
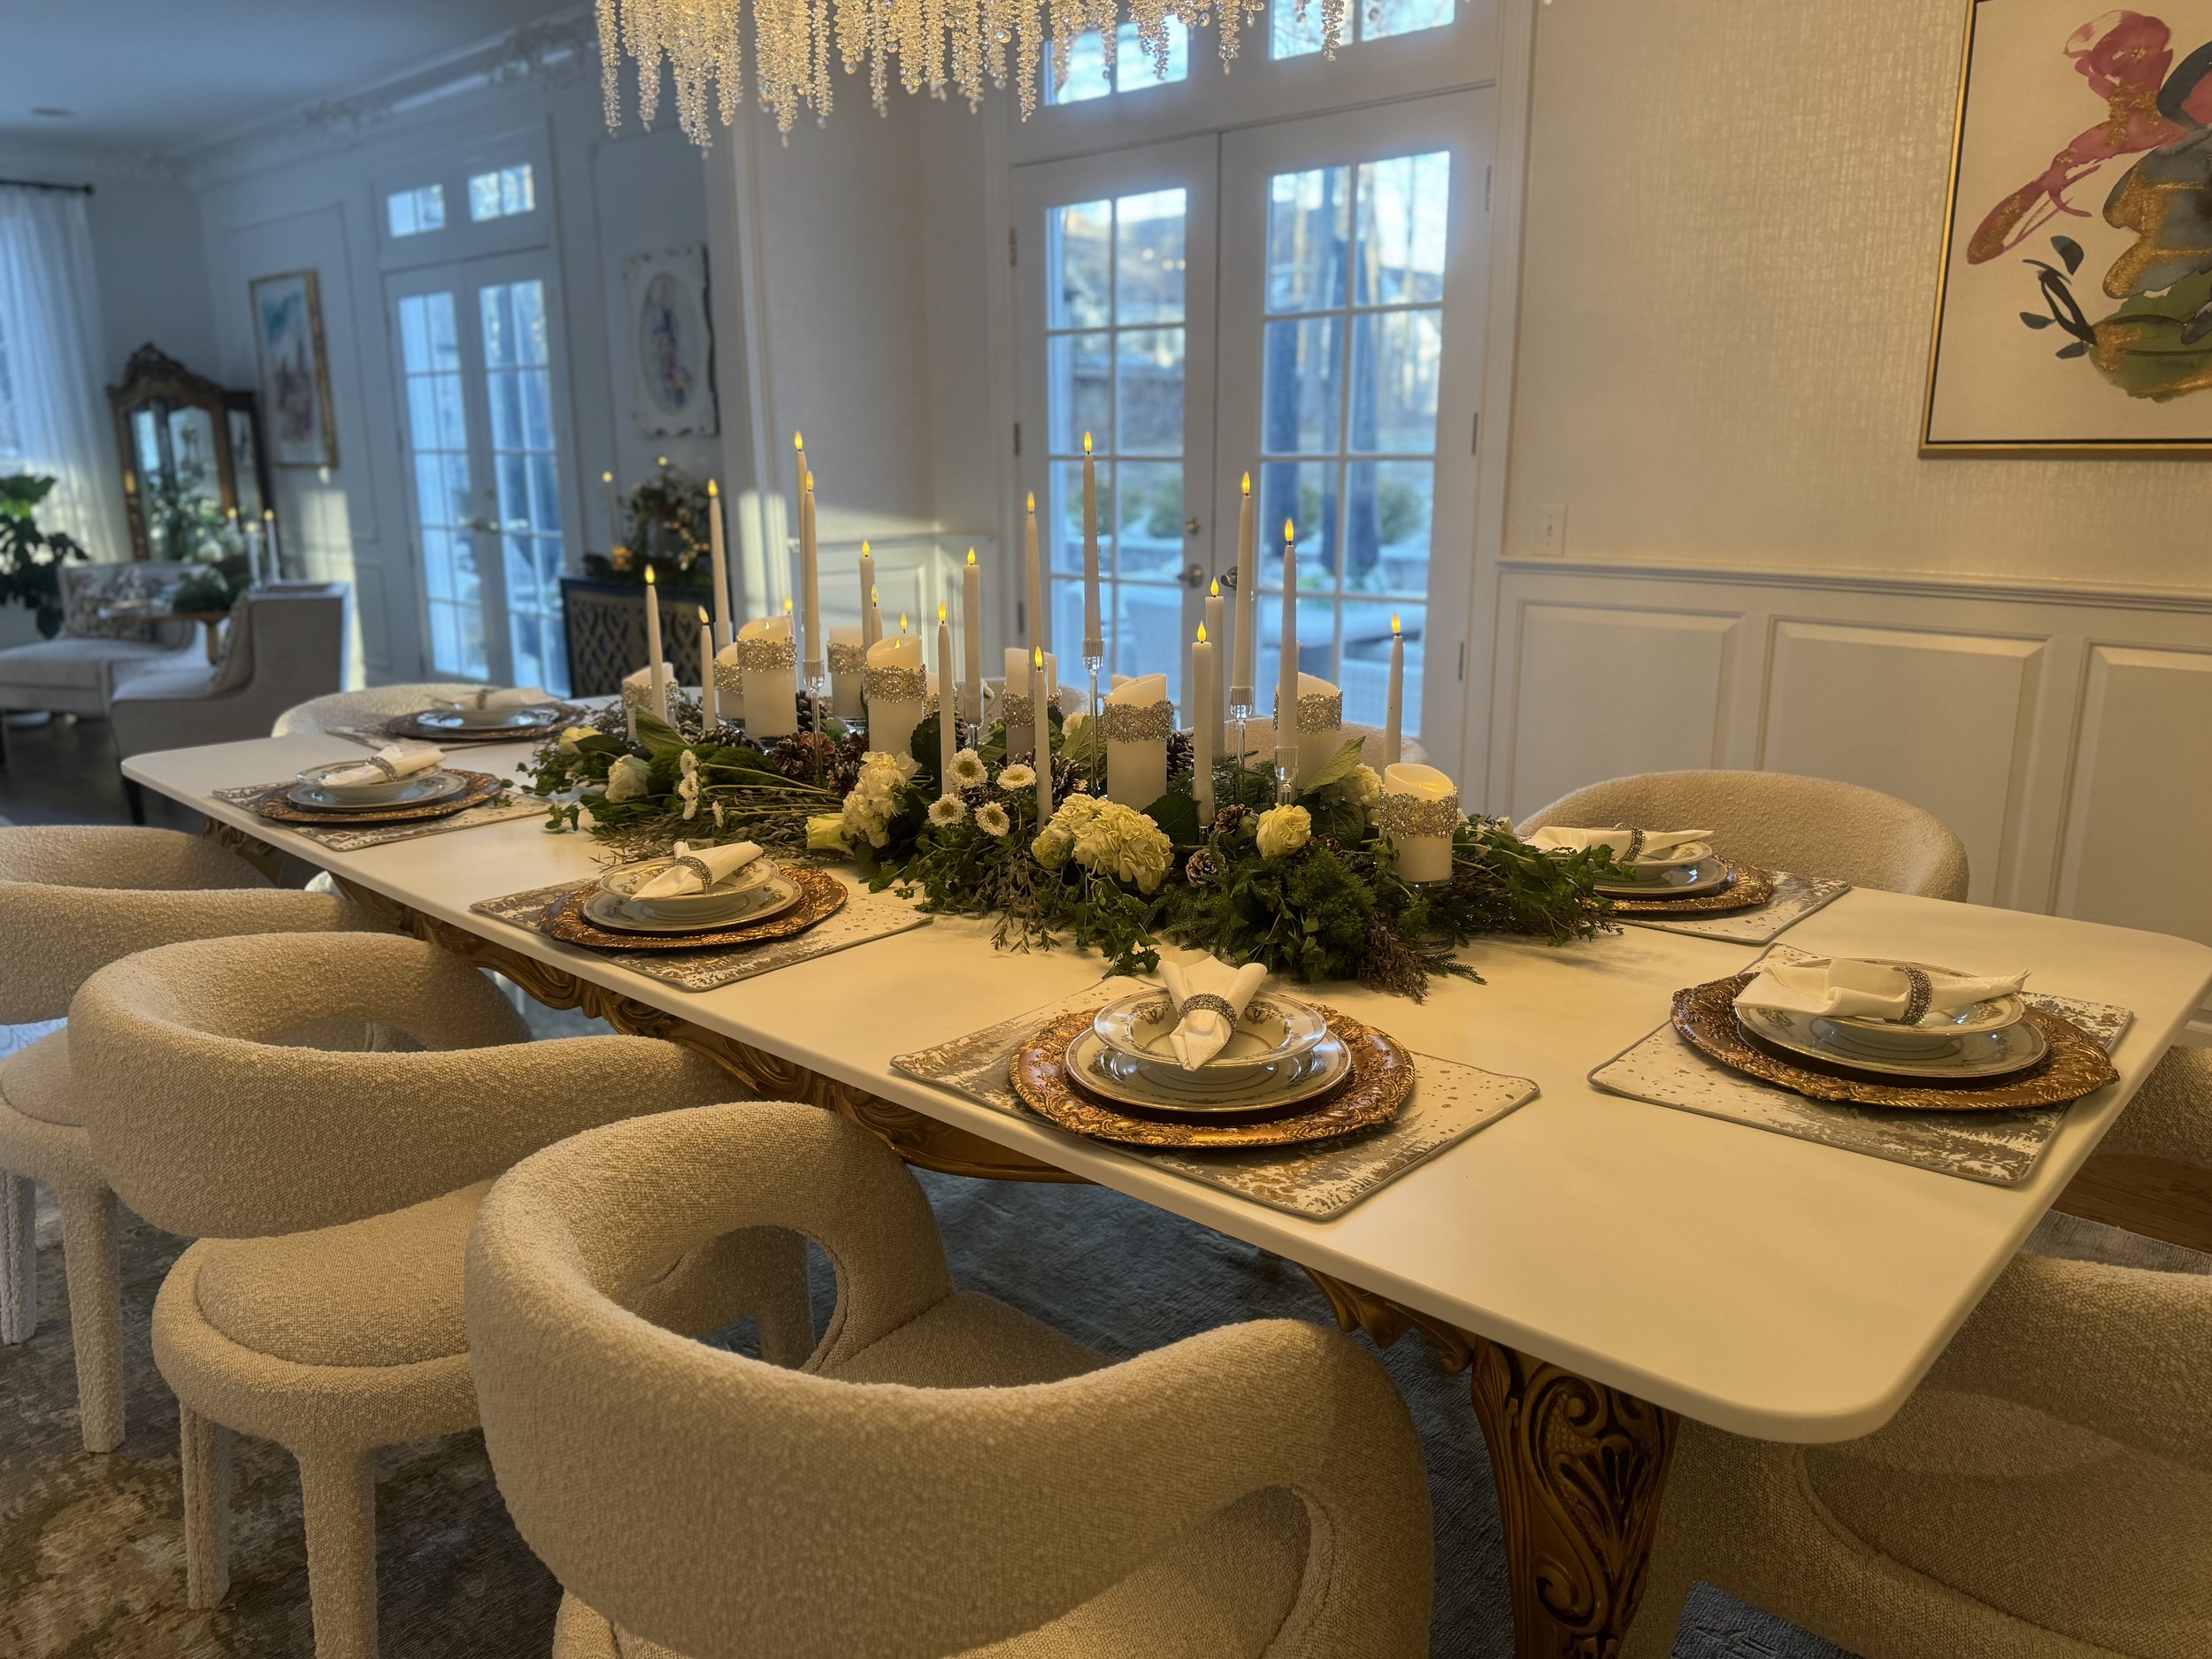
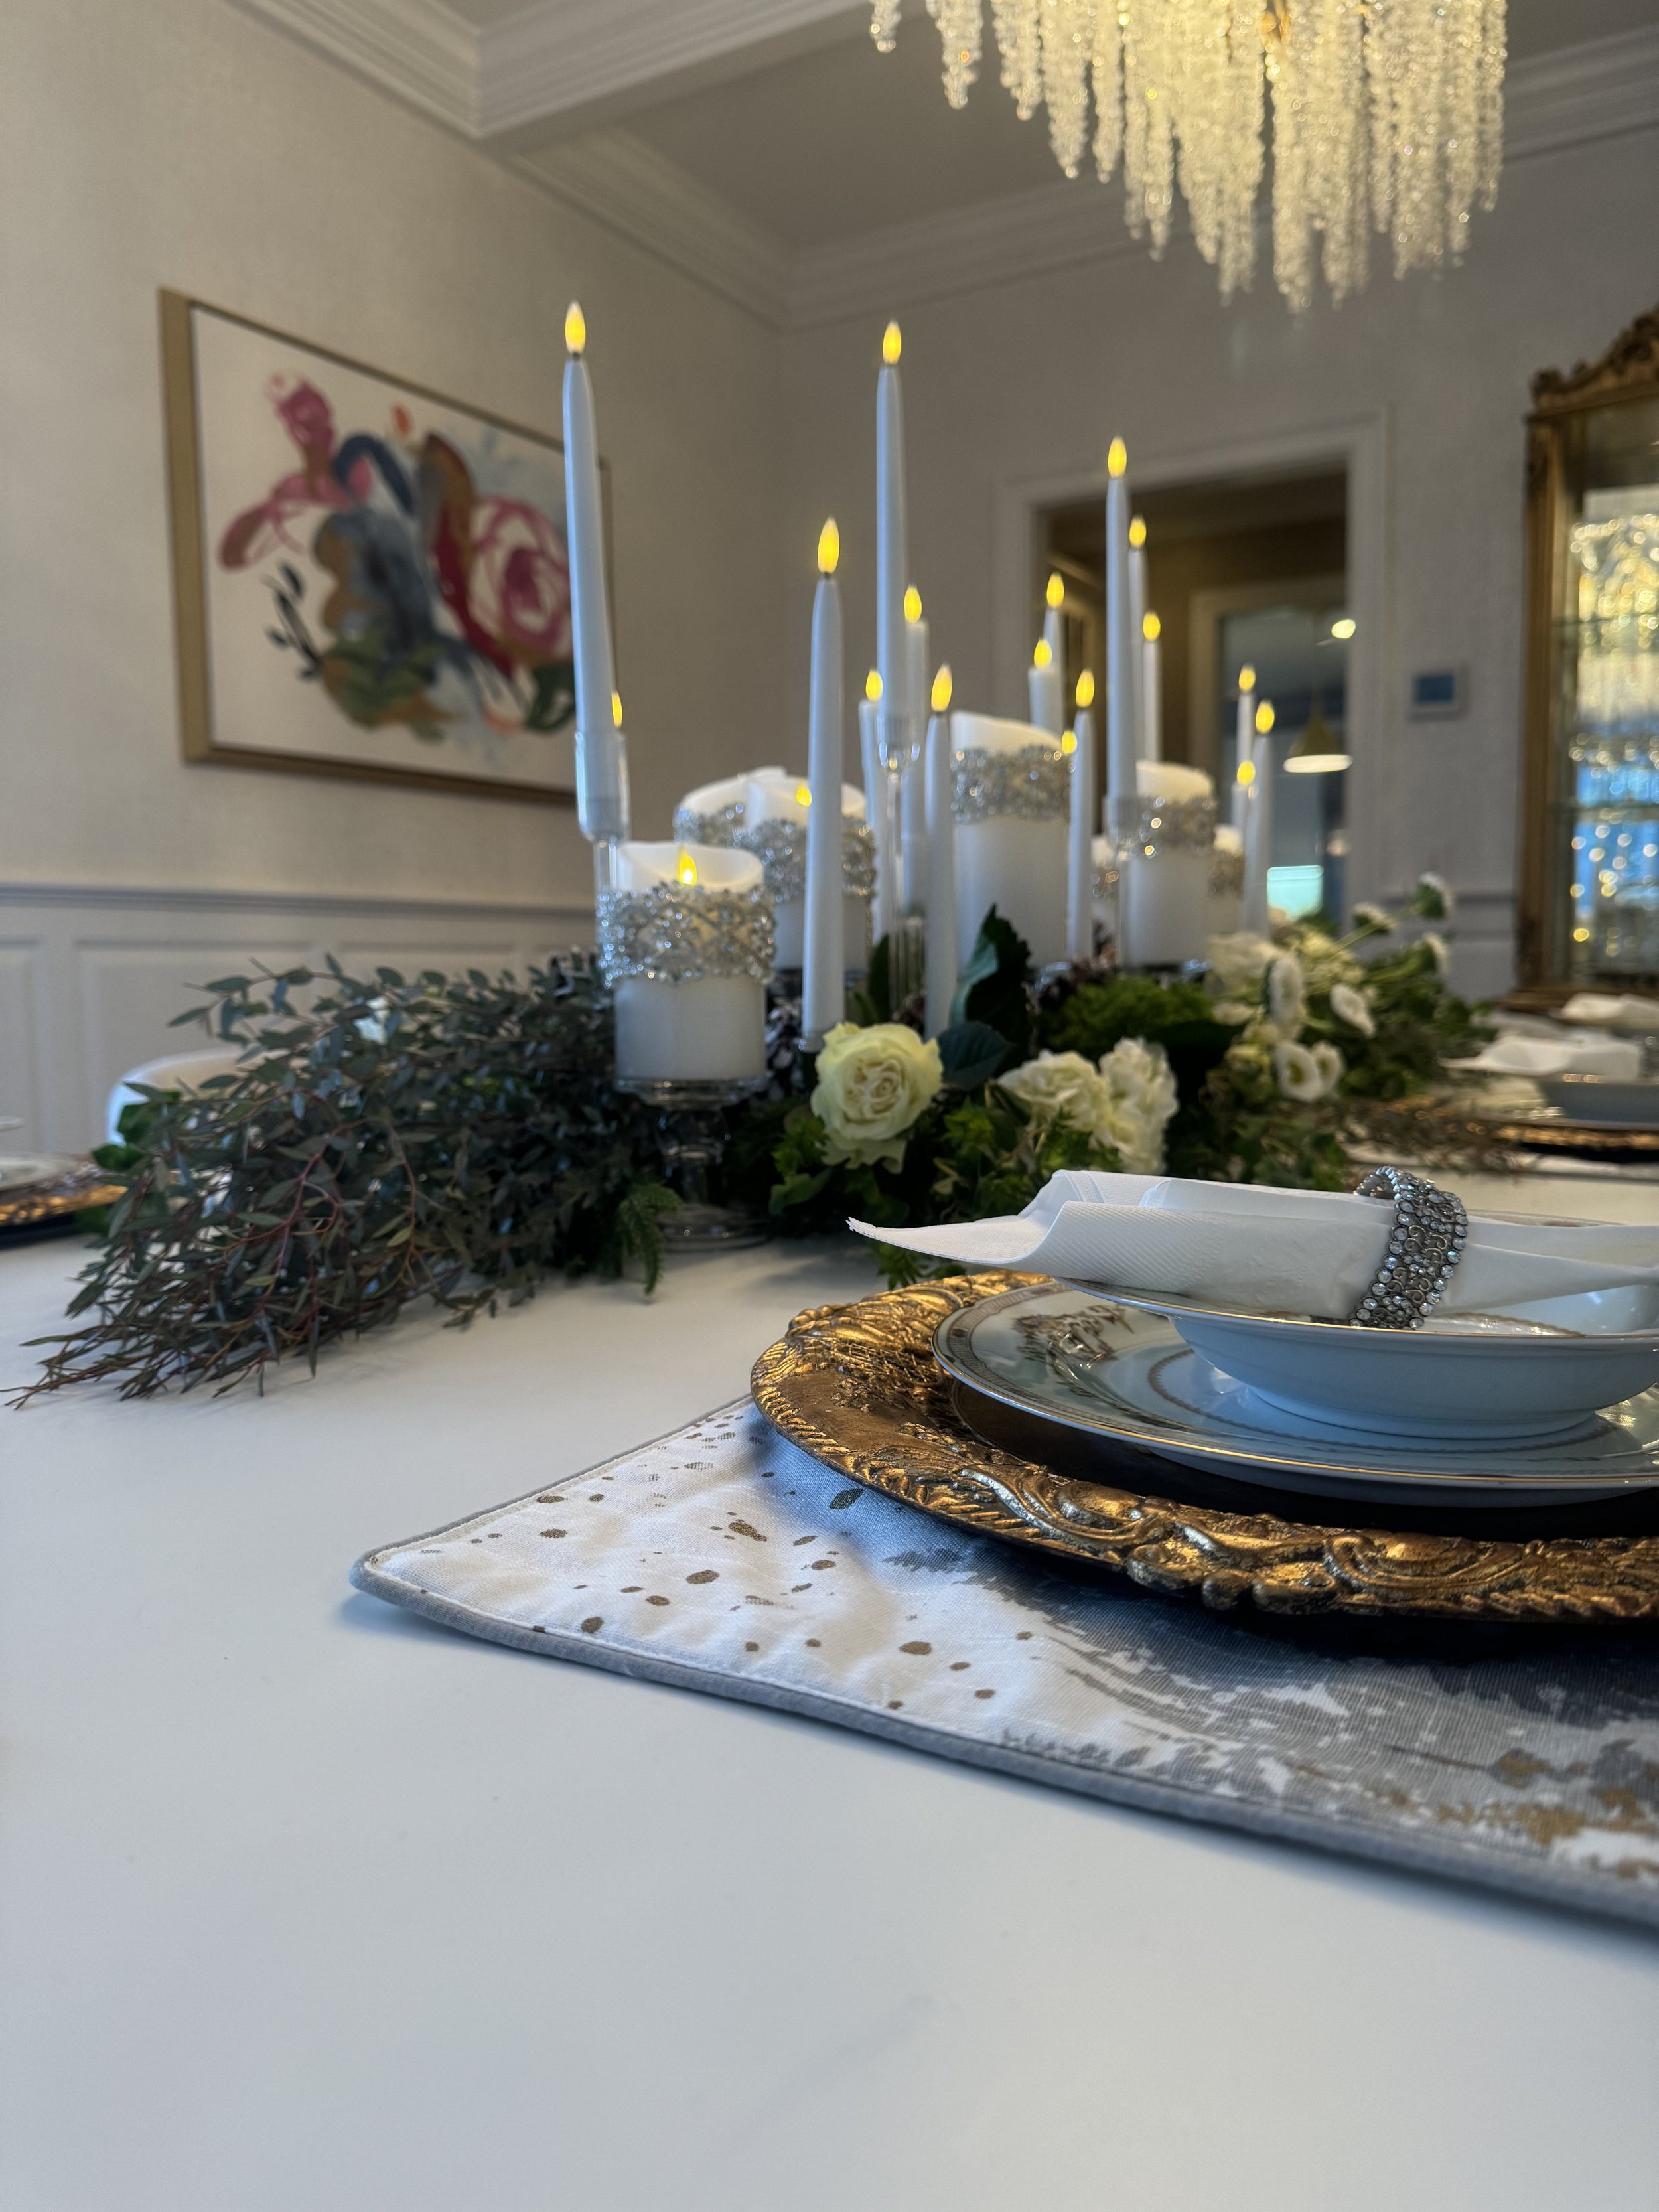
With just a few simple steps and a little creativity, you’ve created a stunning, long-lasting holiday centerpiece that’s sure to leave your guests in awe! By sticking to a cohesive color palette and using versatile elements like reusable floral vials and flameless candles, this arrangement not only looks elegant but is also practical and budget-friendly. Whether you’re hosting an intimate dinner or a festive gathering, this centerpiece effortlessly transforms your table into a holiday showstopper.
The secret to success lies in the details—like hydrating each stem with hidden vials and layering greenery, filler flowers, and bold blooms to achieve that perfect balance. This method works well beyond the holidays, too! Swap out seasonal touches like pinecones for springtime florals, autumn leaves, or even summer blooms to keep your table decor fresh and on-trend year-round.
If you loved this DIY, don’t forget to share it and tag us in your creations! We can’t wait to see how you bring this centerpiece to life in your own home. Happy hosting, and may your table always be as beautiful as the memories made around it.