Gold Leaf + White Painted Twin Fireplace Mantel Vases
Project Inspiration
If you’ve ever admired the rich, gilded look of high-end decor, you might be wondering how gold leaf can be used to achieve that luxe finish at home. The good news? Gold leafing is a surprisingly simple technique that can elevate even the most budget-friendly pieces. I wanted to create a set of statement vases with a high-end, artisanal feel—something that looked like it came from a designer boutique, not a big-box store. After searching for the perfect piece and not finding exactly what I envisioned, I decided to DIY it!
If you’re looking for DIY home decor for beginners, this project is perfect because it only requires a few materials and minimal skill—just a little patience. Plus, if you’ve ever wondered “will gold leaf stick to acrylic paint?,” the answer is yes! With the right adhesive and a few easy steps, you can completely transform a plain ceramic vase into a stunning decor piece that reflects your personal style. And if you're wondering “where to buy gold leaf?,” Amazon has affordable kits that include everything you need to get started.
Supplies List & Cost Breakdown
For this DIY, I only purchased:
2 ceramic vases from HomeGoods (similar here) - $29.99 each, so $59.98
Total Supplies Cost = $59.98
I also used things I already had, like:
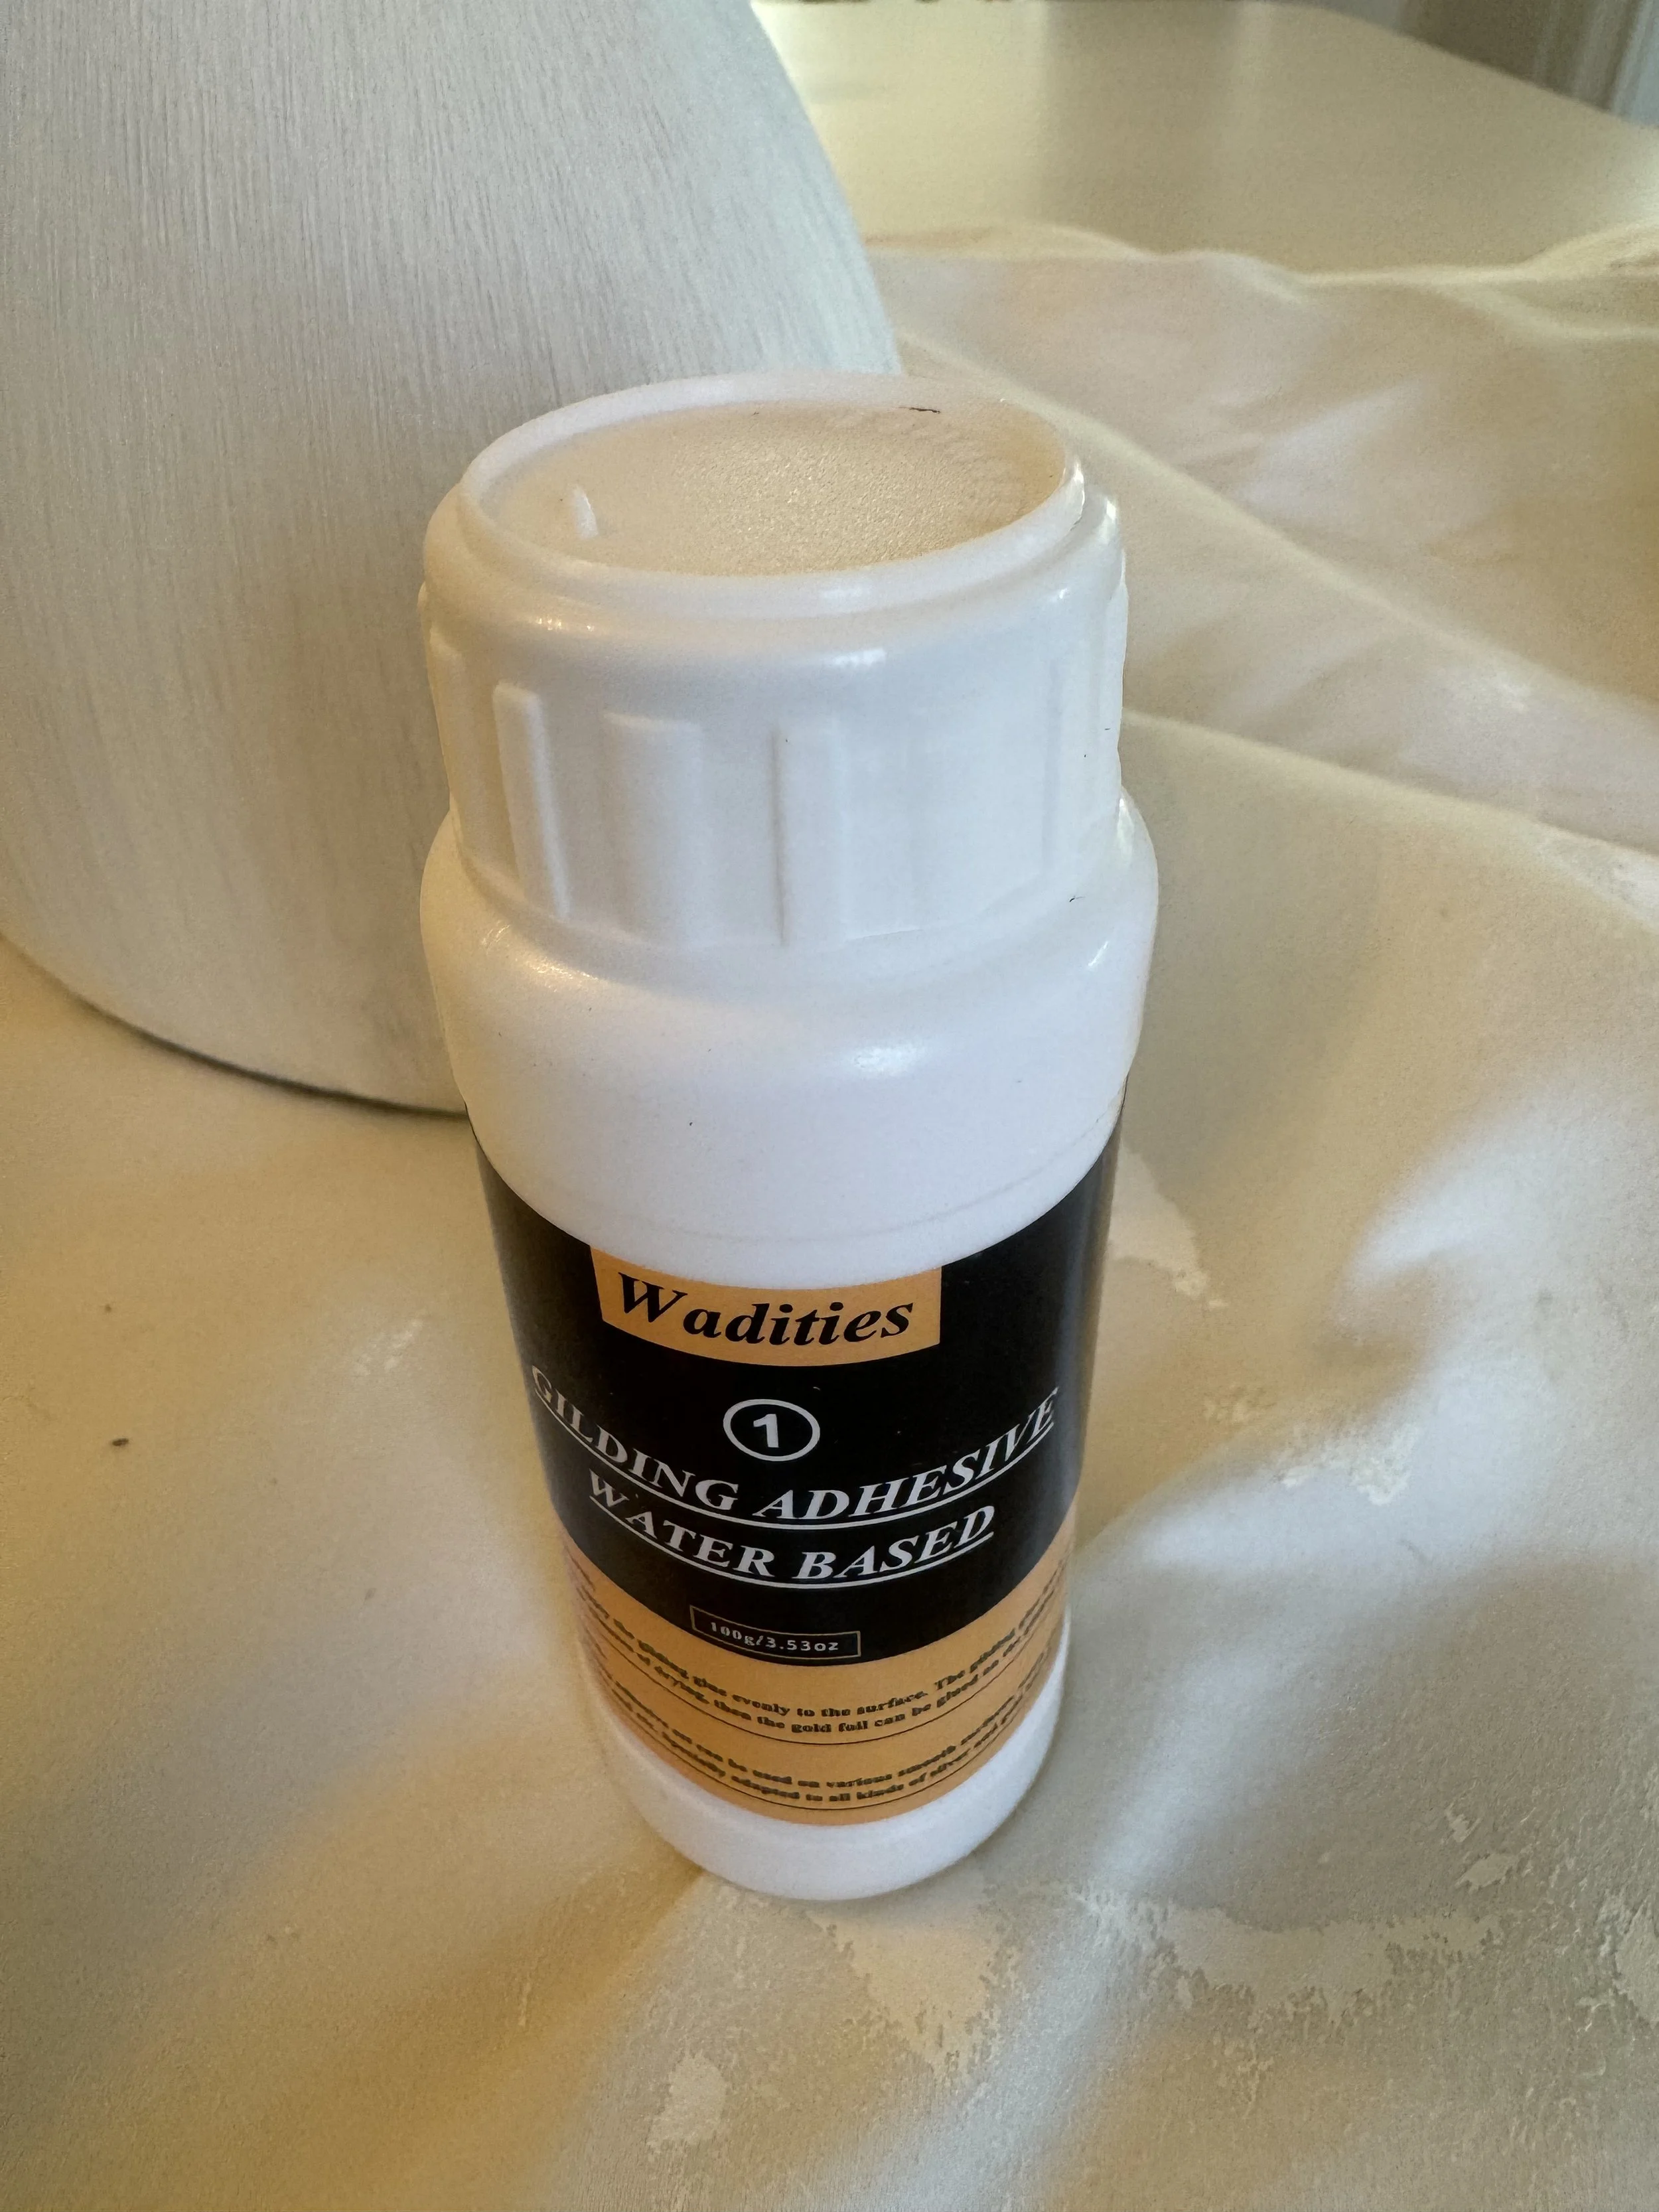
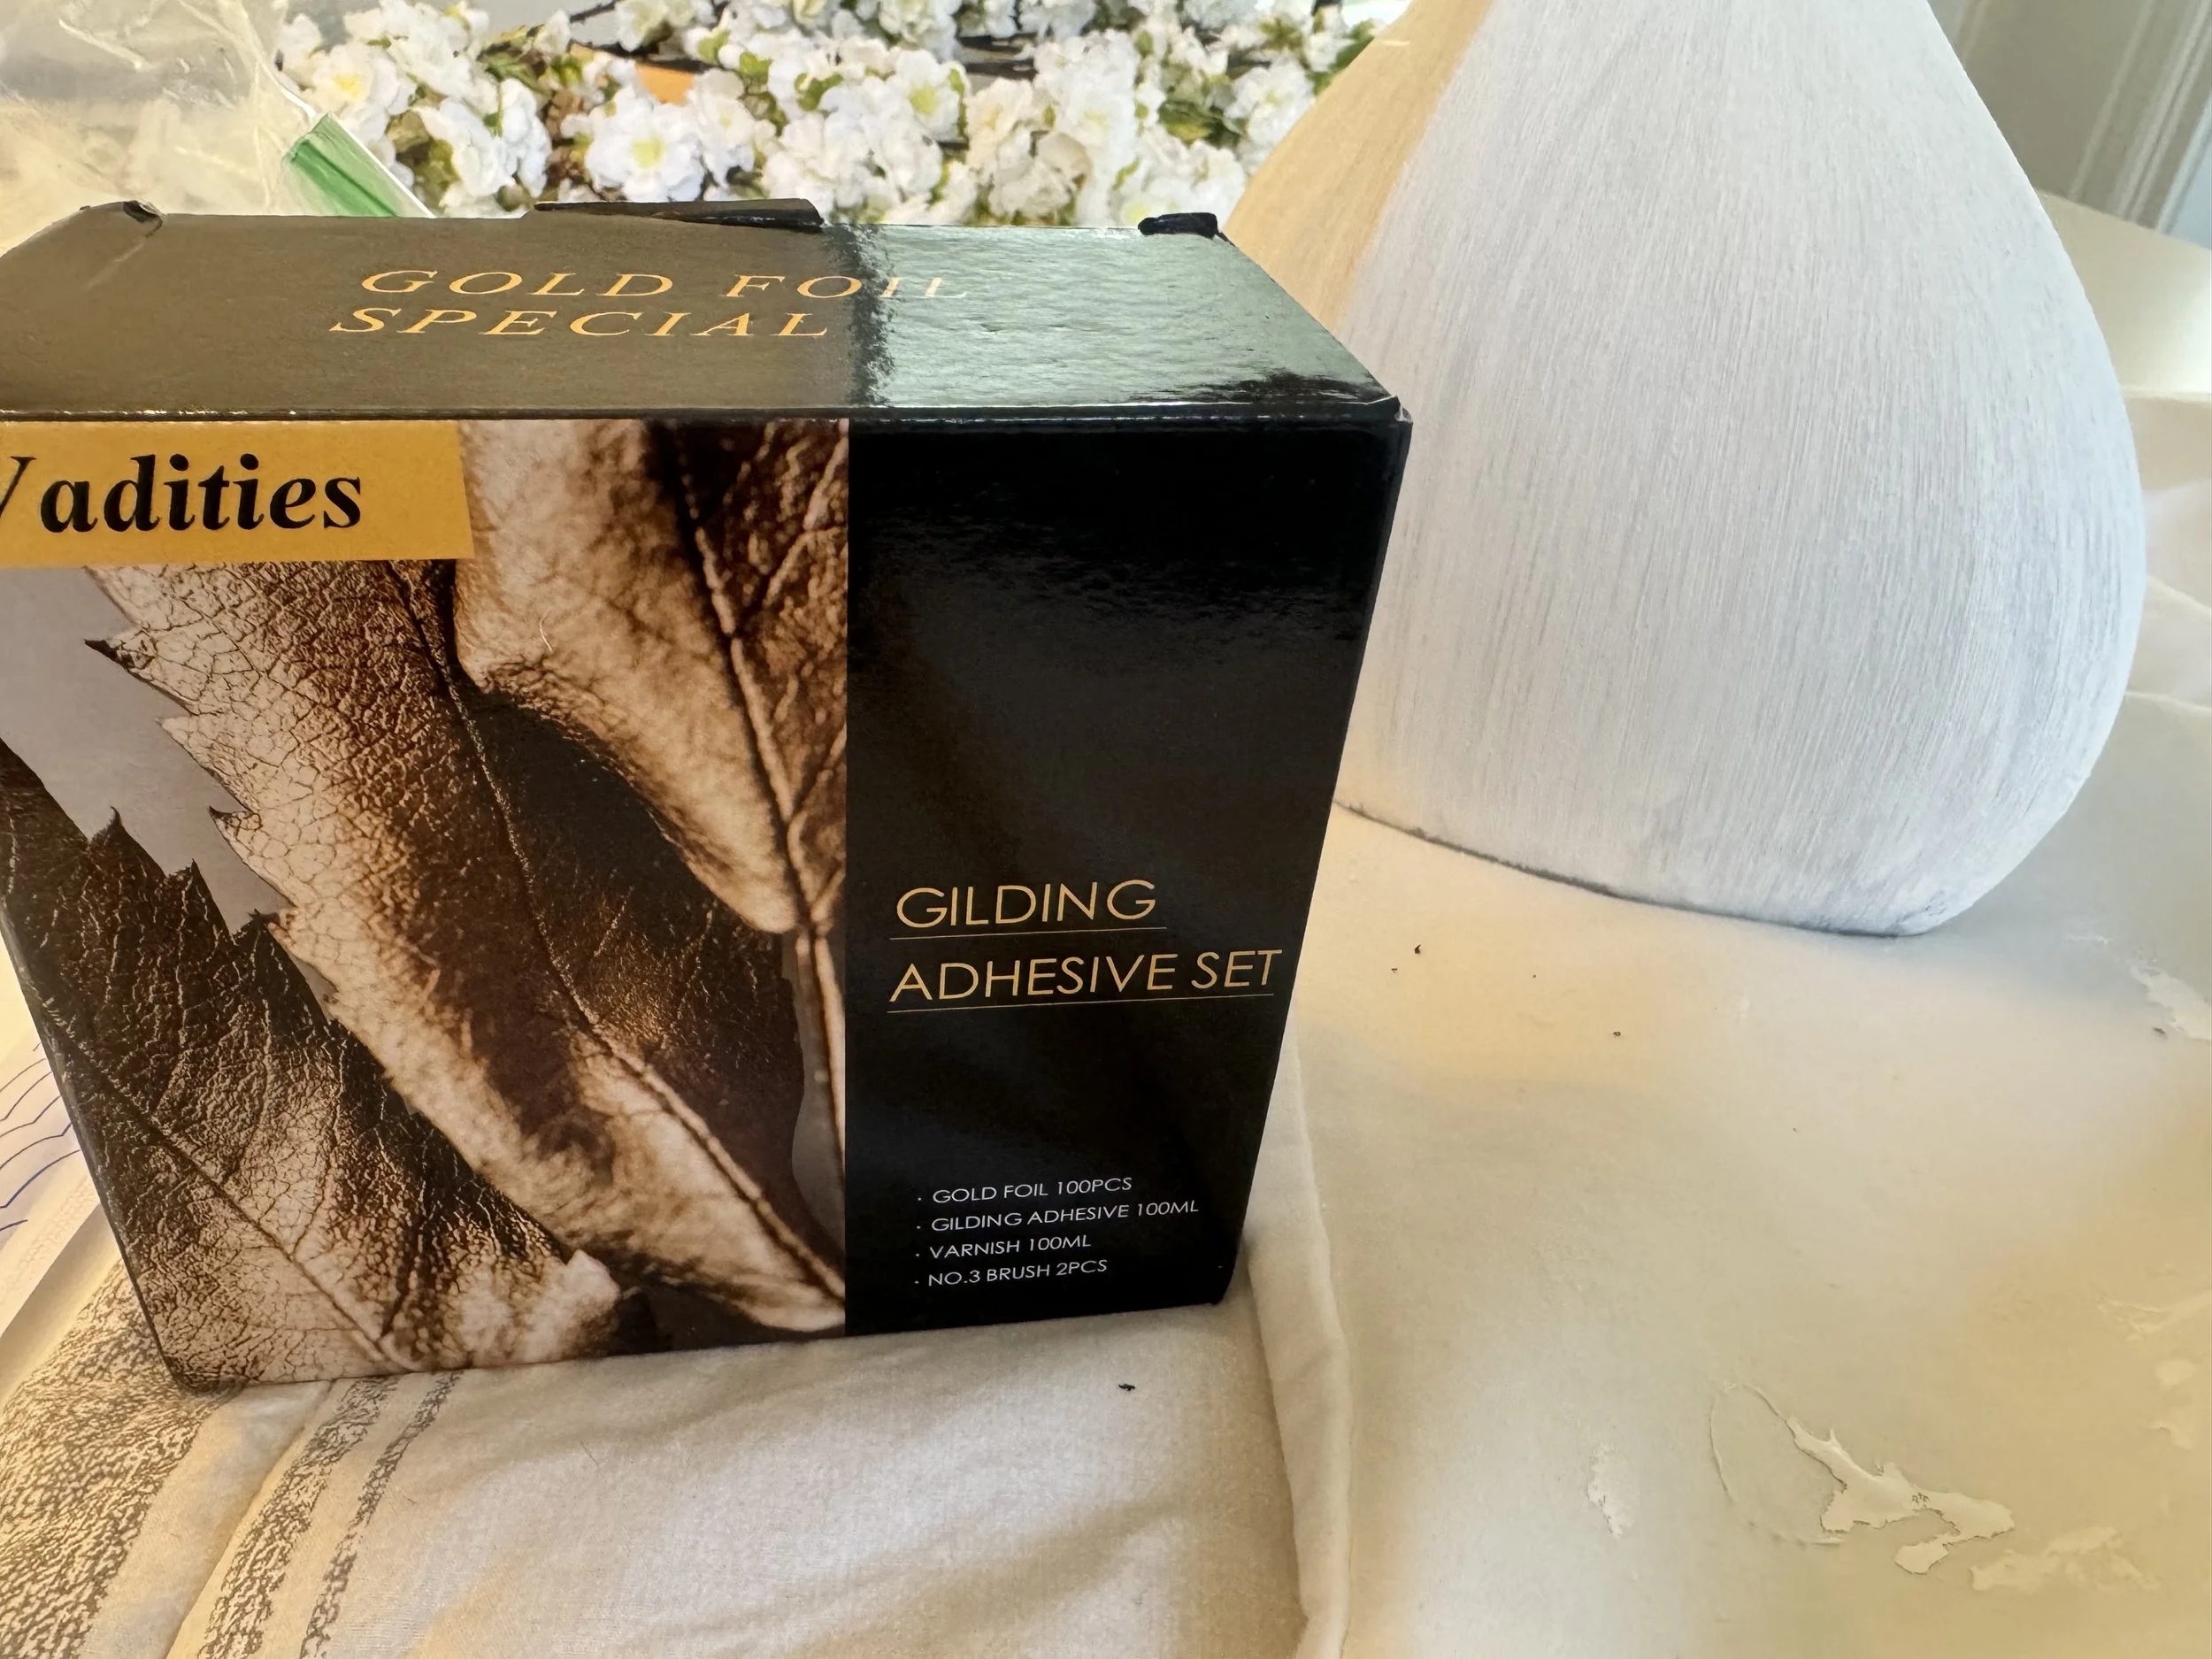
Gold leaf gilding adhesive kit from Amazon - This kit has everything you need! It contains the adhesive, the gold leaf pieces, brushes and the varnish.
Matte white paint - I always have a can in the garage for my various DIY projects
Paint brush - any typical paintbrush will do!
The Secret
The secret to this luxe-looking DIY? Gold leaf! While it might seem intimidating or messy at first, applying gold leaf is surprisingly simple when you follow the right steps. It’s an easy way to take an ordinary decor item and transform it into something that looks high-end and custom. Whether you're breathing new life into an old decor piece you already have or elevating a budget-friendly find from a home store, gold leaf adds that gorgeous, gilded touch that instantly elevates your decor from basic to beautiful.
A key tip is to embrace the imperfections—gold leafing doesn’t have to be perfectly smooth to look stunning. In fact, a slightly distressed or organic finish can give your piece that designer-inspired, artisanal charm. With a little patience and the right adhesive, you'll achieve a shimmering, luxe effect that looks straight out of a high-end boutique.
Step-By-Step Instructions
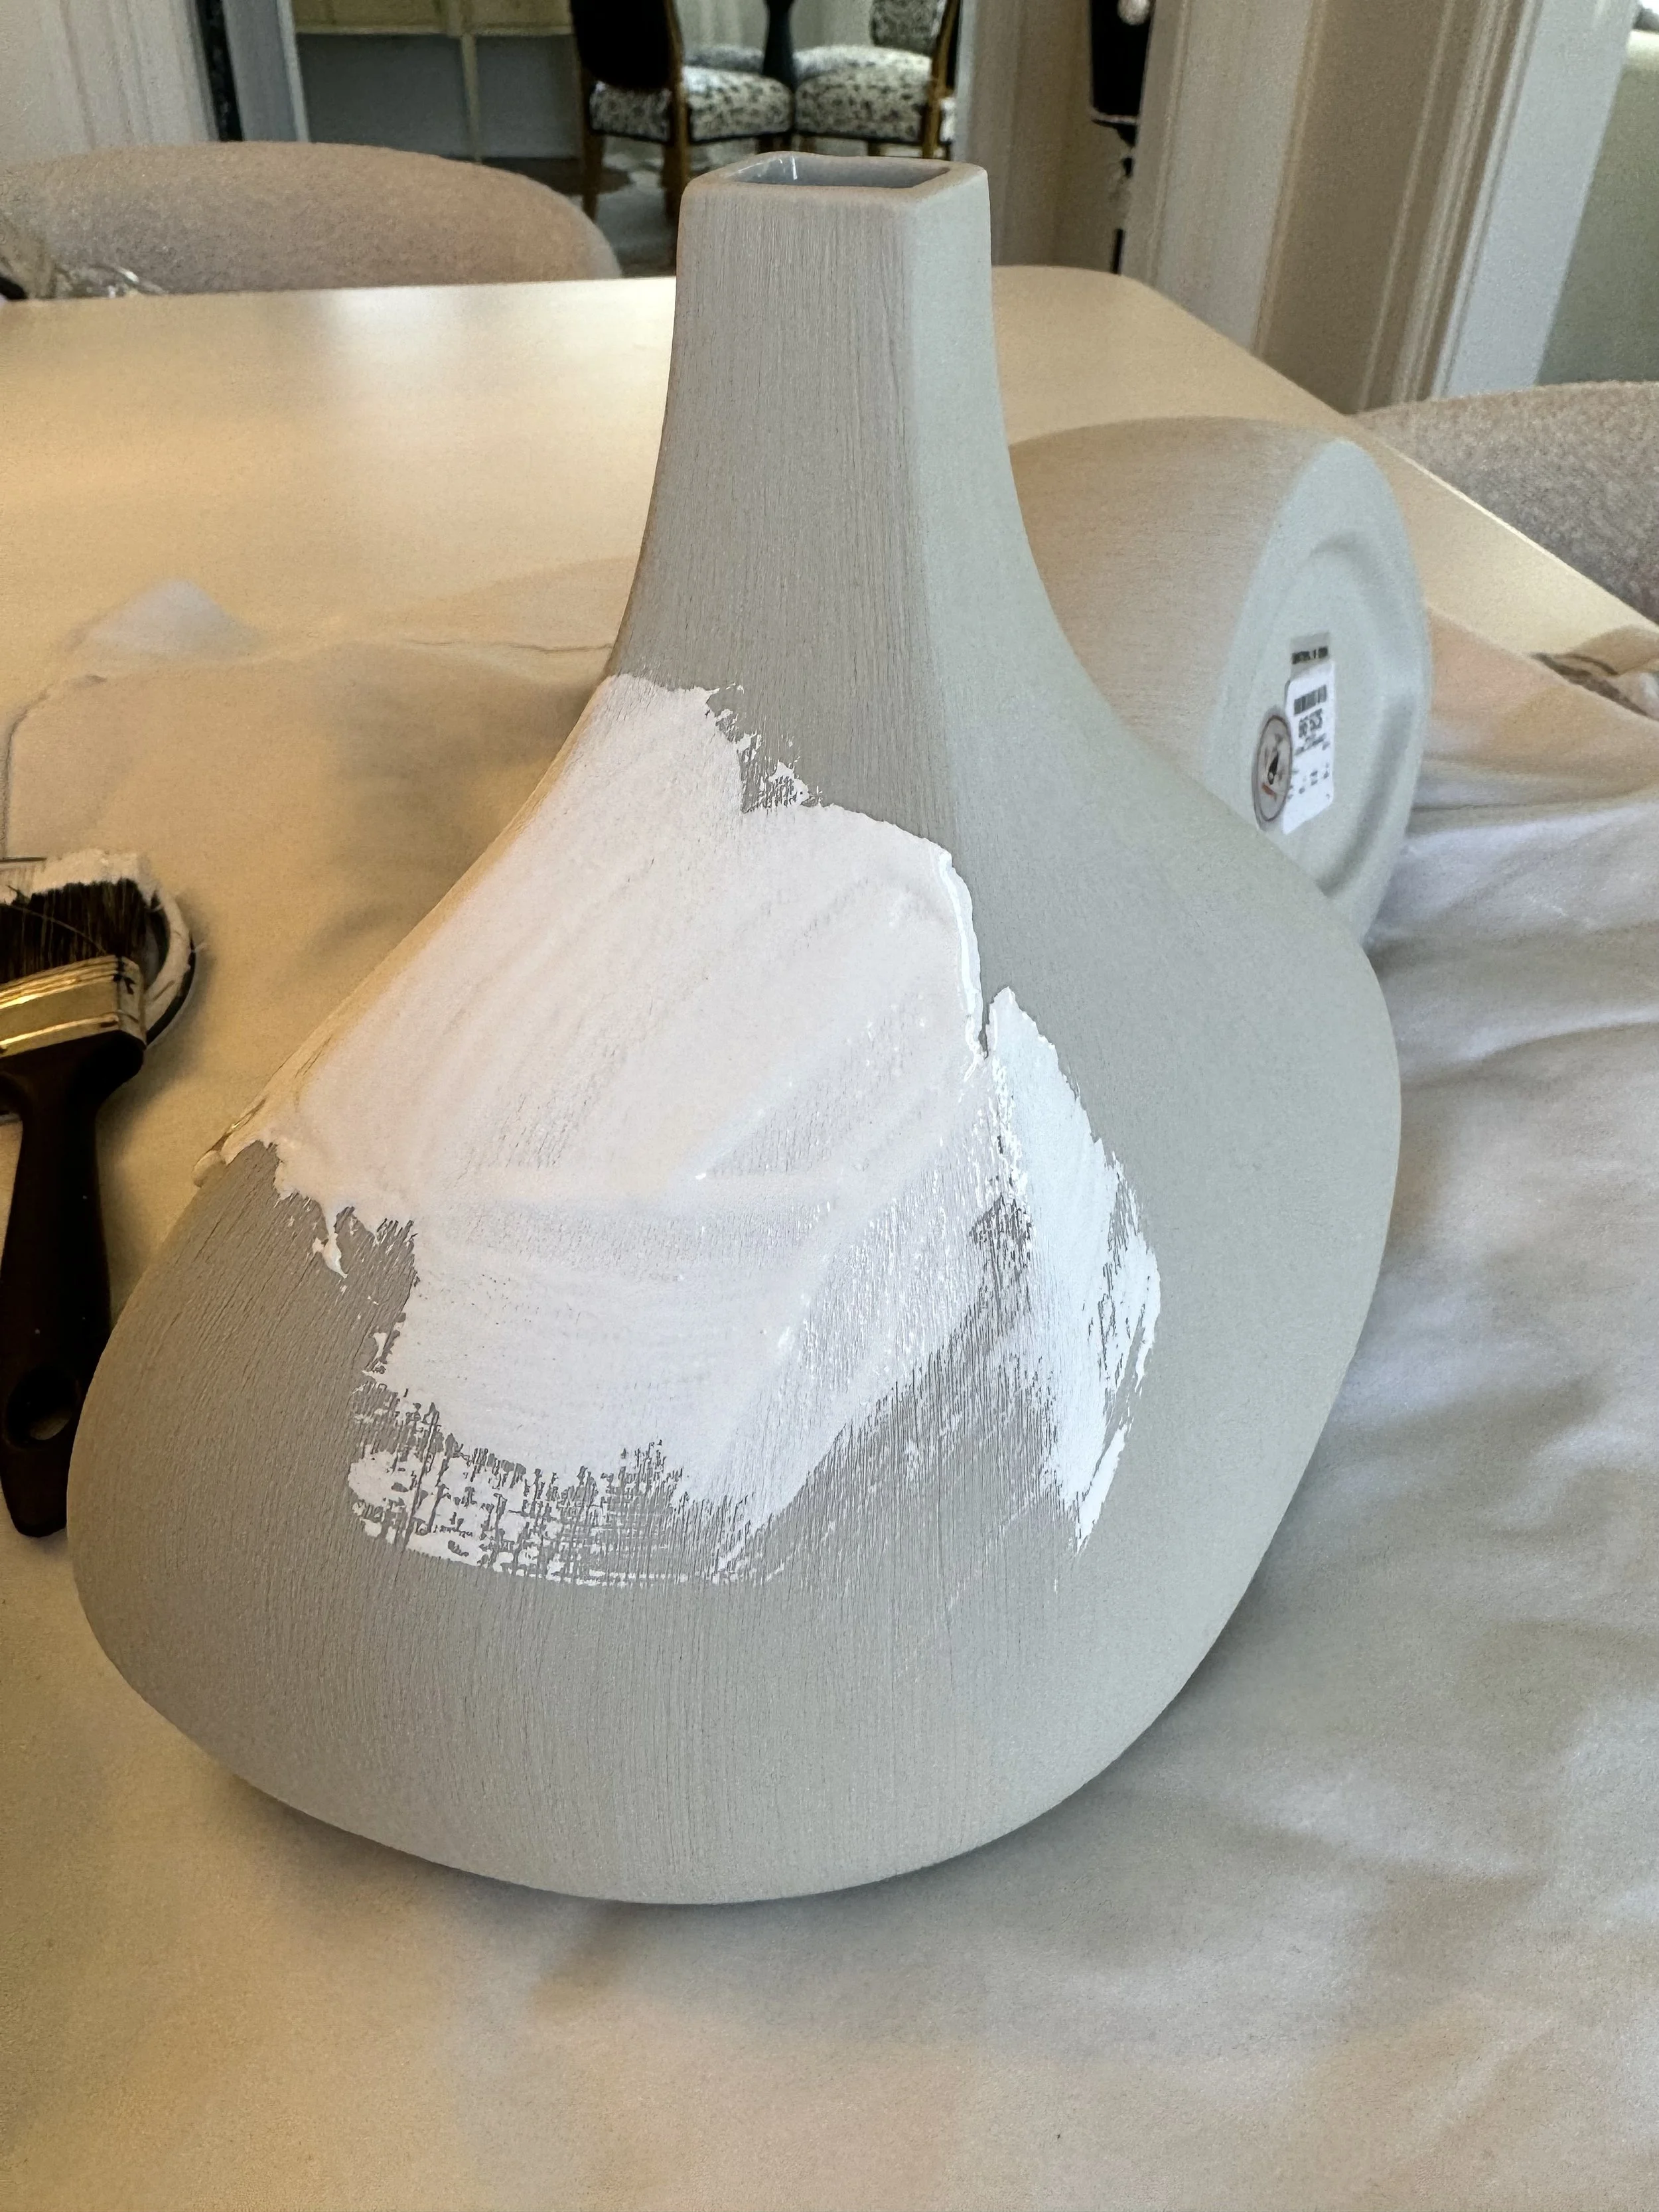
1. Prepare your work space because painting and gold leafing gets messy!! Clear off a table and put down a drop cloth or tape down some newspapers to work on top of. Wipe down and dry the ceramic vase.
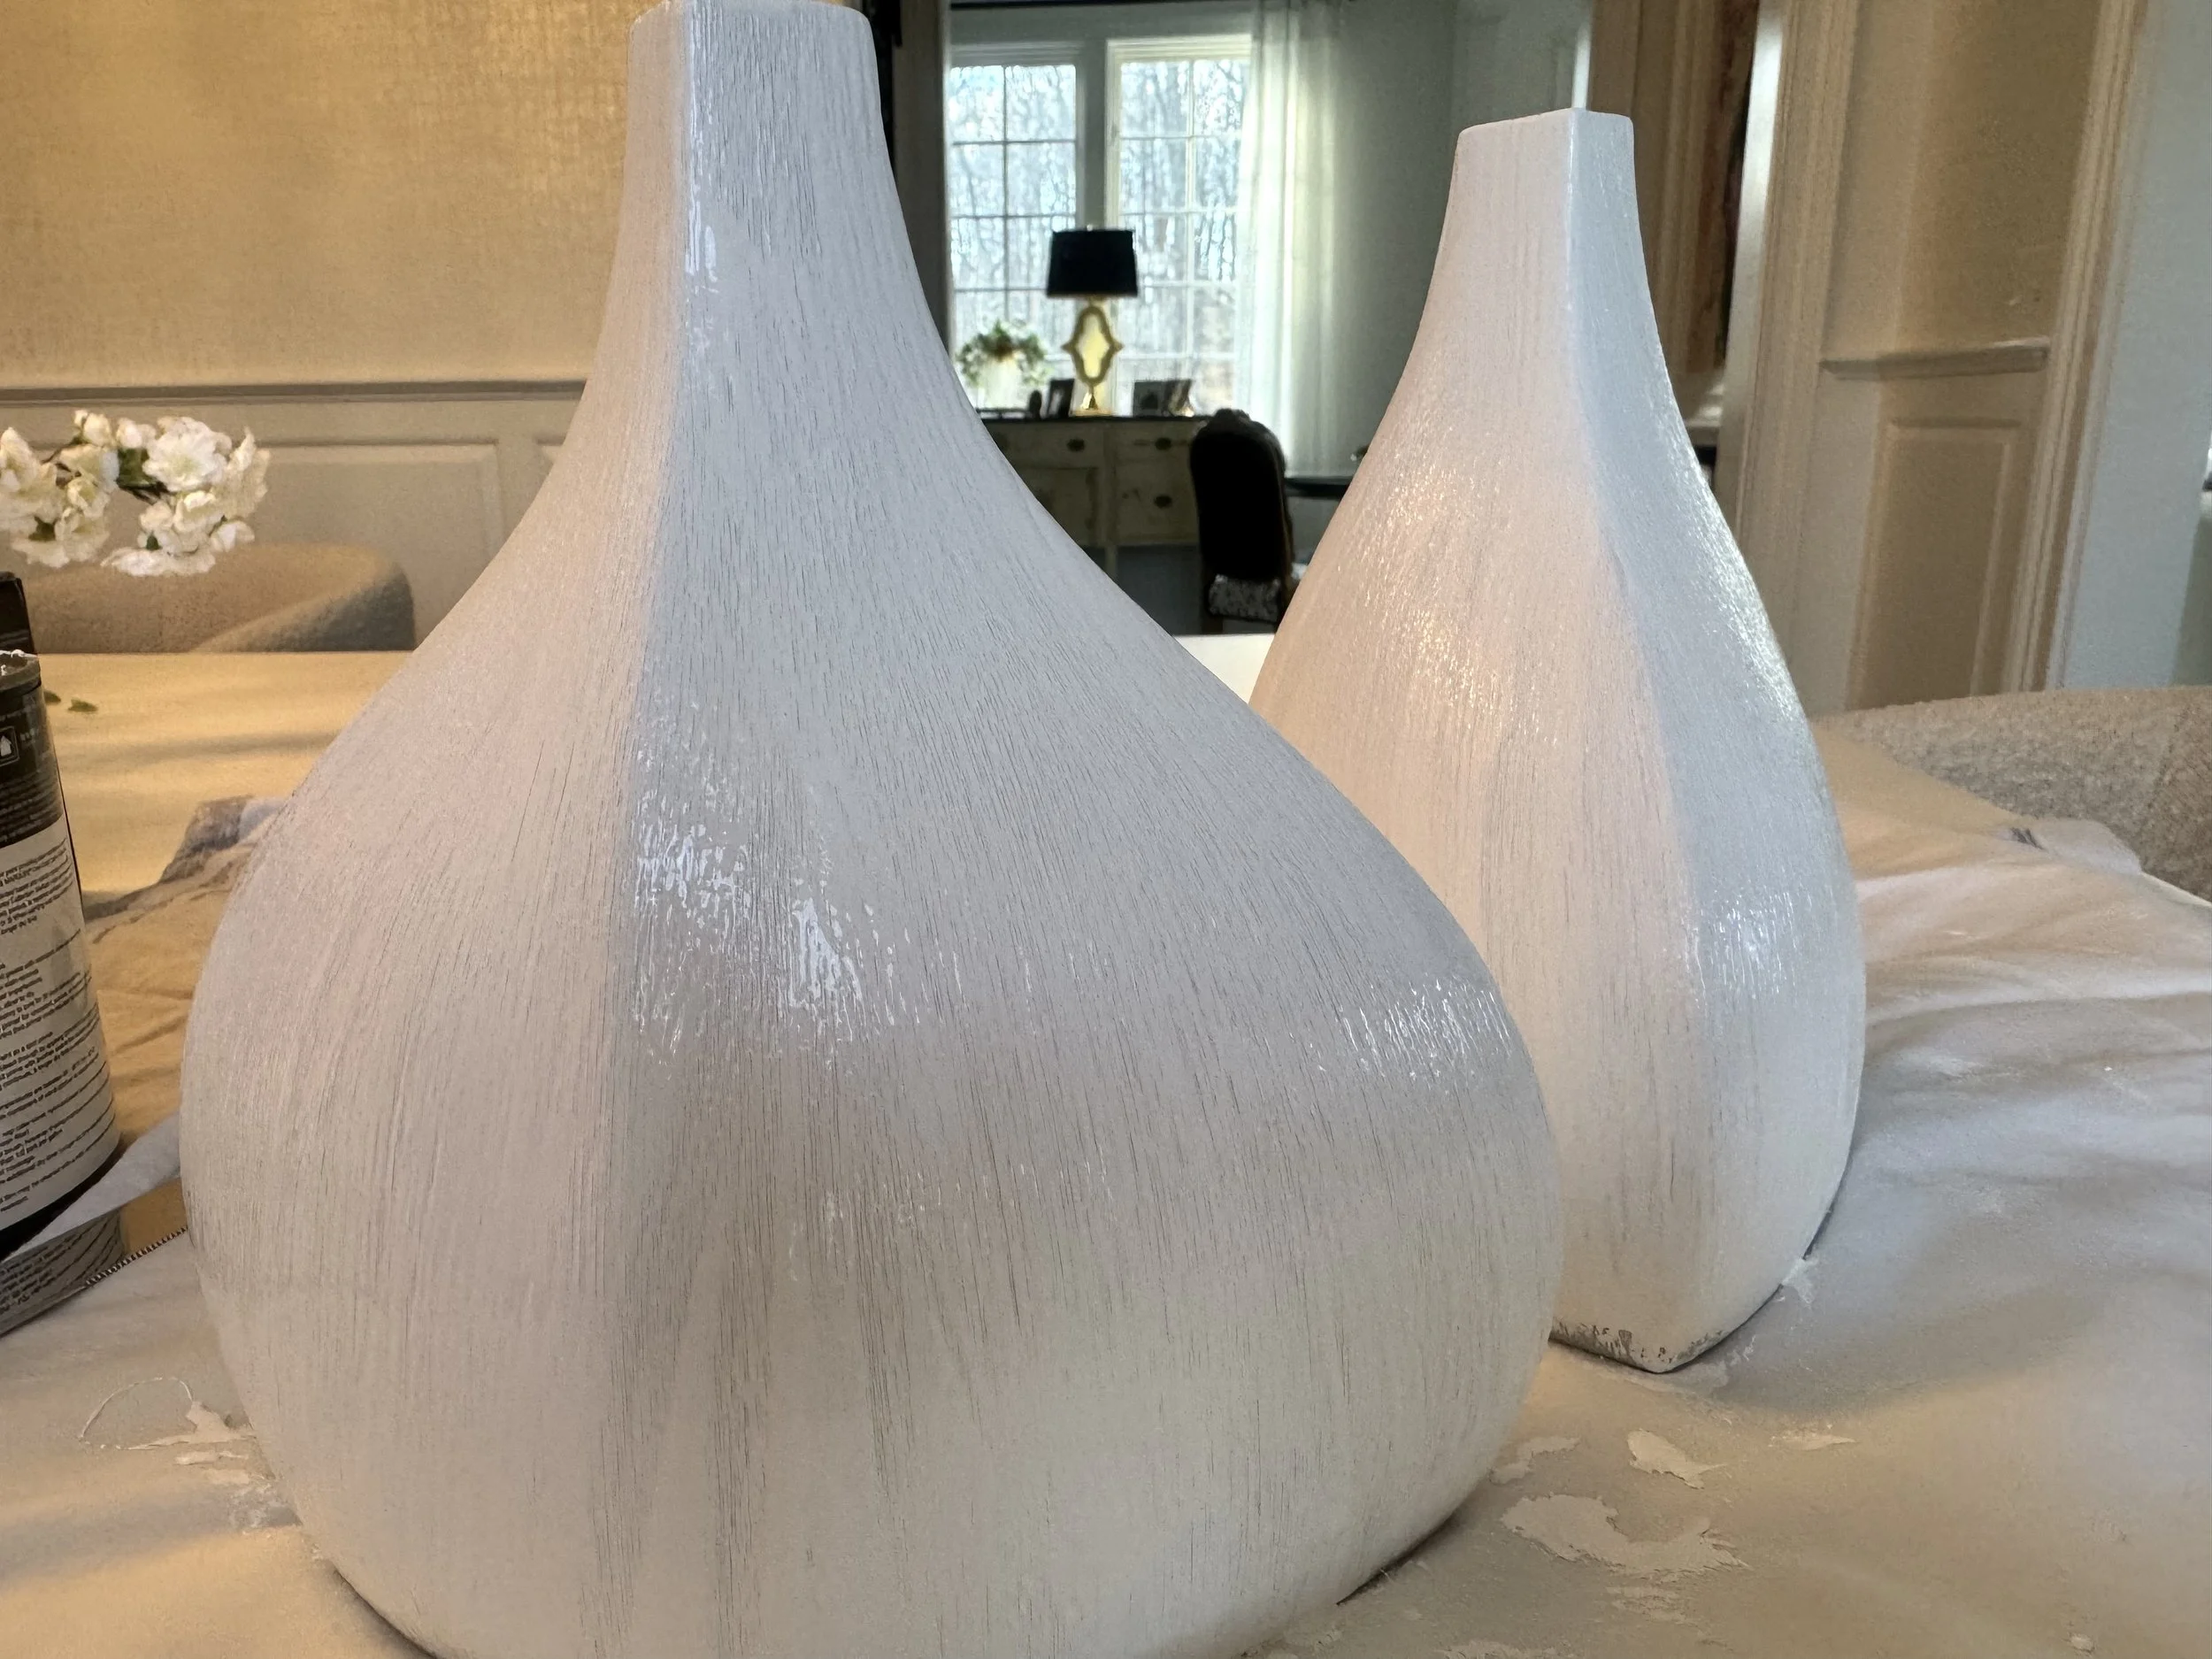
2. Using a paint brush, paint the ceramic vases with the white matte paint. You may need to apply several coats to achieve an even, opaque white look, so follow the bottle’s instructions for drying time.

3. Once fully painted and dry, decide where you want to apply the gold leaf. For this project, I had my mind set on gold leafing the necks and bases of each of these vases. Apply the adhesive using the paint brush the kit gives you to the areas you want, and then wait a couple of minutes (up to 30 minutes depending on which kit you buy) so the adhesive gets sticky.
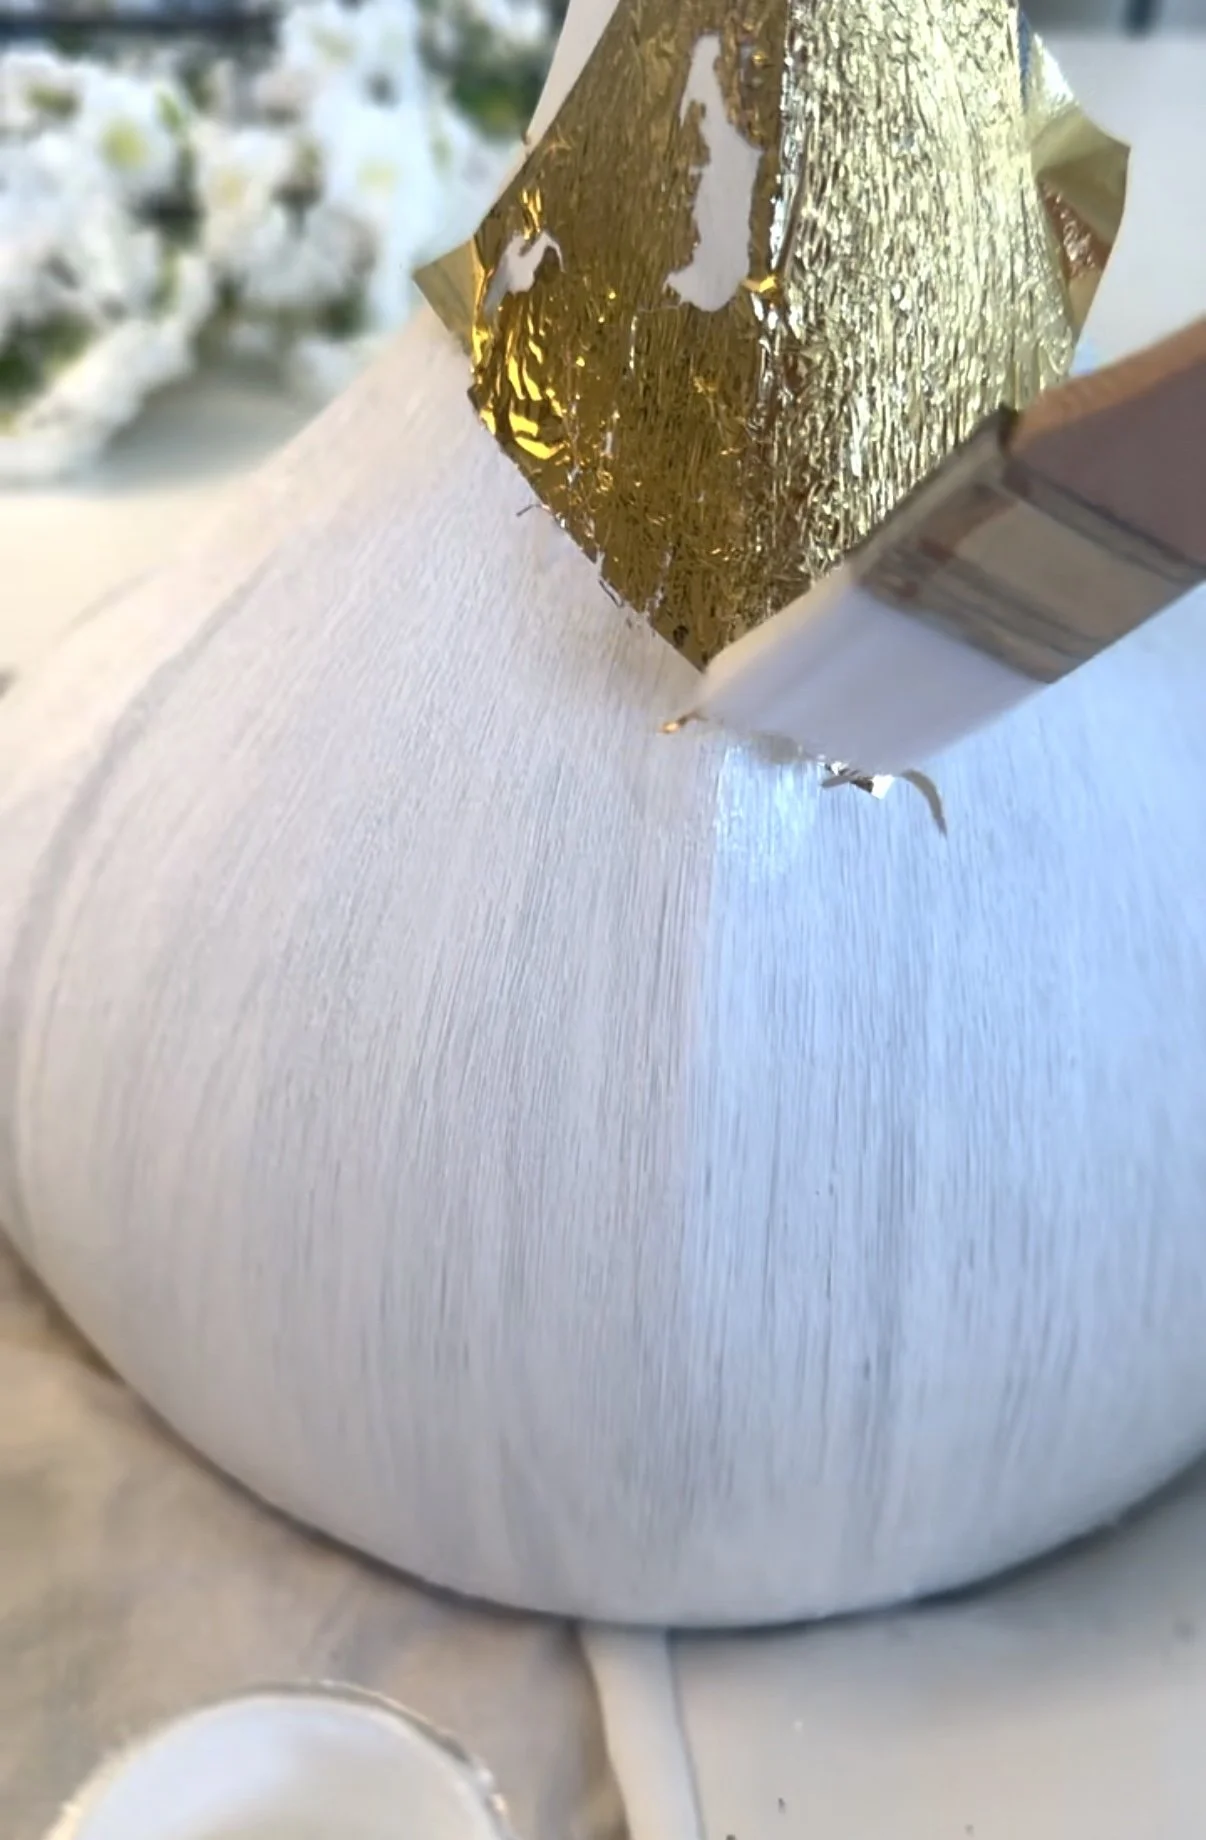
4. Once the adhesive is sticky, start applying the gold leaf sheets (according to the kit’s instructions) sheet by sheet until your entire desired area is covered.
5. Wait another couple of minutes and then start gently brushing the gold leaf with a dry paint brush. The parts attached to the adhesive will stick right to the vases, and the rest will flake off (which is why this DIY can get messy!).
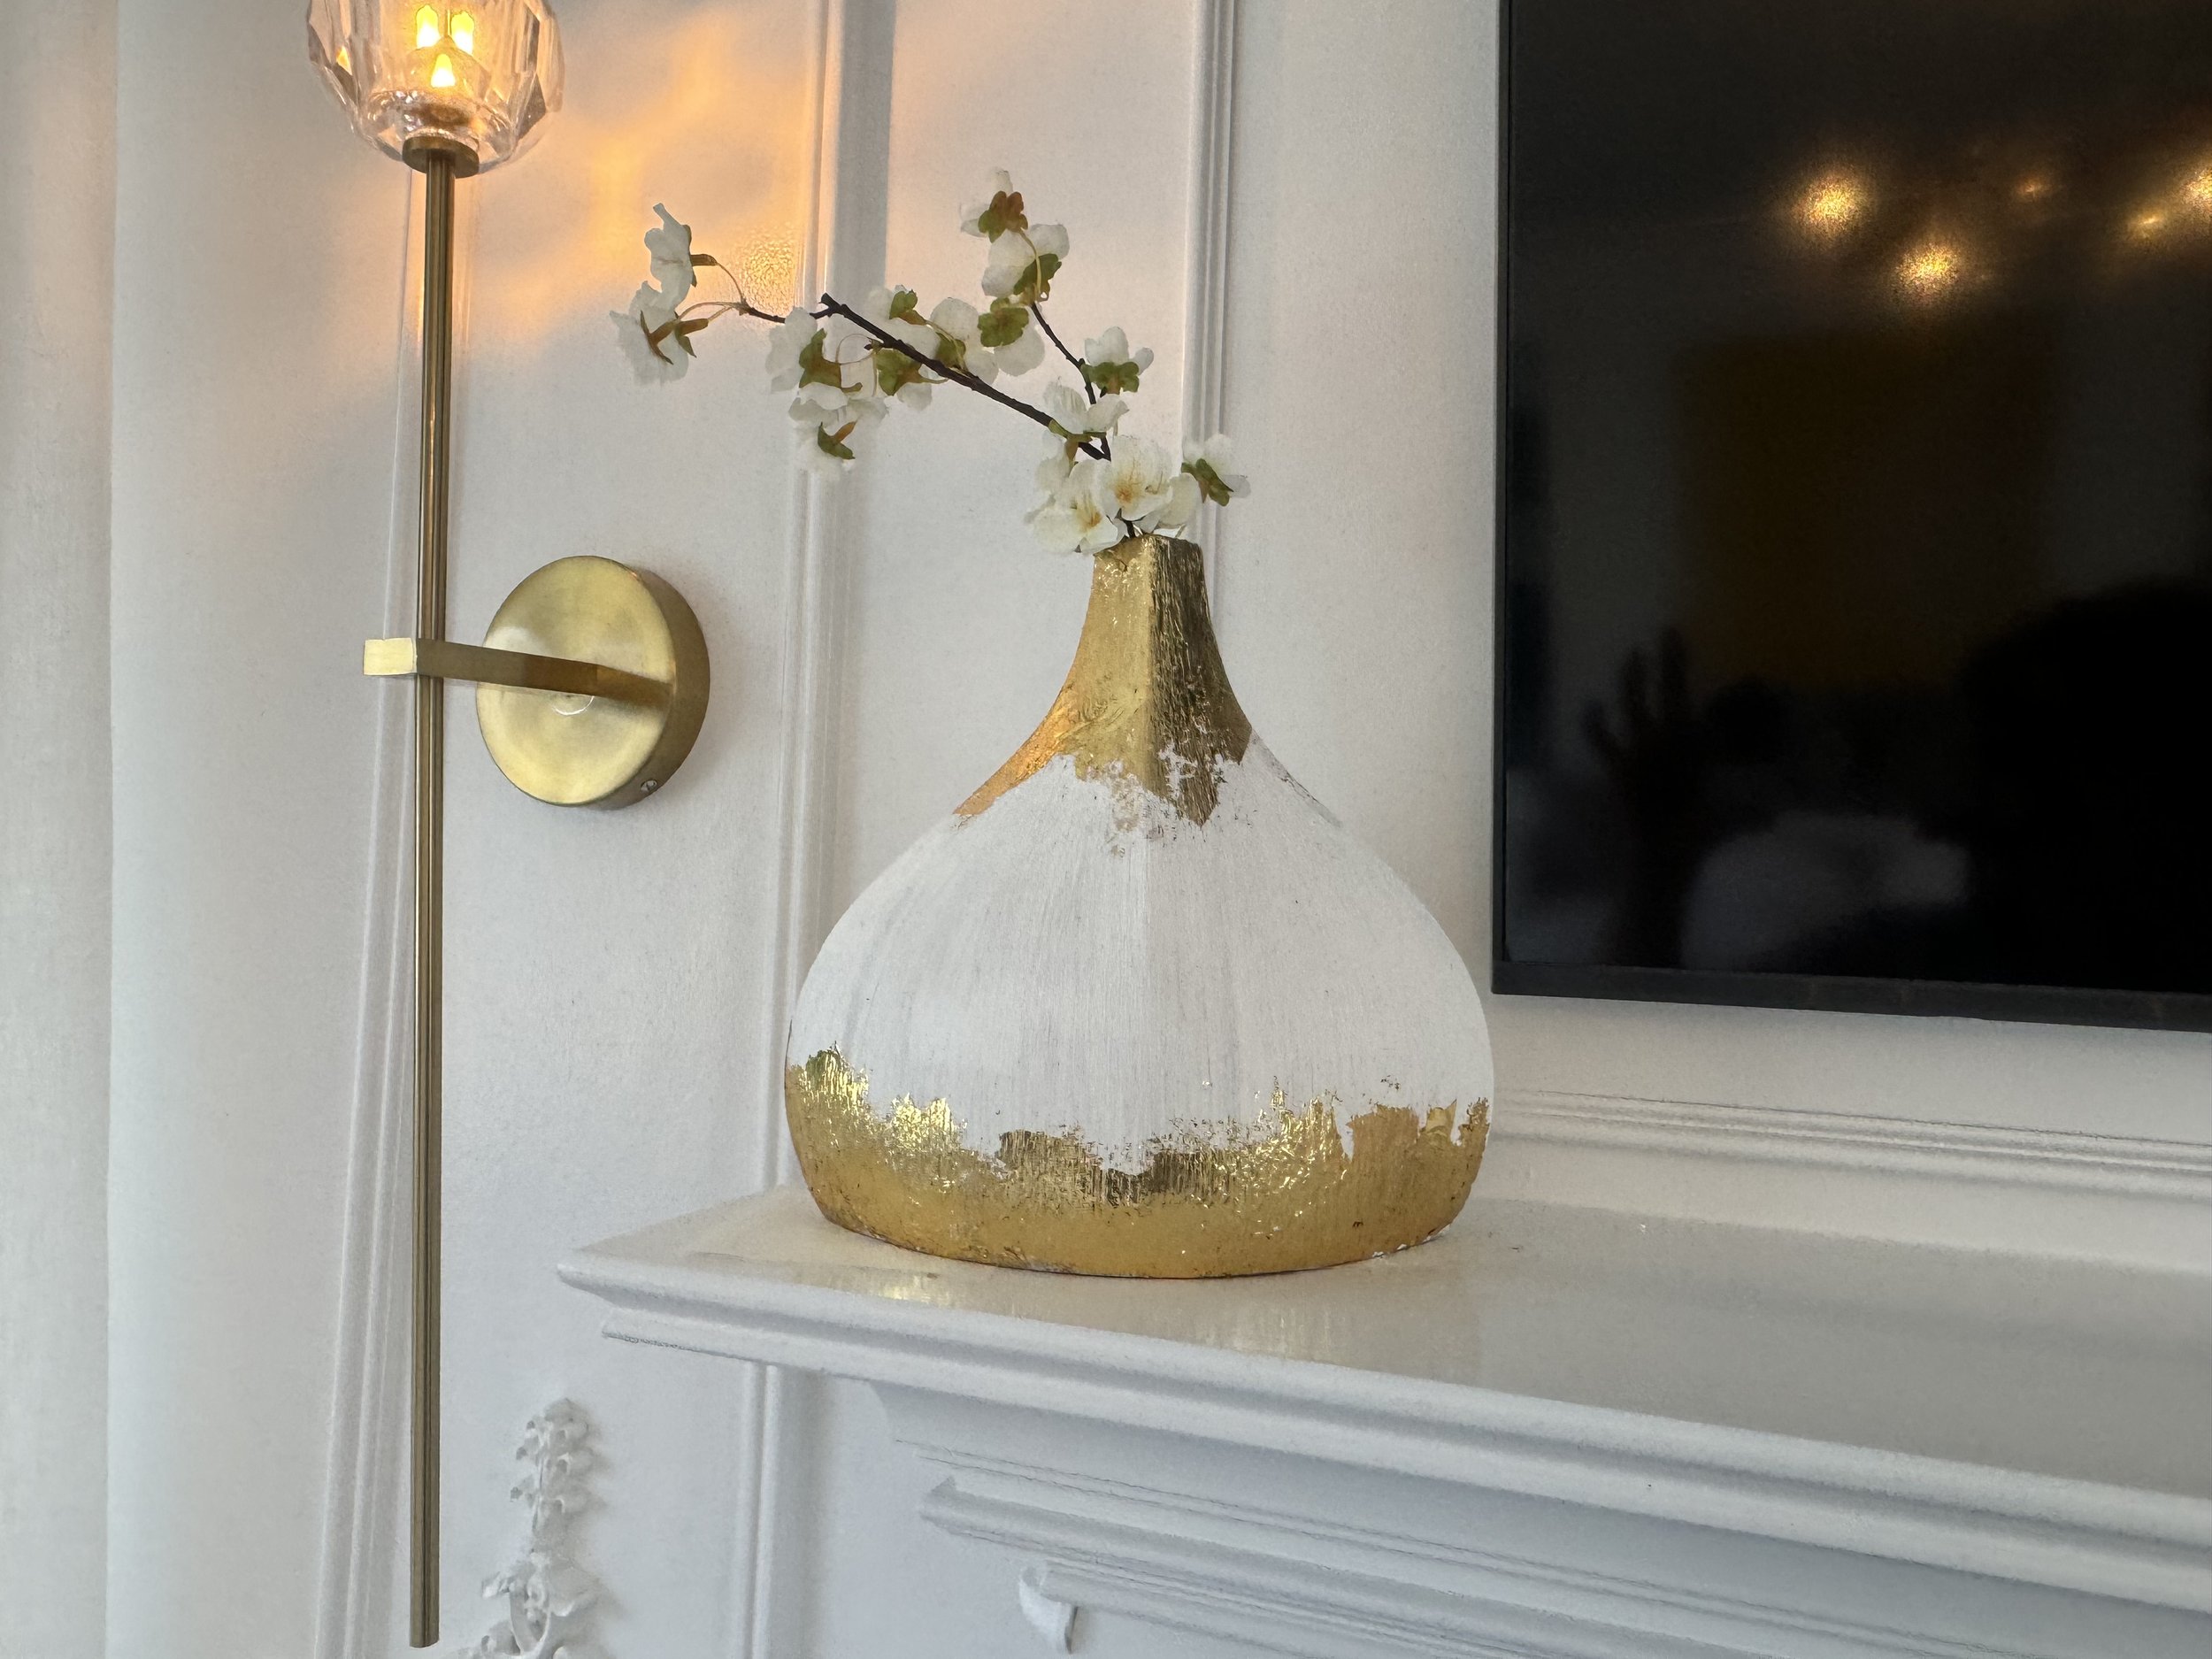
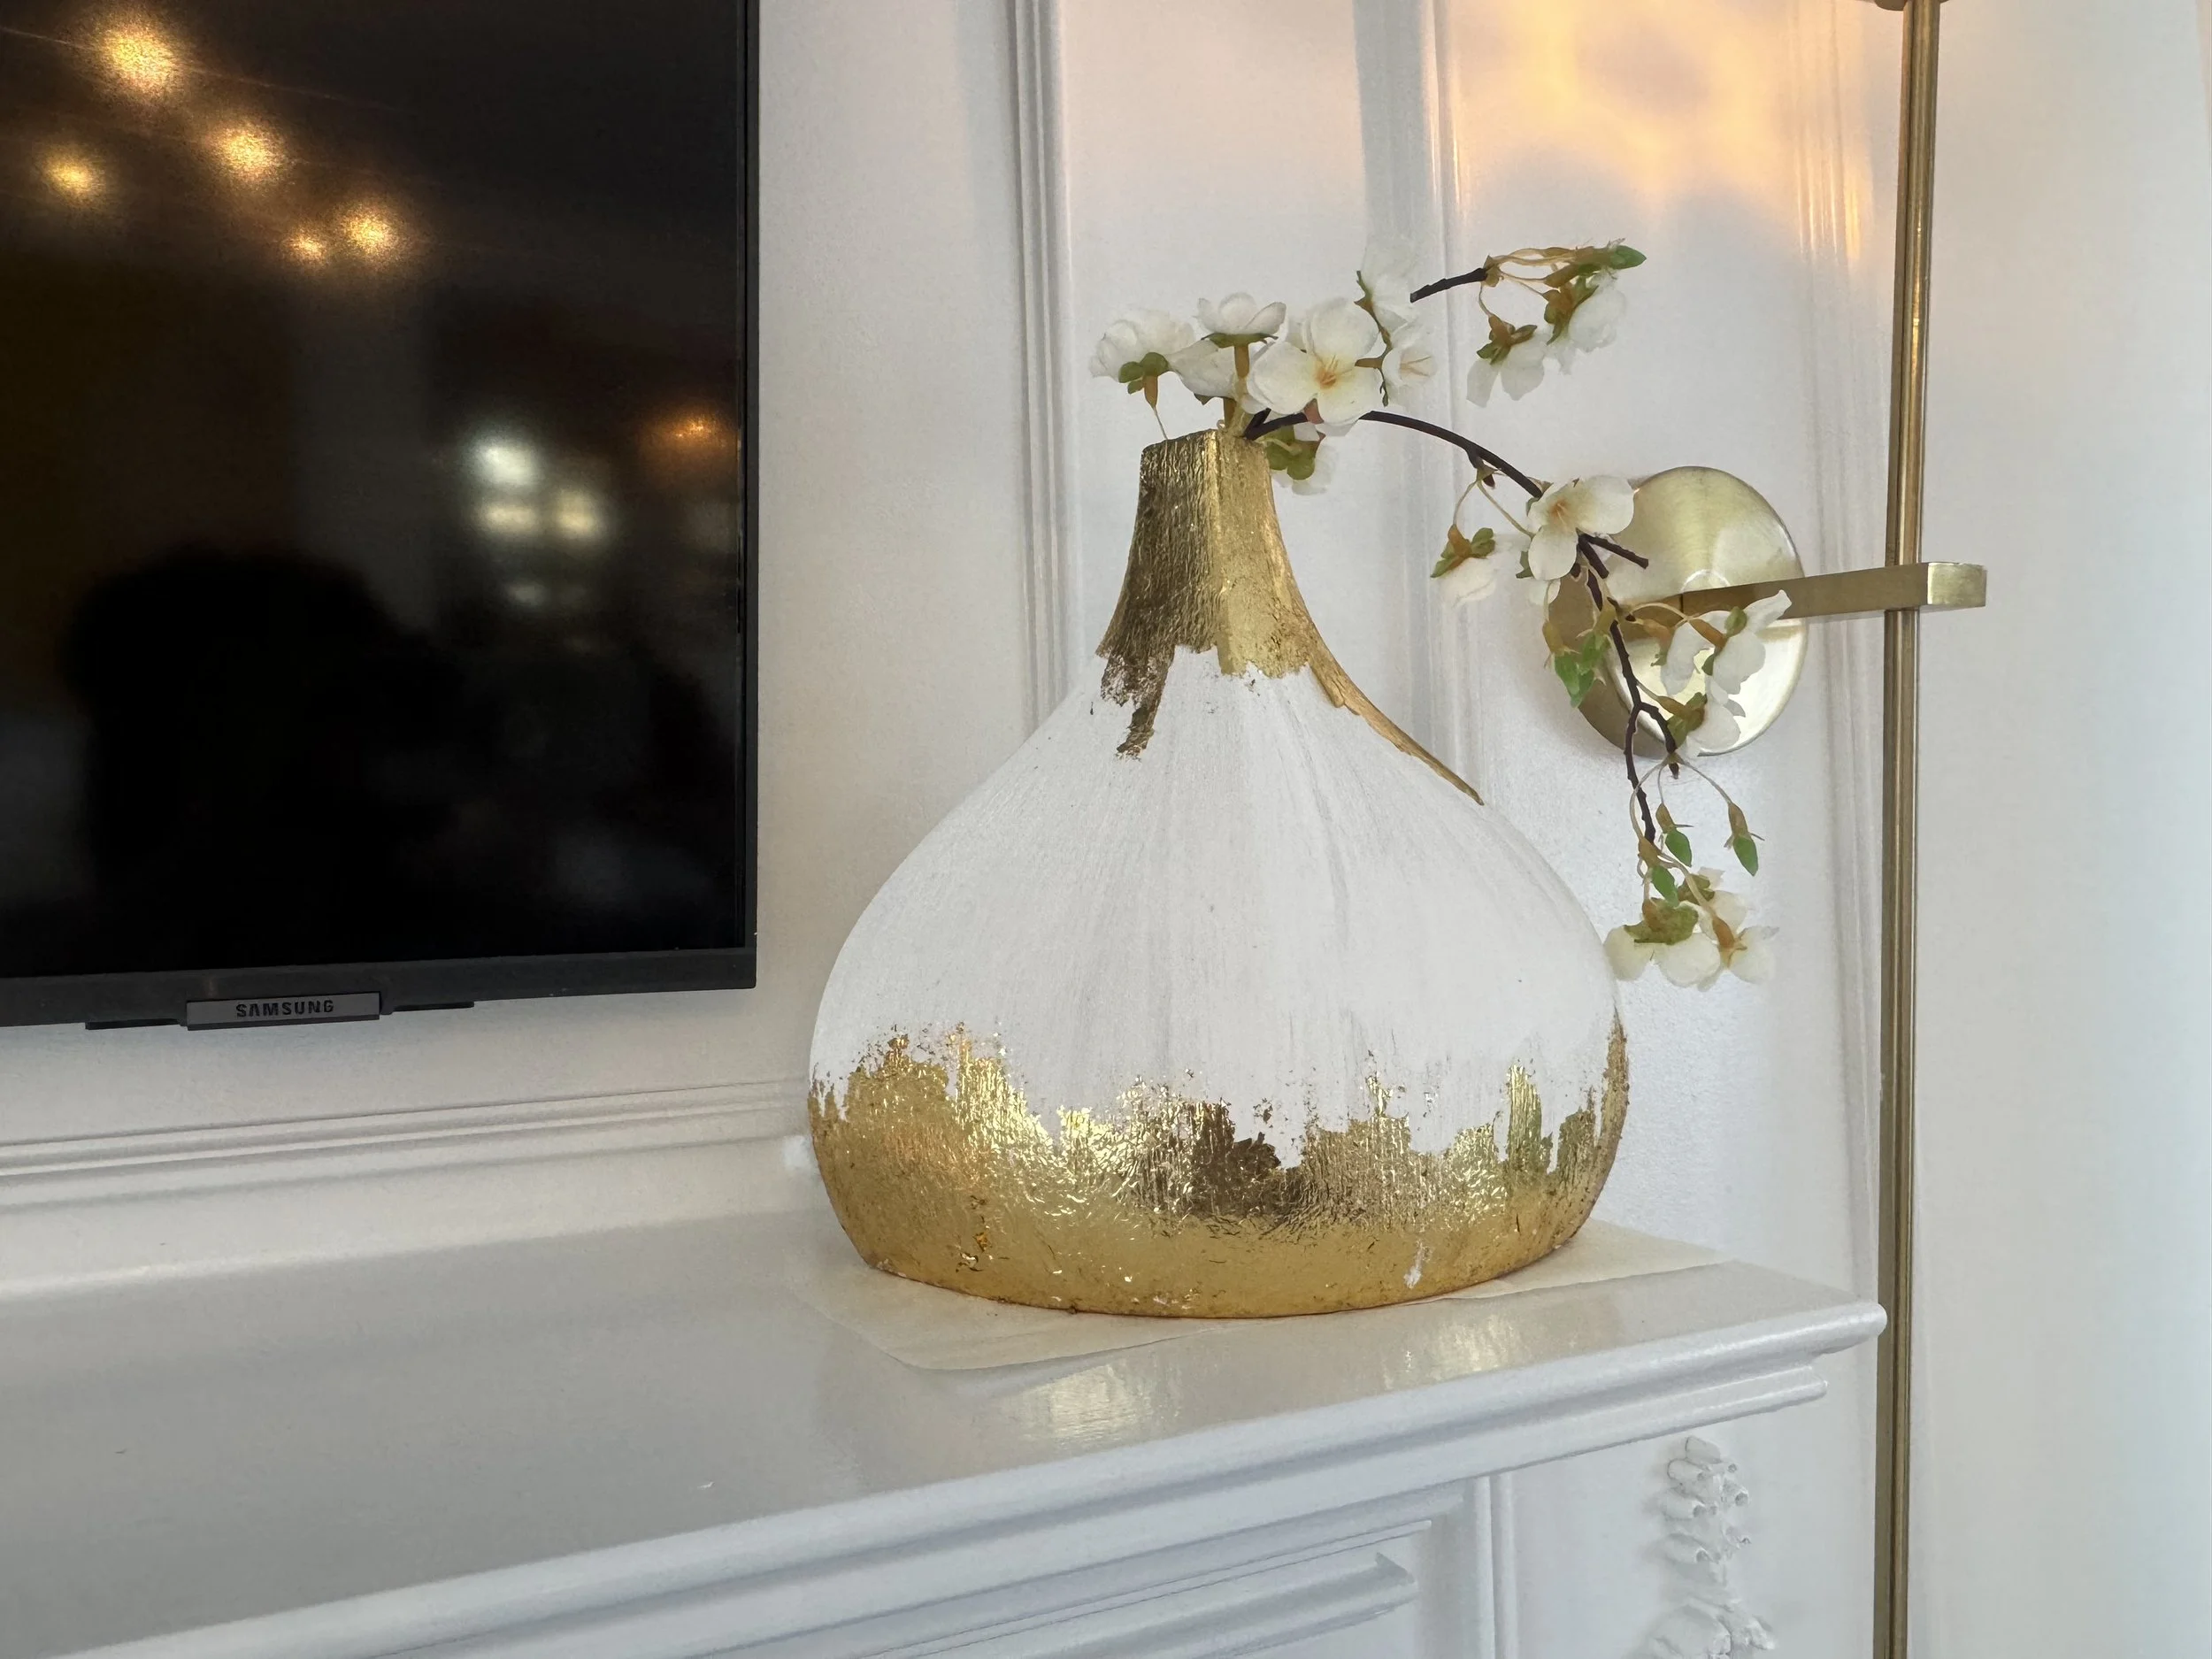
6. Once the vases are gold leafed to your liking, wait for the gold leaf to be completely dry, then it’s ready to style! I inserted an artificial white flower stem into each for a simple, springy look!
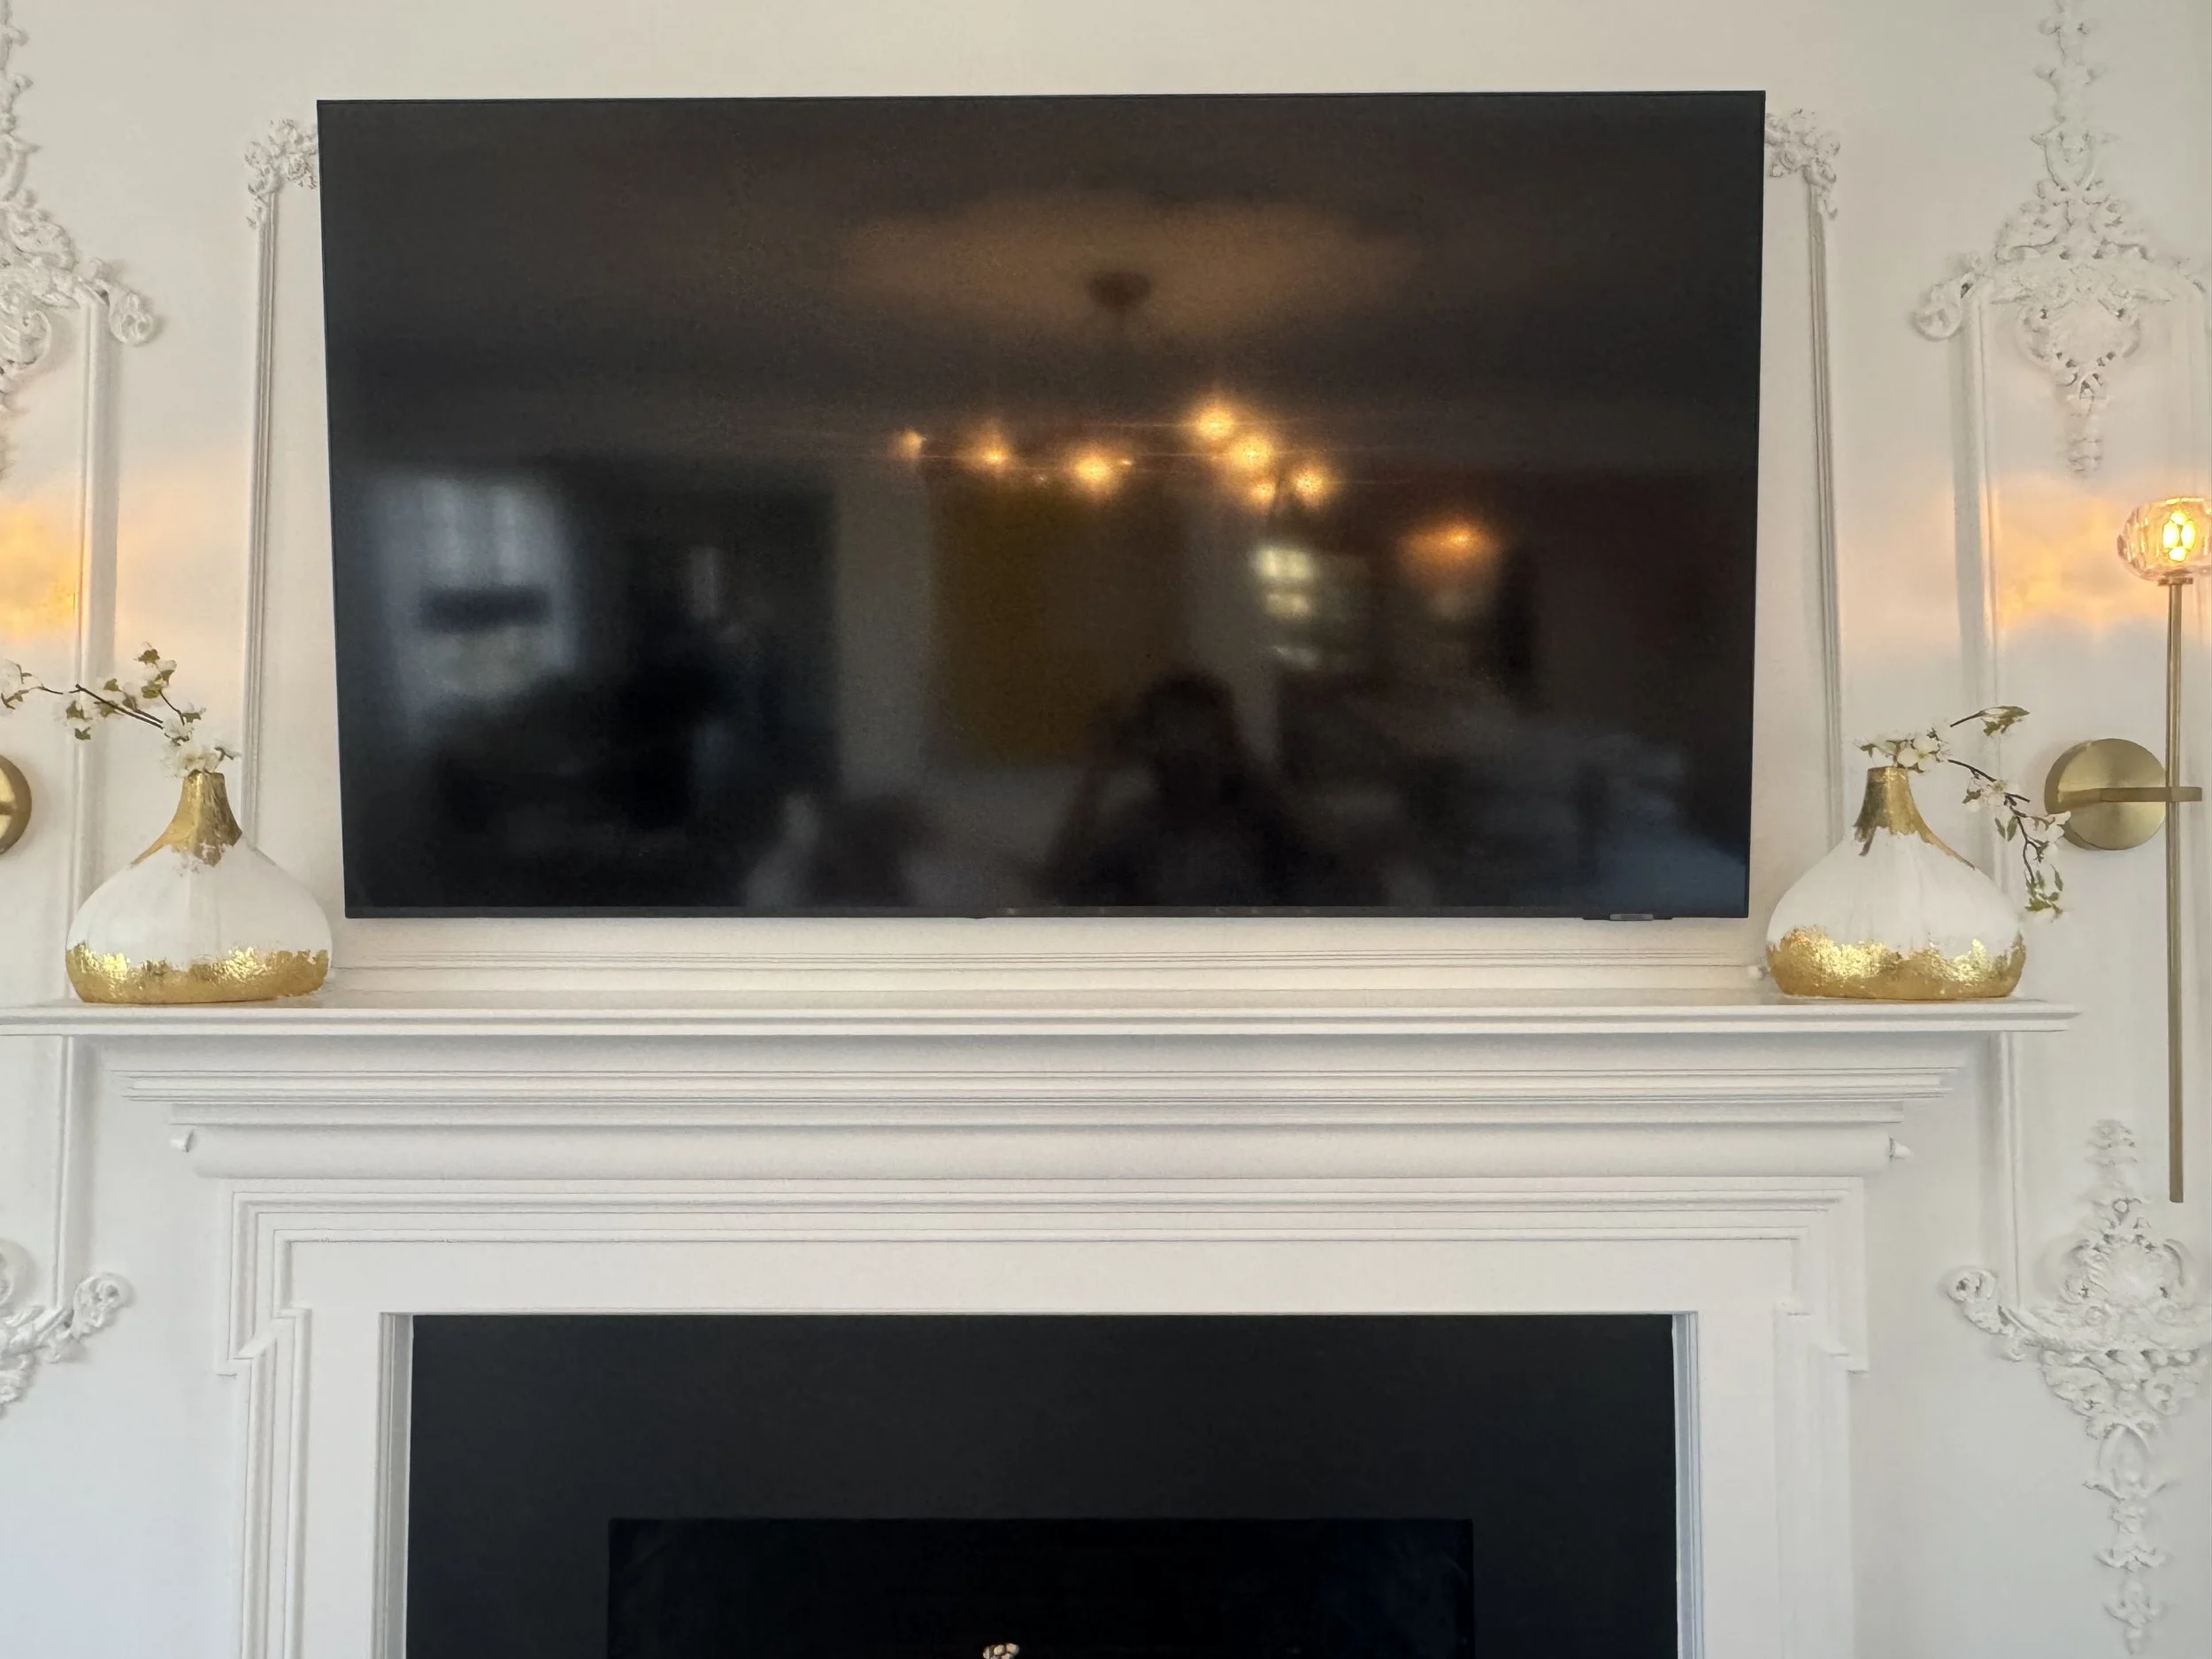
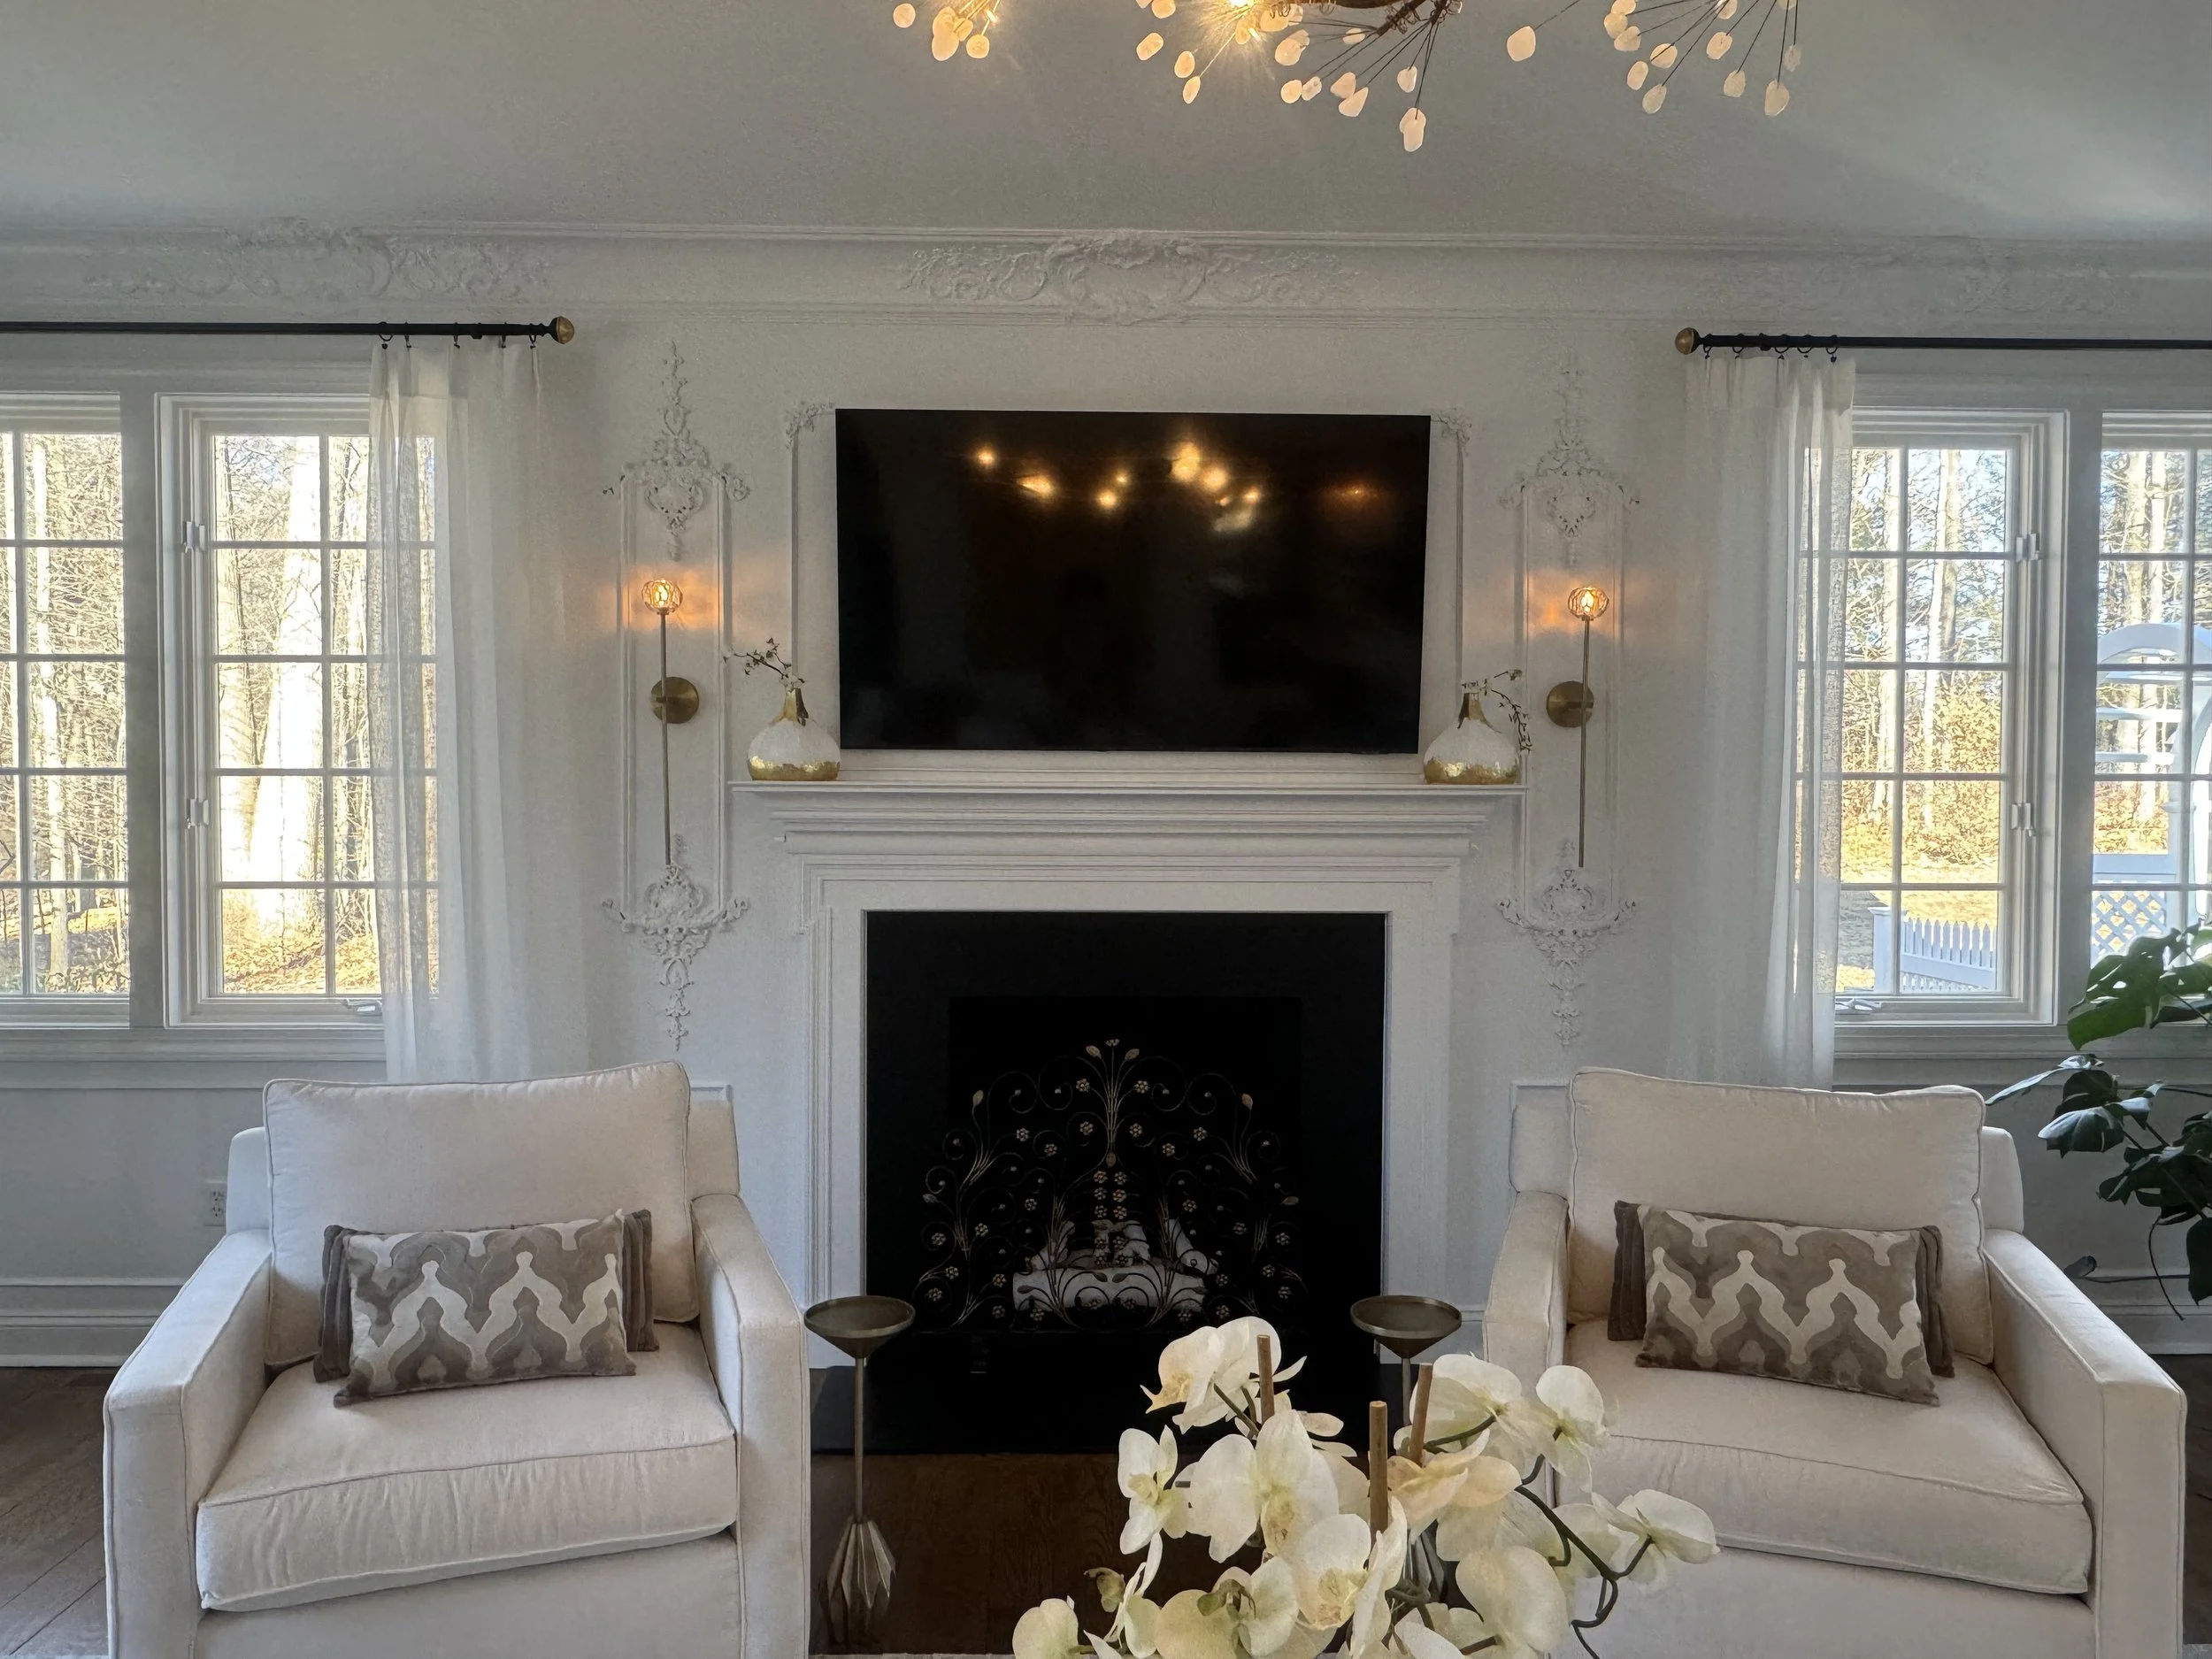
The Final Result
The finished vases turned out even better than I imagined! The combination of soft matte white and the irregular gold leaf detailing creates the perfect balance of modern elegance with a slightly organic, handmade feel. The gold catches the light beautifully, giving that rich, metallic pop that instantly elevates a space.
Whether you're looking to refresh an old decor piece or add a touch of affordable luxury to your home, this DIY is proof that a little creativity goes a long way. Gold leafing might seem intimidating at first, but once you get the hang of it, you’ll want to apply it to everything! If you’ve been eyeing high-end gold-accented decor, why not try making your own? Let me know in the comments—would you give this project a try?