Gold Leaf Ceramic Bowl + Cherry Blossom Centerpiece
Project Inspiration
Just like curating the perfect wardrobe—where you invest in timeless pieces and tailor them to fit your style,—home decor should be approached the same way! Finding the perfect decor piece isn’t always about discovering something that checks every box—it’s about seeing the potential and making it your own.
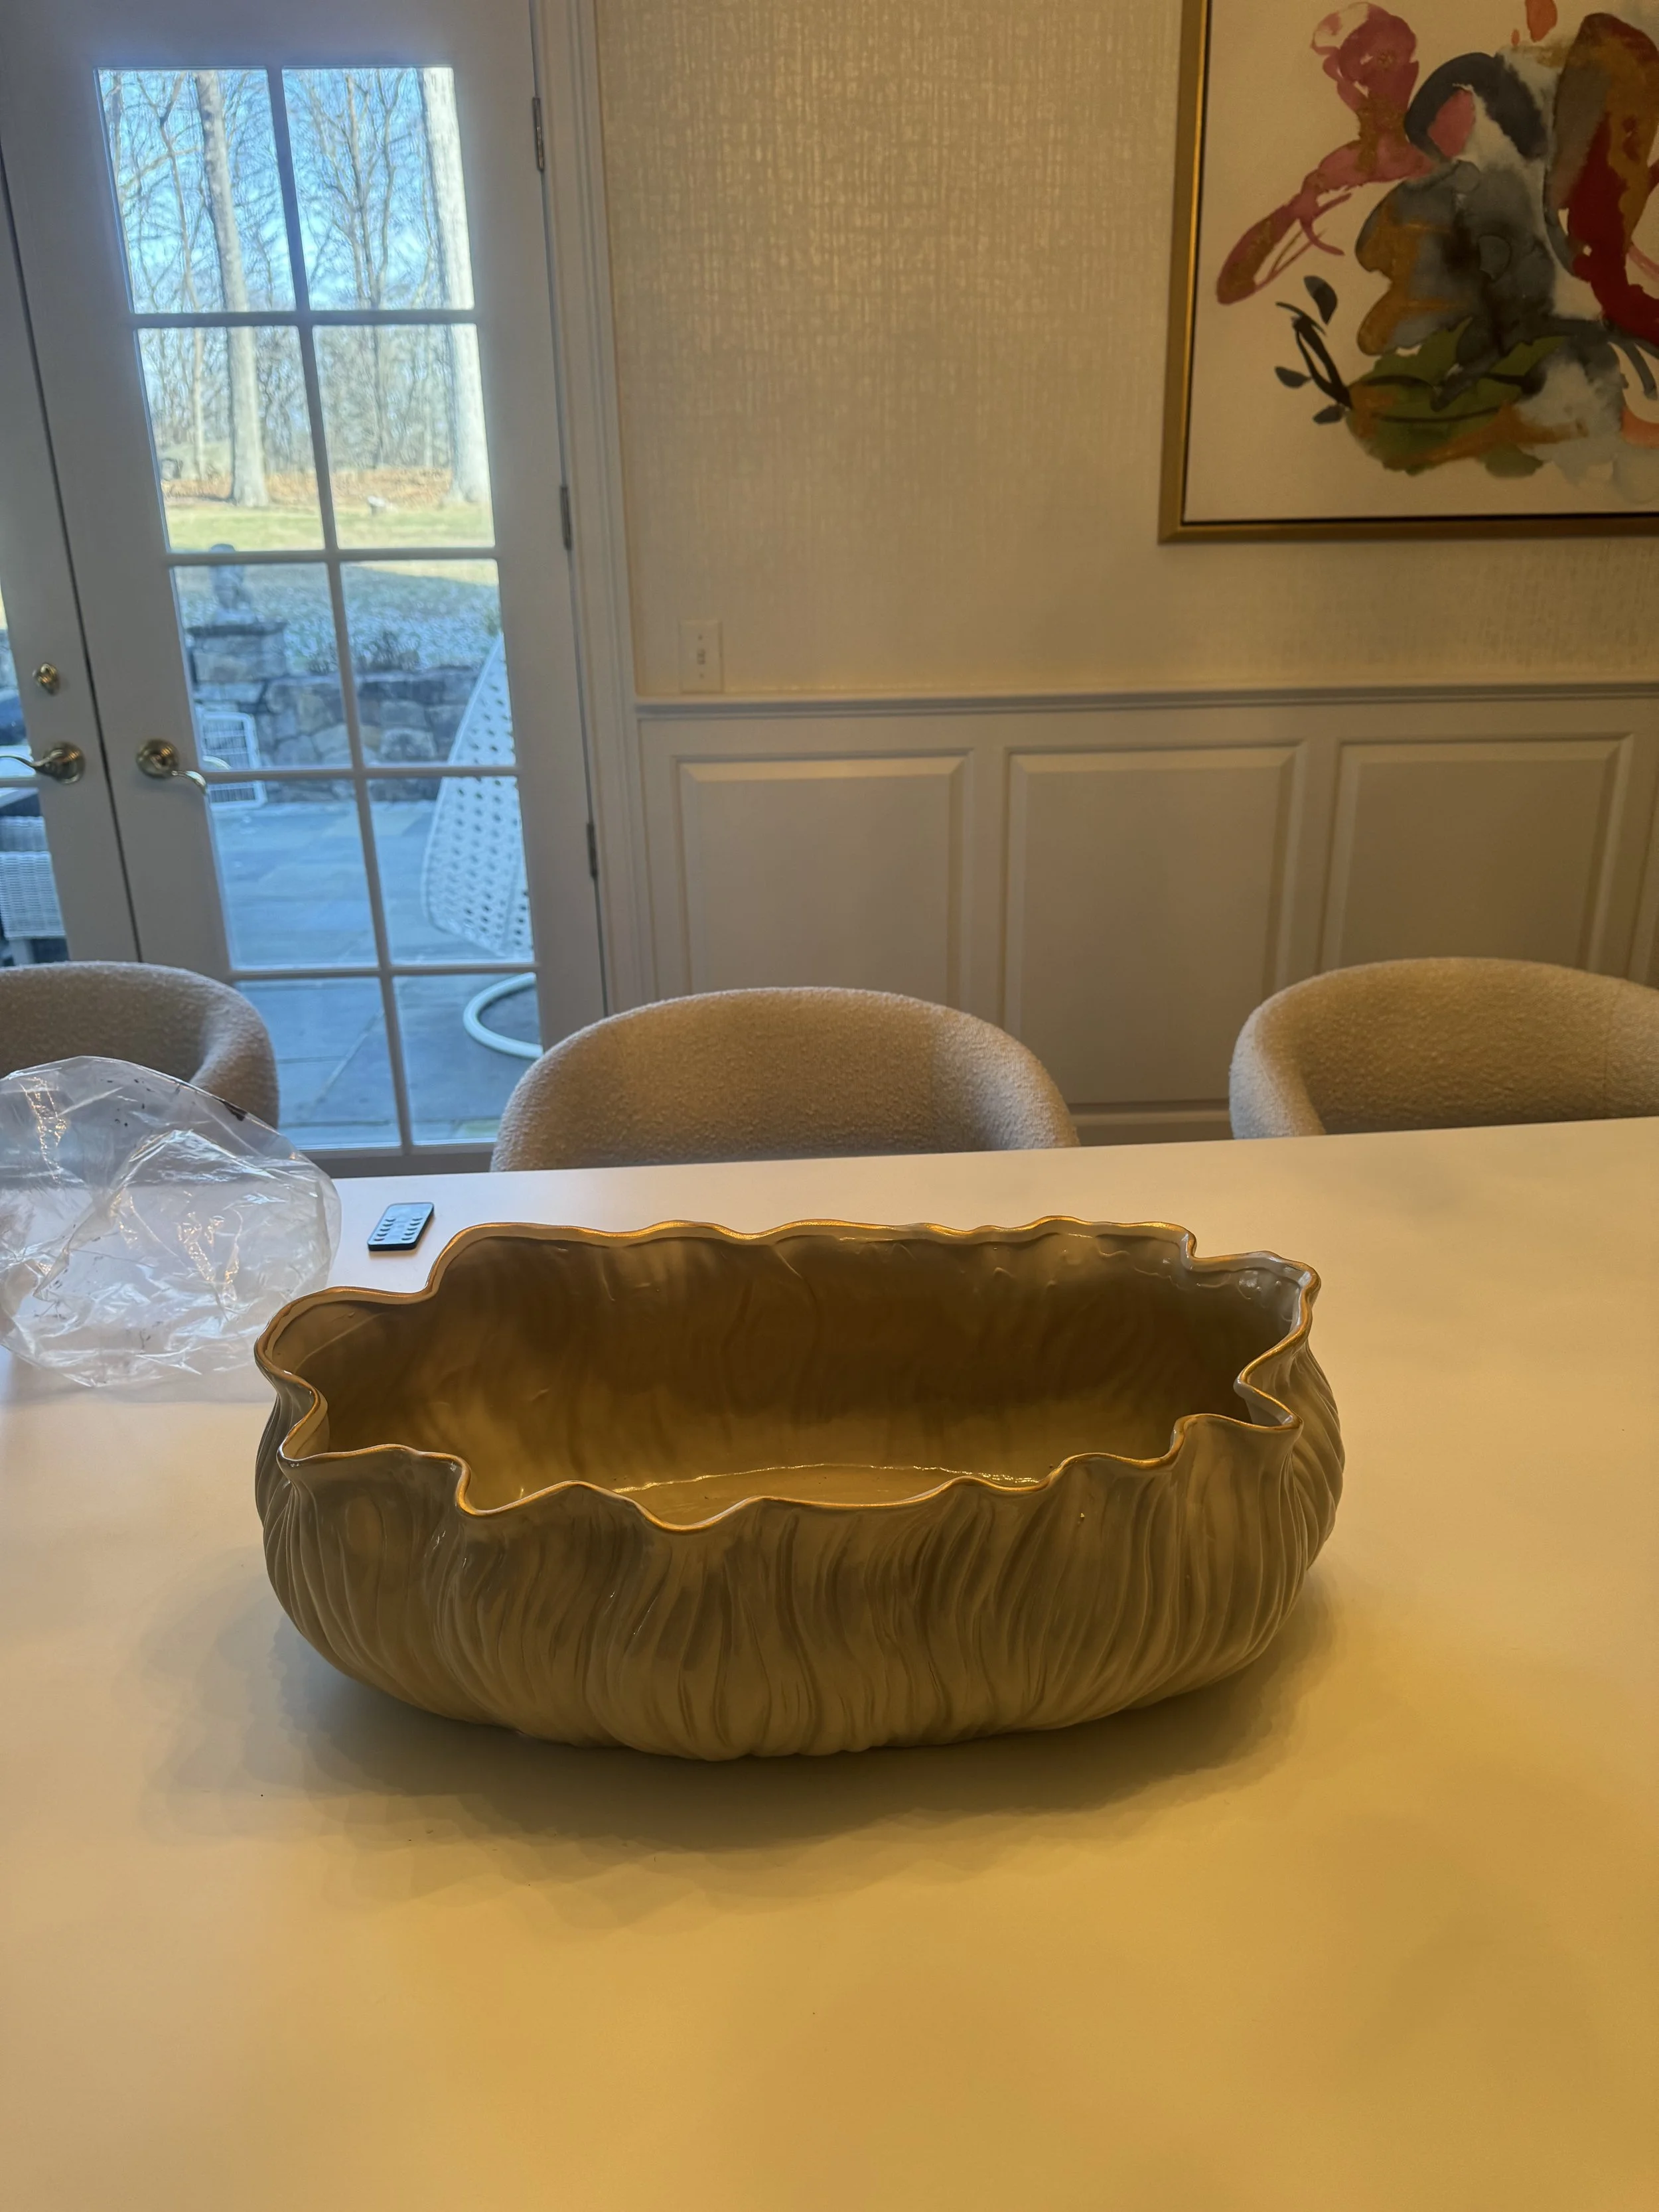
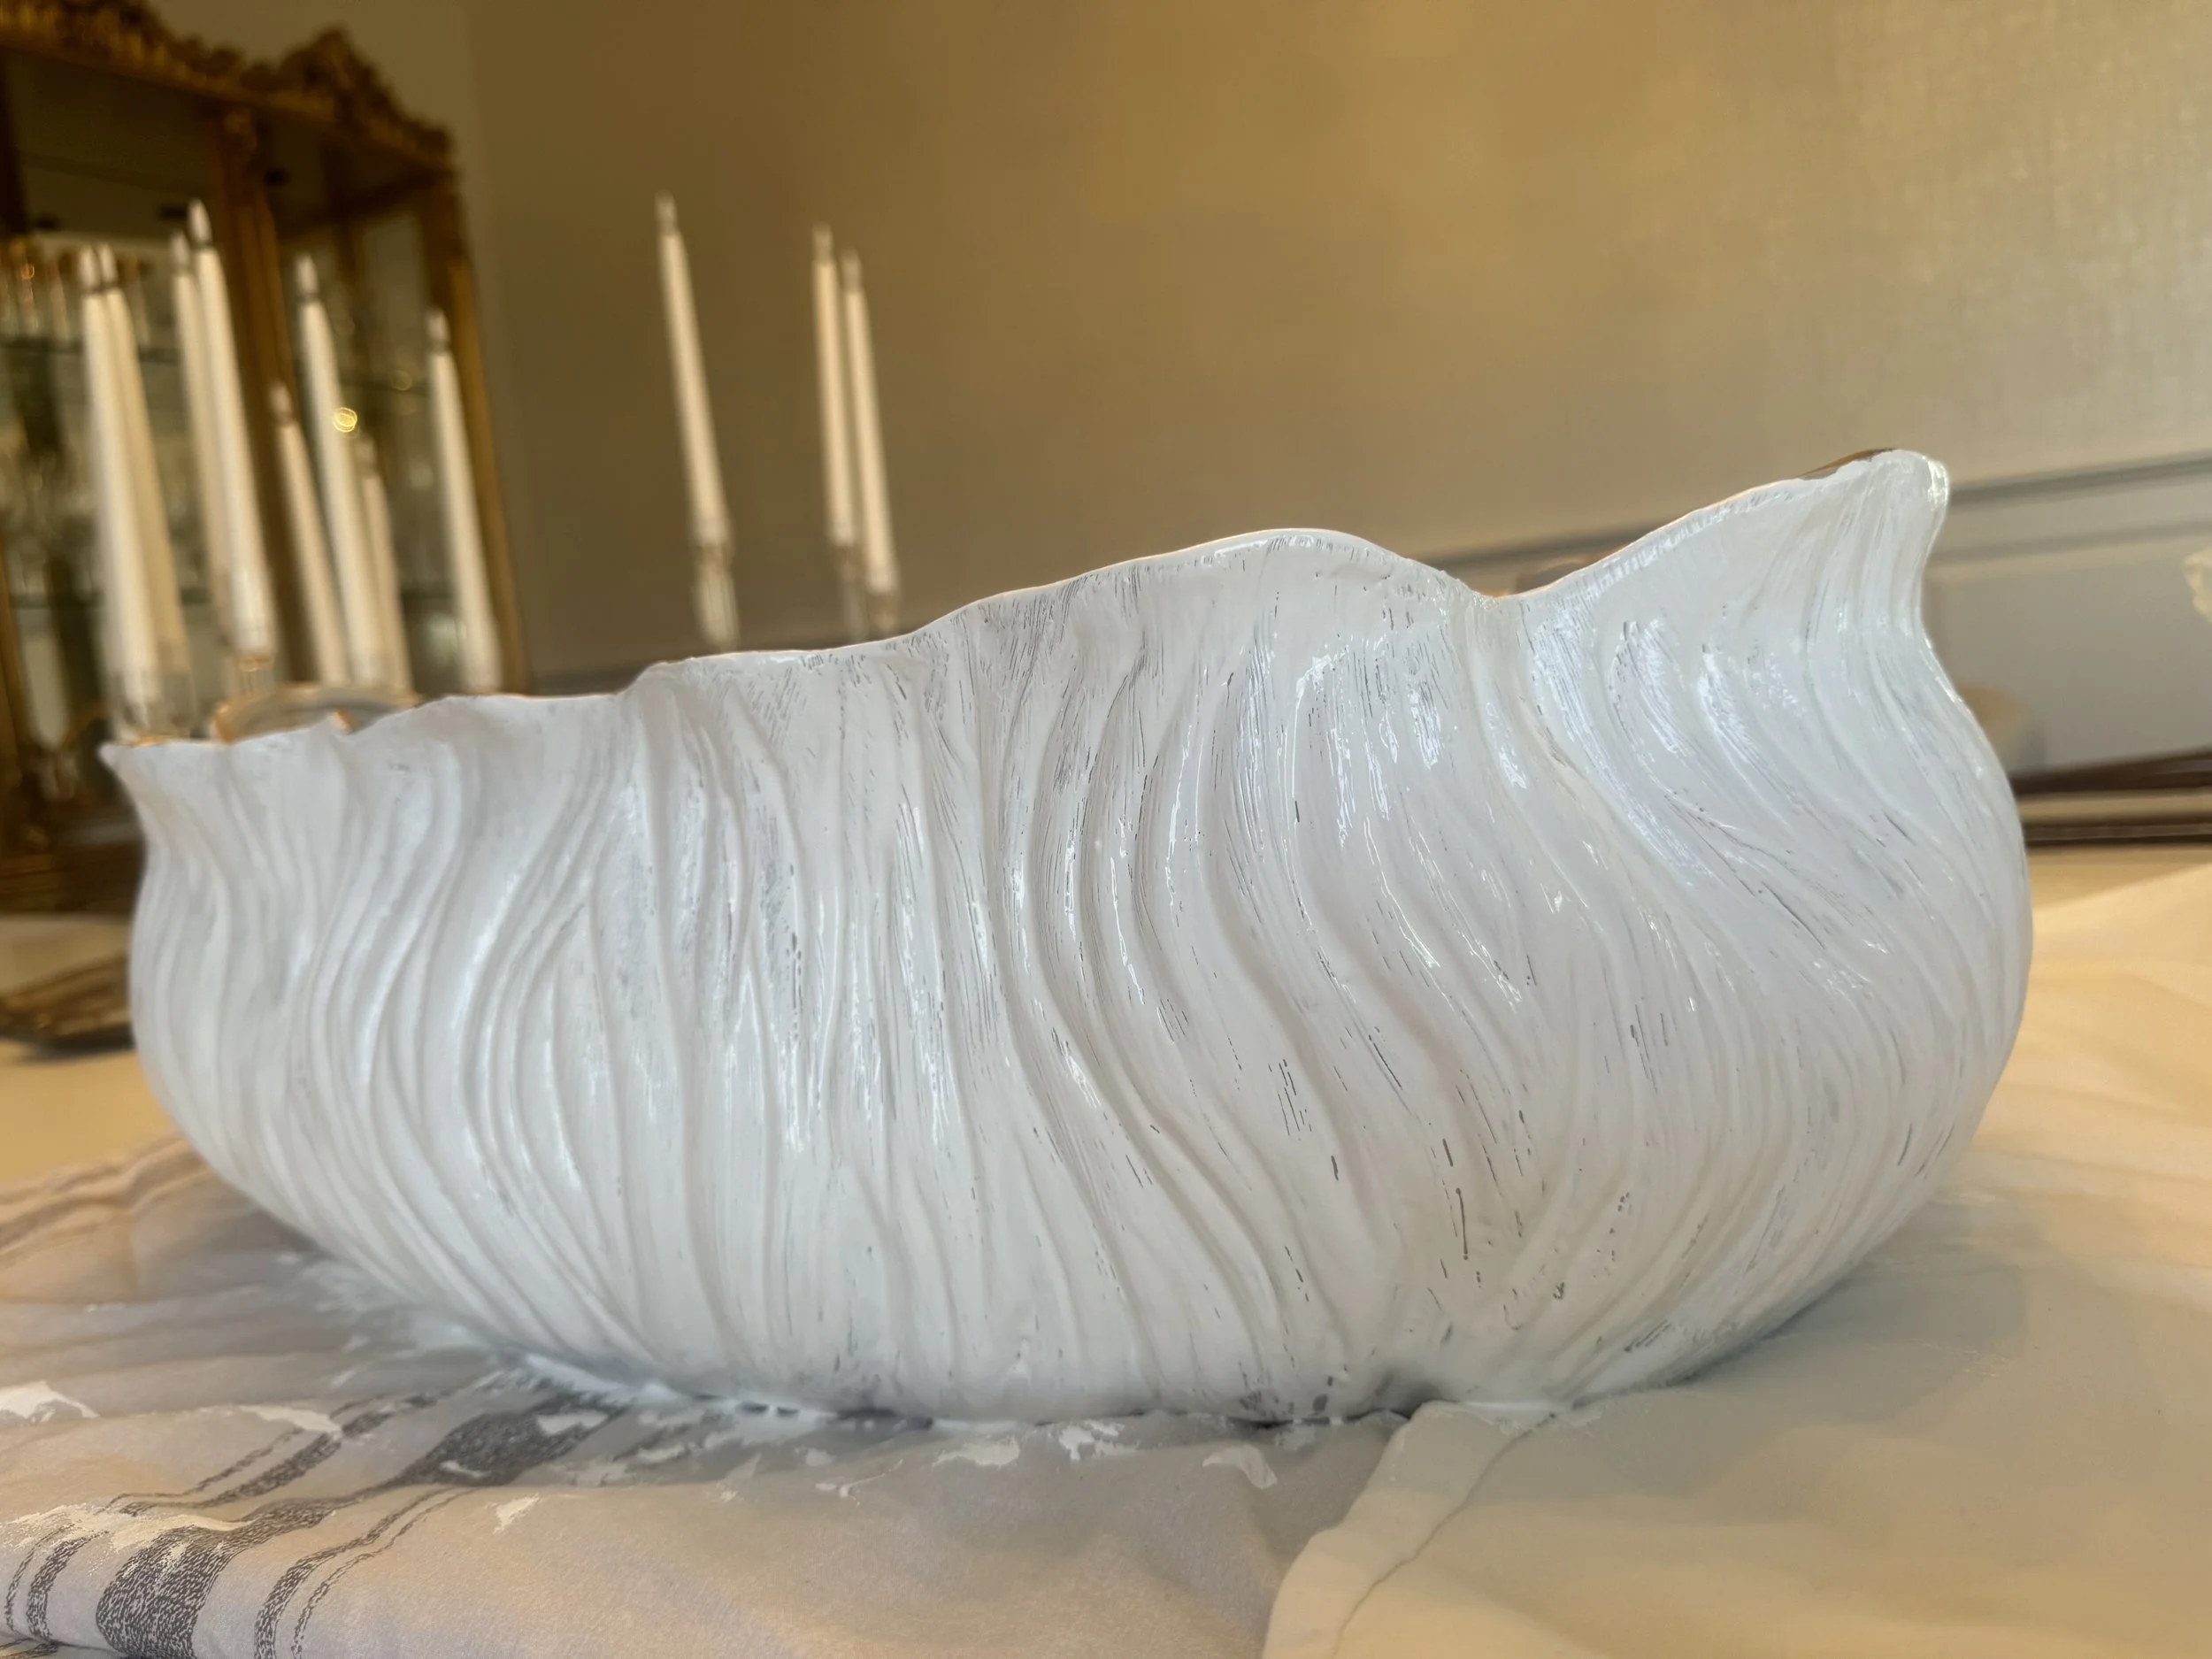
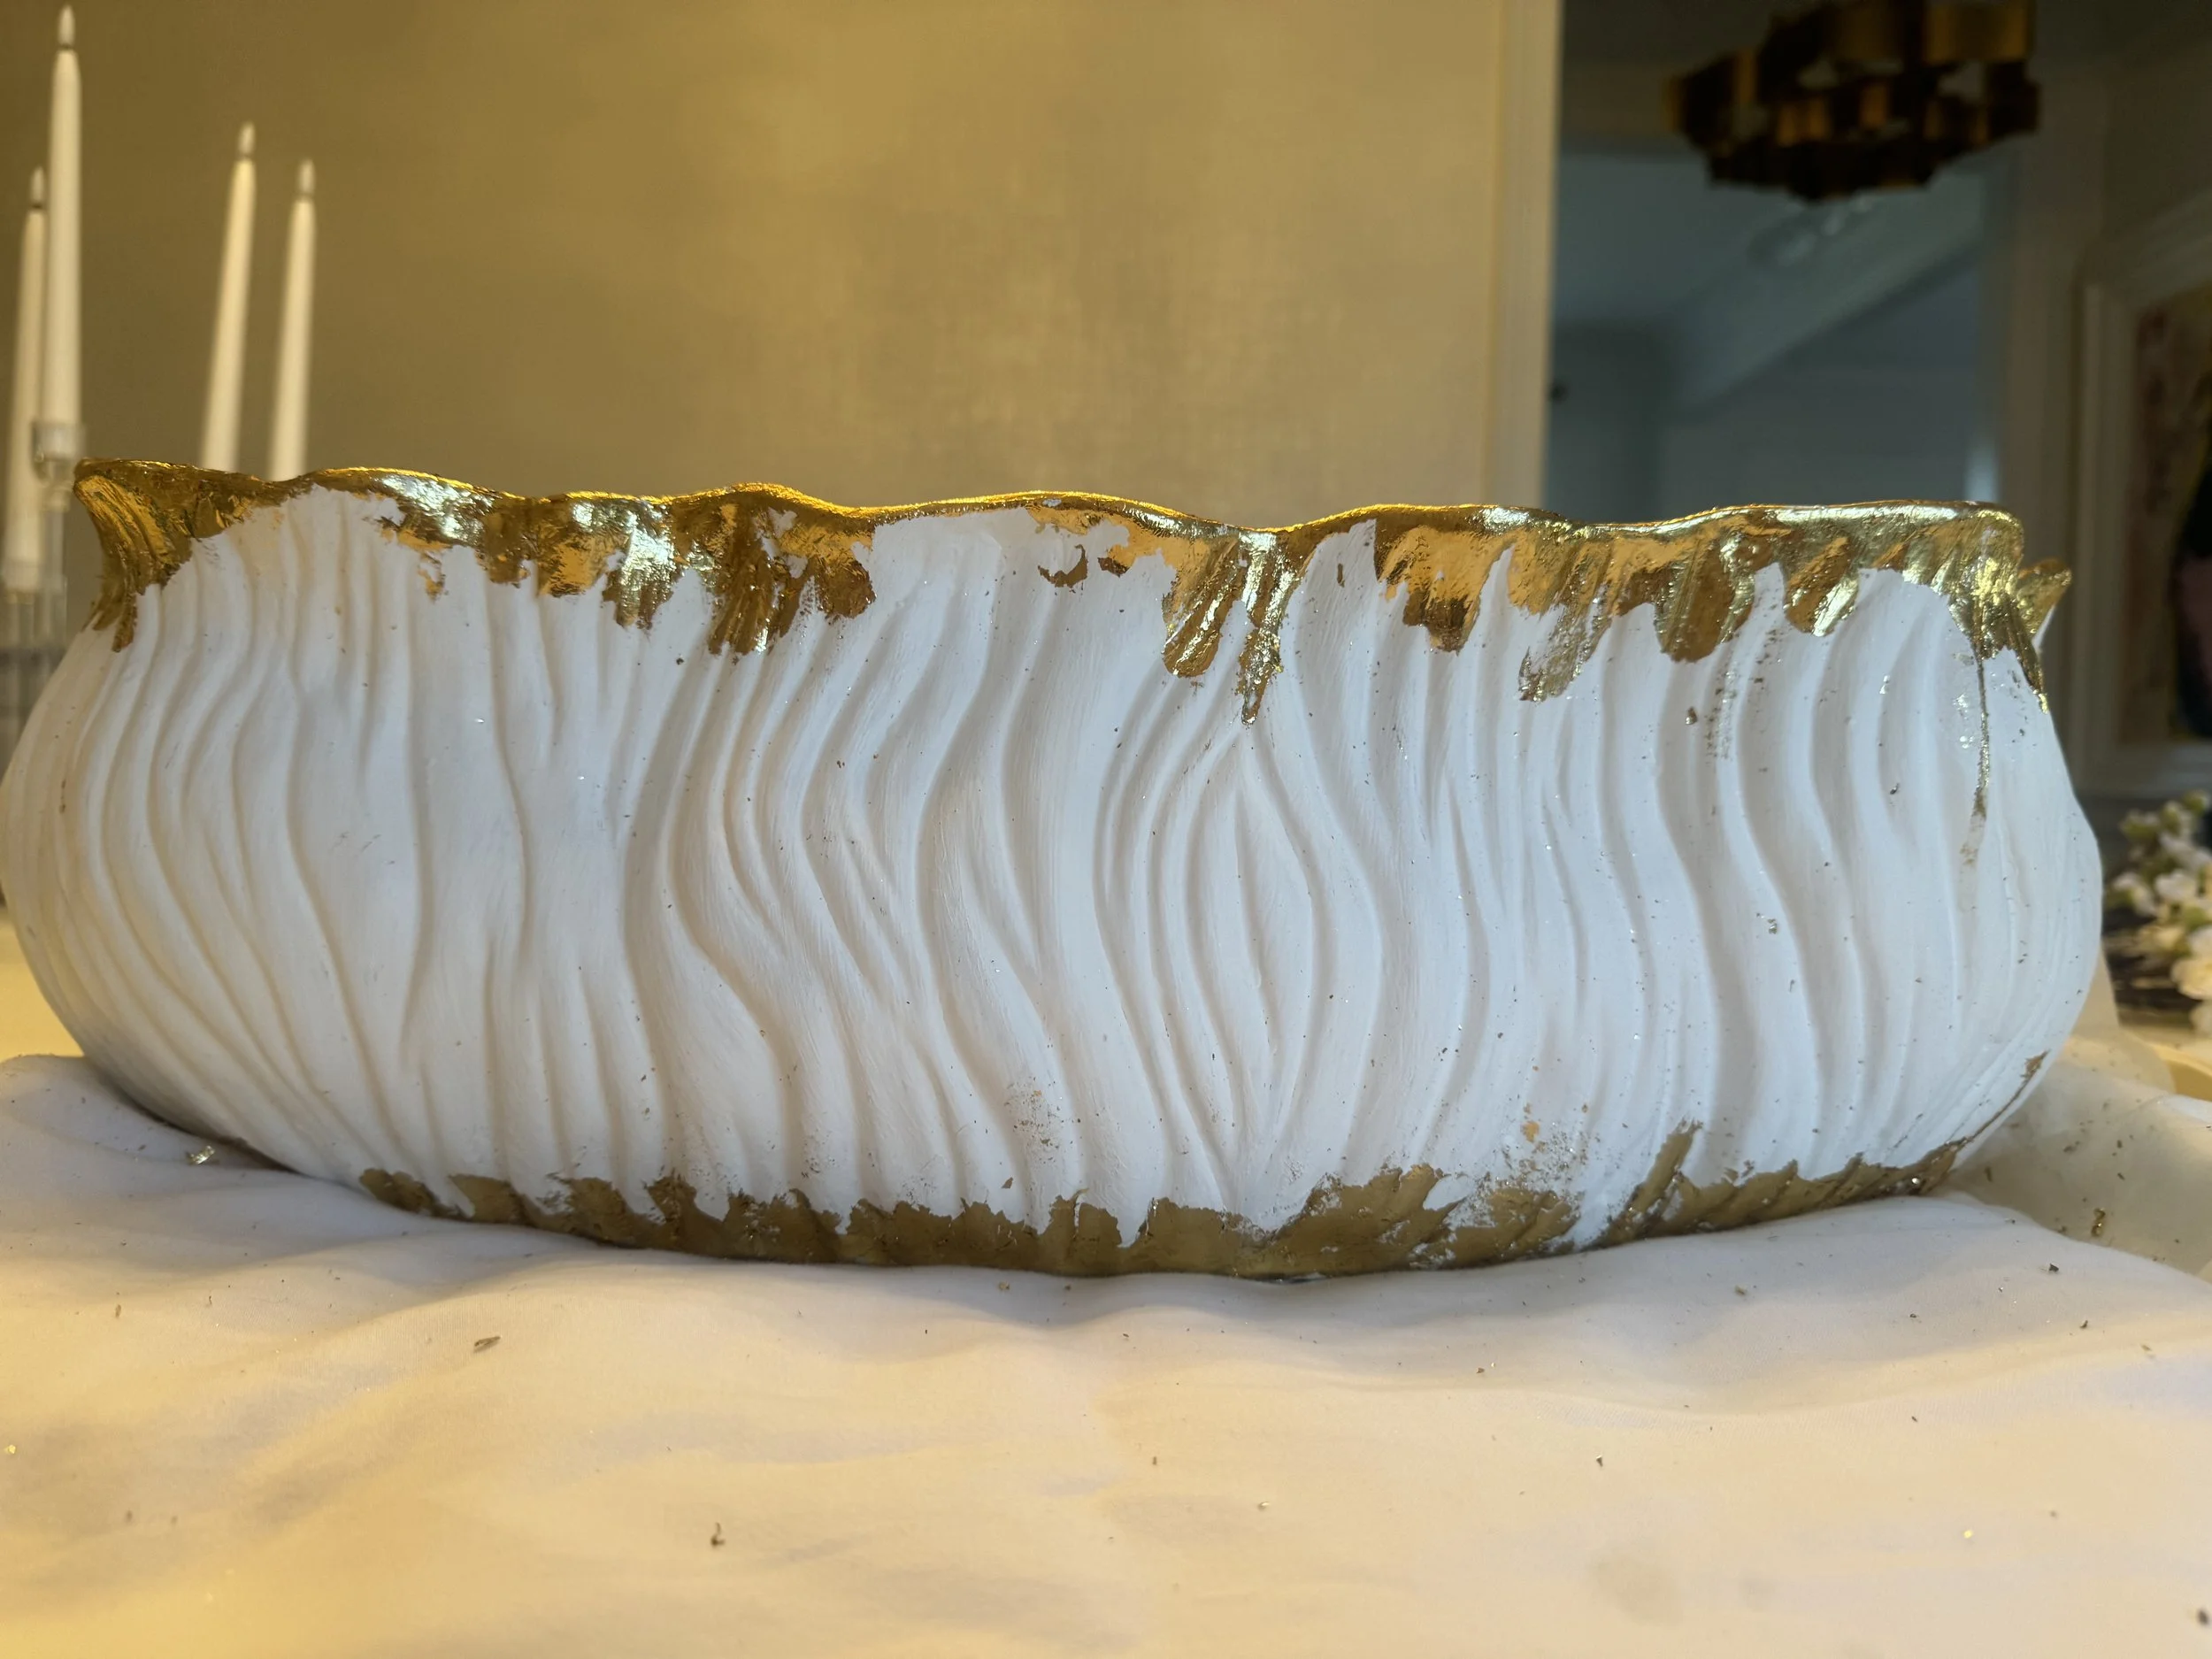
As we all know, HomeGoods is a great place. Sometimes you can find exactly what you’re looking for, but other times you might have to improvise! I was looking for a large scale bowl for my dining room table for a centerpiece I was planning to create. I bought this ceramic bowl because it was the right size and had a nice design, but I didn’t like the color soooo…I painted it white and added my signature splash of glam with gold leaf.
This project is proof that with a little creativity, the willingness to try, and the right supplies, you can turn a good find into a perfect fit for your space that YOU had a hand in creating—making it even more special.
Supplies List & Cost Breakdown
For this DIY project, I purchased:
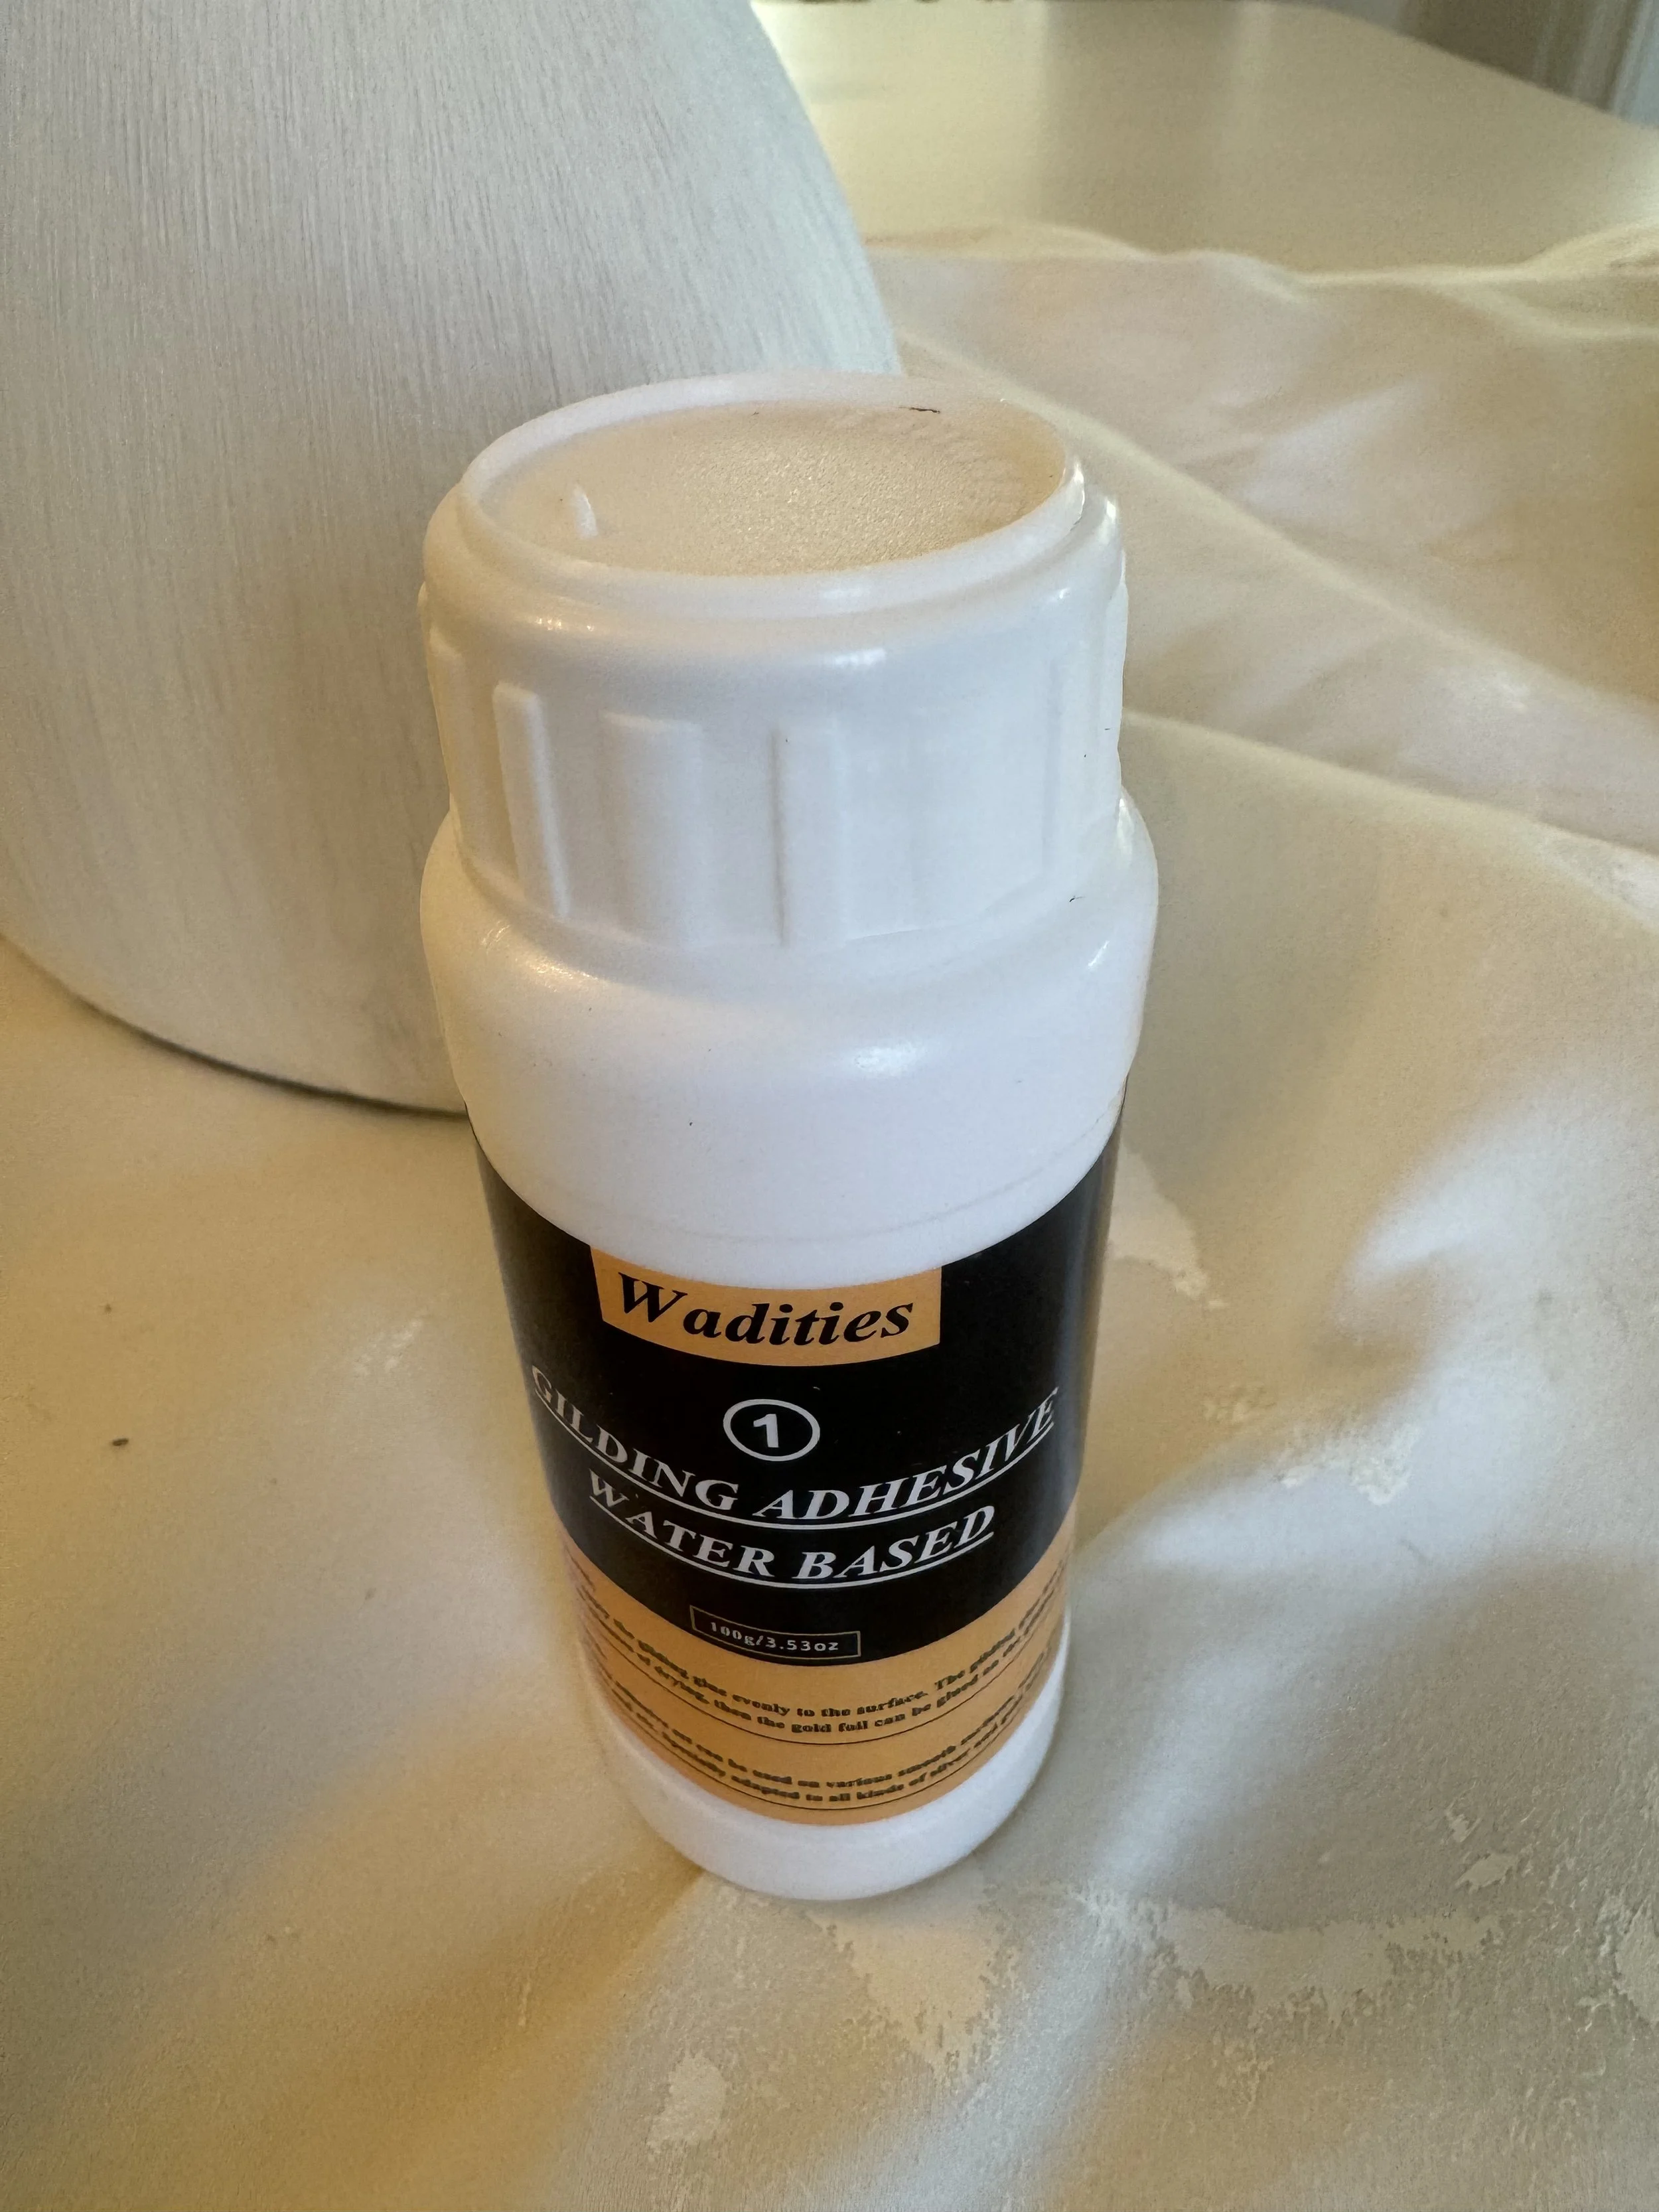
Gold leaf gilding adhesive kit from Amazon - $18.99 (This kit has everything you need! It contains the adhesive, the gold leaf pieces, brushes and the varnish.)
Ceramic bowl from HomeGoods - $49.99 (shop similar here)
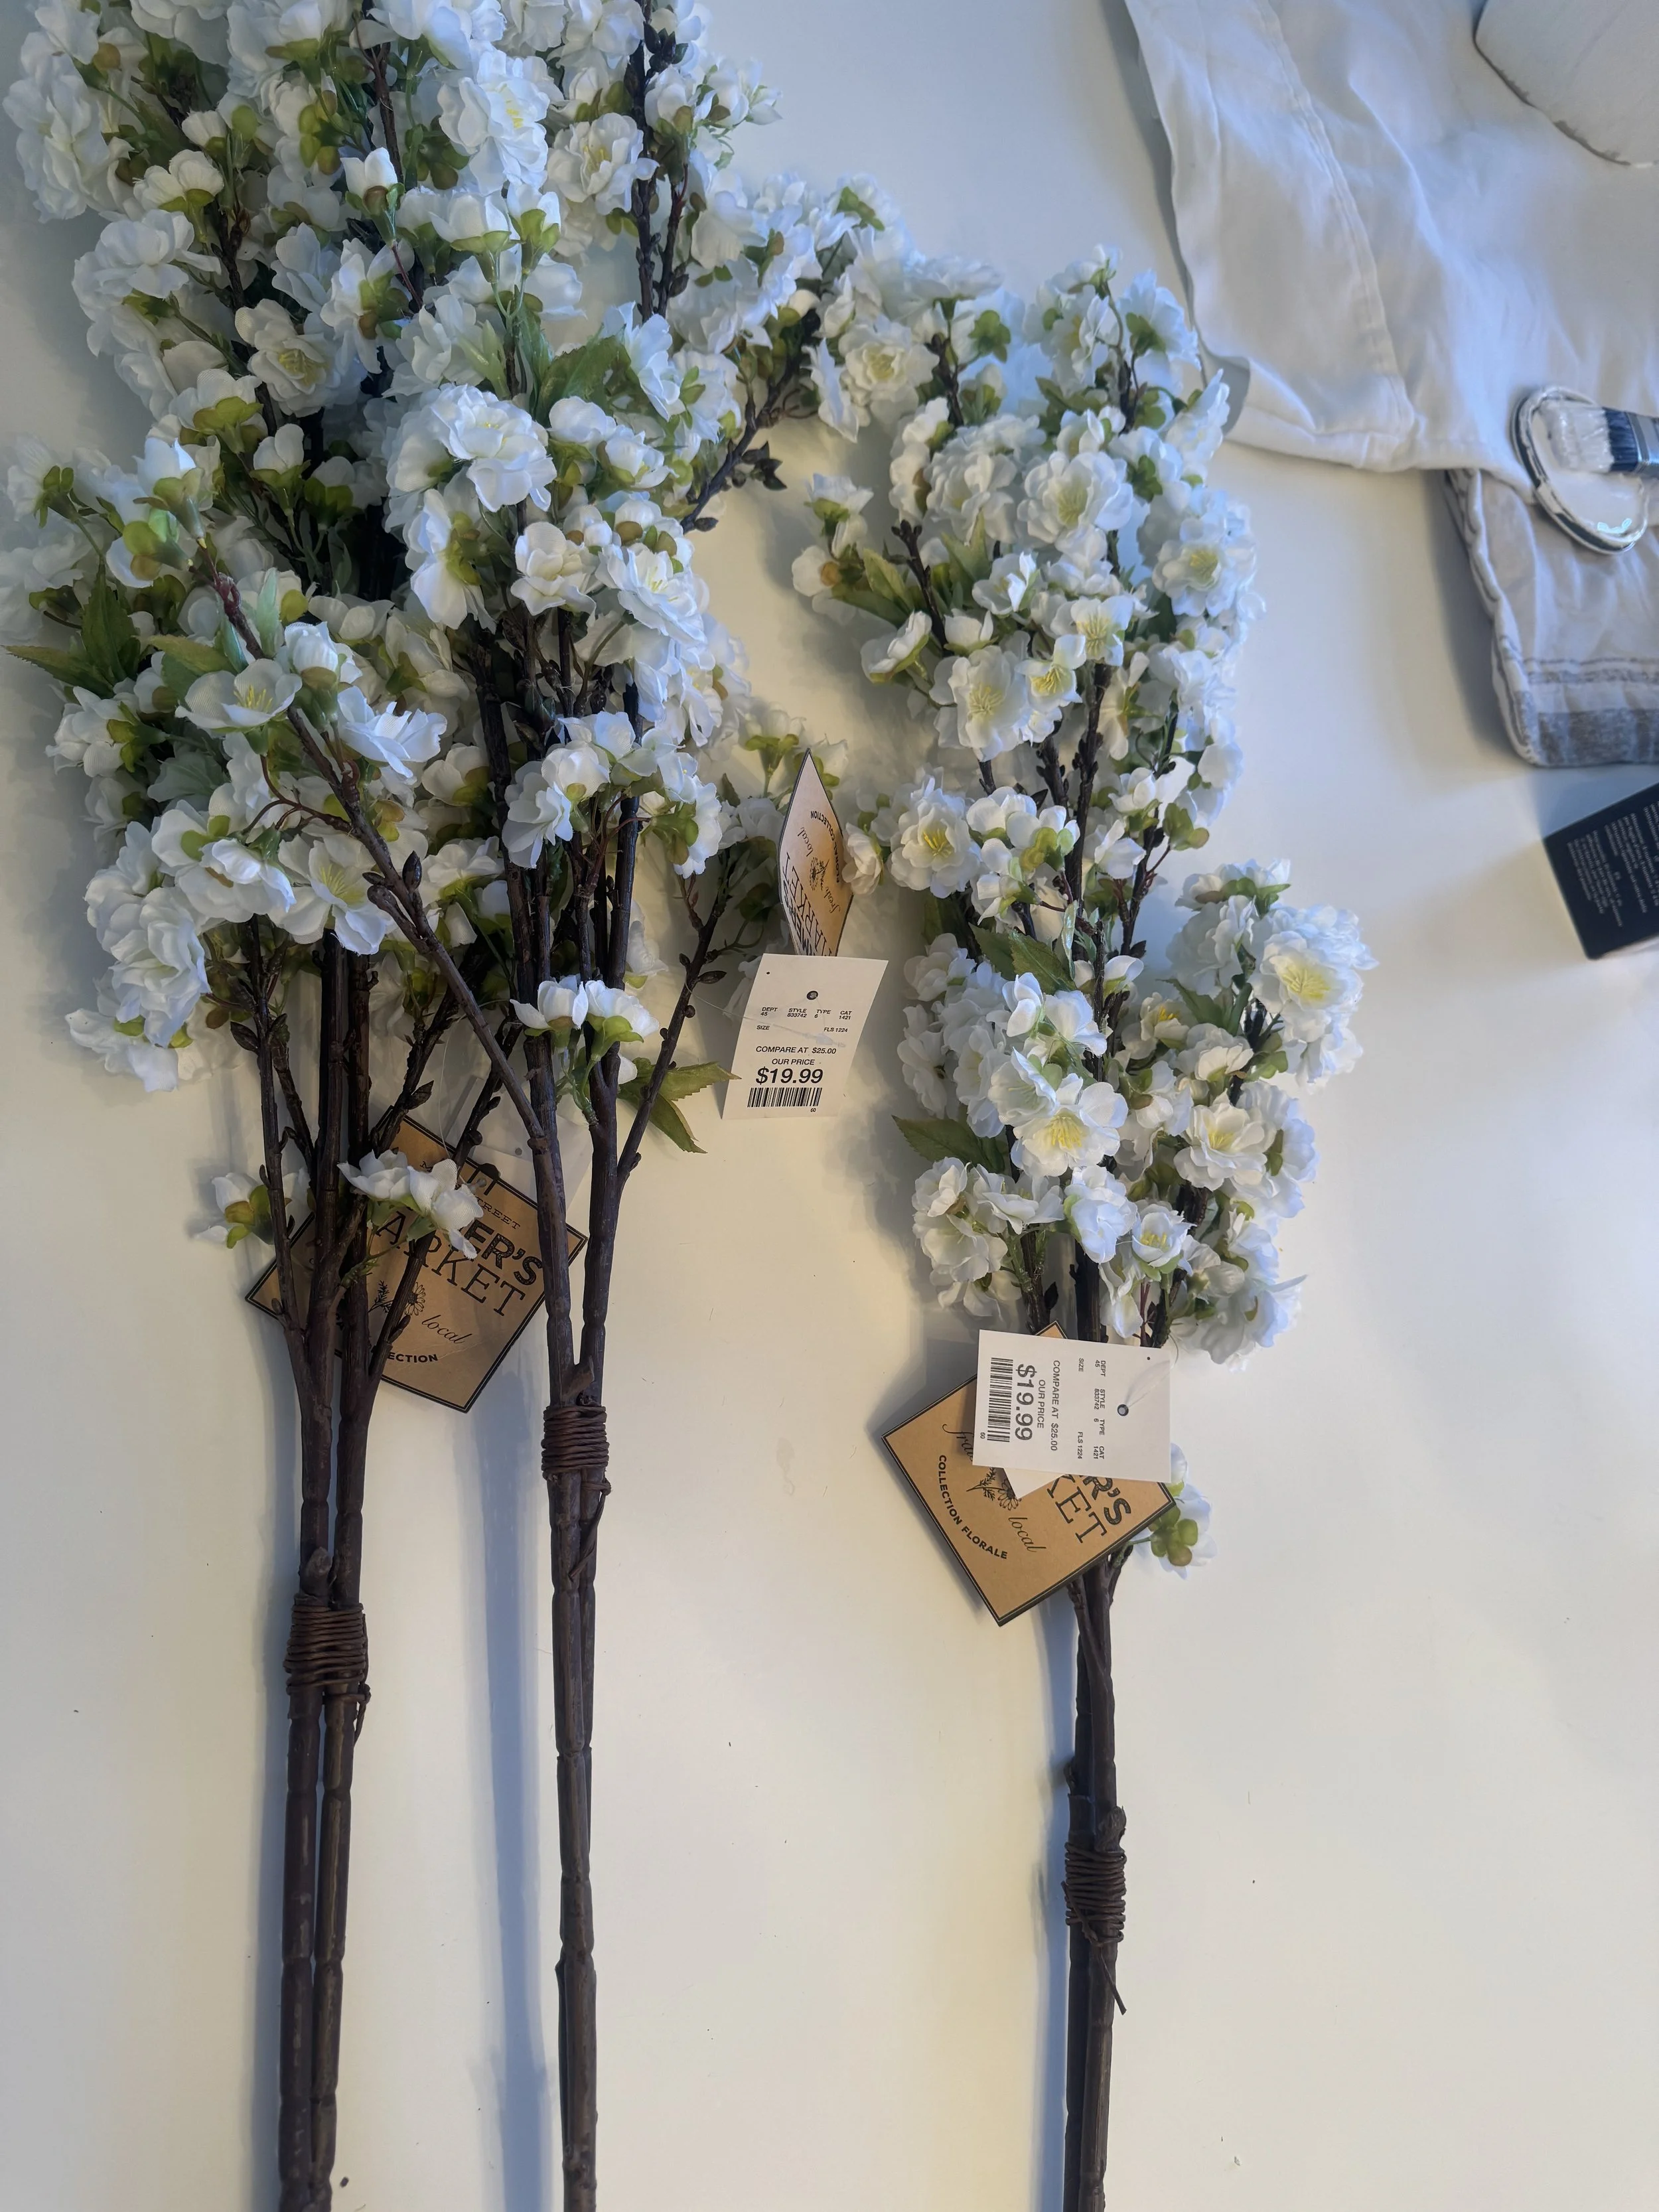
Faux cherry blossom stems from HomeGoods - $19.99/per stem, so $57.97 (shop similar here)
Faux moss bundle from HomeGoods - $14.99 (shop similar here)
Total Supplies Cost = $141.94
Also, I used a few items I already had:
Matte white paint - I always have a can in the garage for my various DIY projects
Paint brush - any typical paintbrush will do!
20 flameless tall taper candlesticks - $26.99/6-pack (These go on sale often - that’s when I snagged a bunch a few years back! I use these over and over in my home decor, so they’re well worth the investment)
20 glass taper candlestick holders - $23.99/4-pack (These are so stunning and versatile. I just used them in my Christmas centerpiece, and now they’re perfect for this neutral one in between seasons.)
Clear packing tape - I always have a few rolls of this around since it’s so useful and versatile
The Secret
The secret to this luxe-looking DIY? Gold leaf! While it might seem intimidating or messy at first, applying gold leaf is surprisingly simple when you follow the right steps. It’s an easy way to take an ordinary decor item and transform it into something that looks high-end and custom. Whether you're breathing new life into an old decor piece you already have or elevating a budget-friendly find from a home store, gold leaf adds that gorgeous, gilded touch that instantly elevates your decor from basic to beautiful.
A key tip is to embrace the imperfections—gold leafing doesn’t have to be perfectly smooth to look stunning. In fact, a slightly distressed or organic finish can give your piece that designer-inspired, artisanal charm. With a little patience and the right adhesive, you'll achieve a shimmering, luxe effect that looks straight out of a high-end boutique.
Step-By-Step Instructions
Prepare your work space because painting and gold leafing gets messy!! Clear off a table and put down a drop cloth or tape down some newspapers to work on top of. Wipe down and dry the ceramic vase.
Using a paint brush, paint the ceramic vase with the white matte paint. You may need to apply several coats to achieve an even, opaque white look, so follow the bottle’s instructions for drying time.
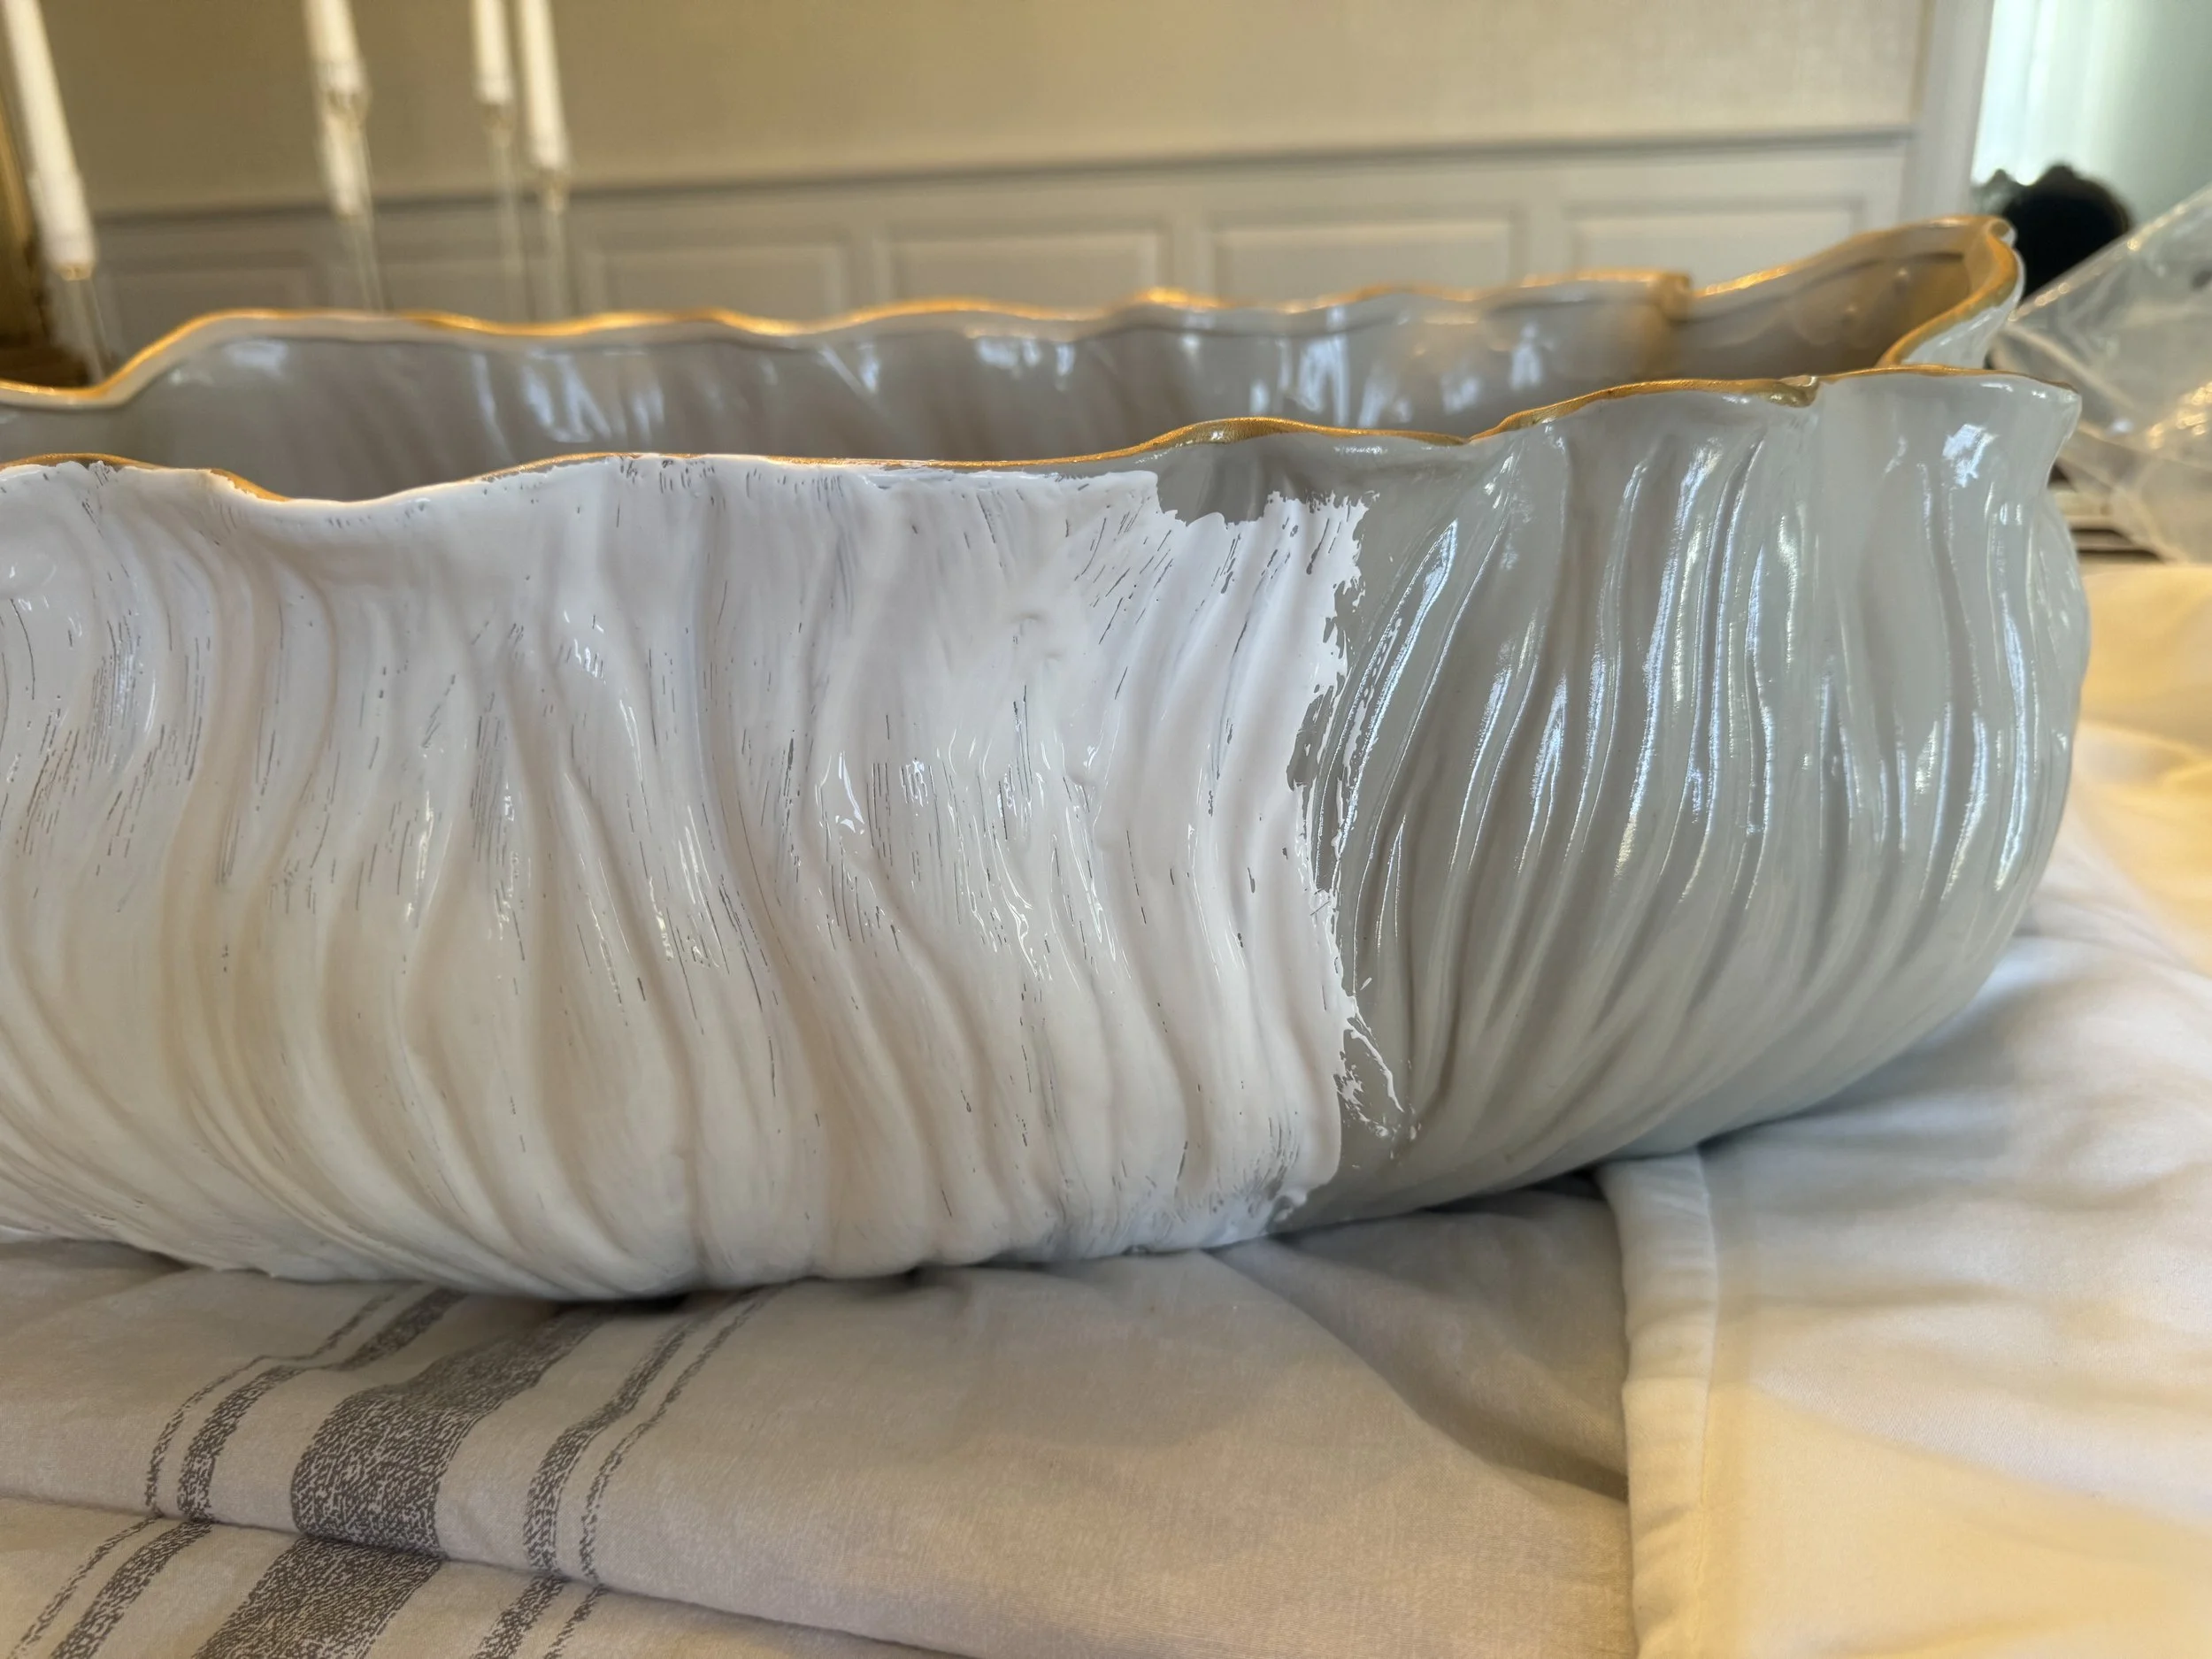
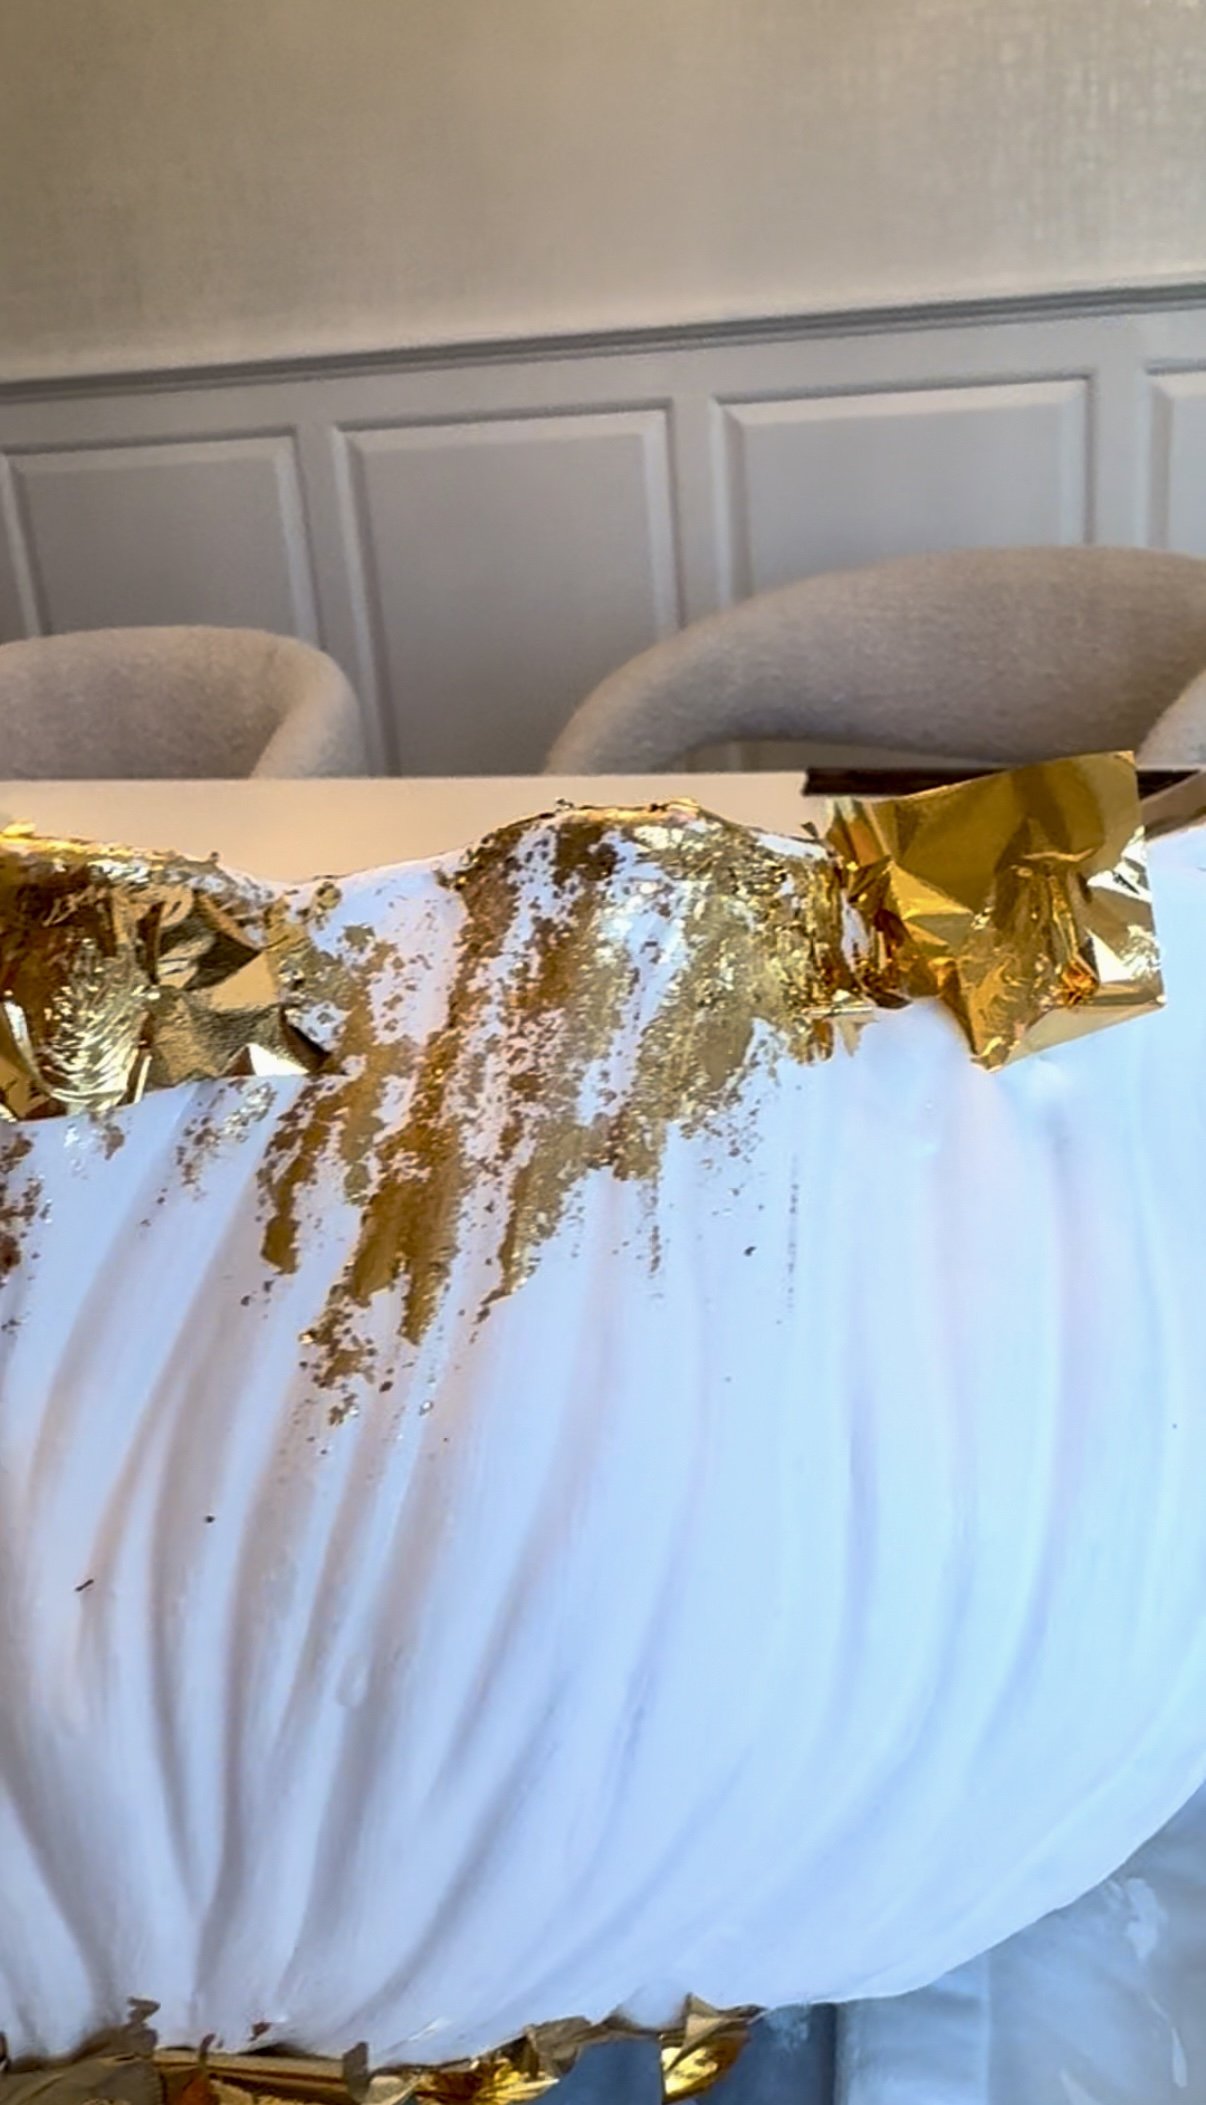
3. Once fully painted and dry, decide where you want to apply the gold leaf. For this project, I had my mind set on just gold leafing top edge in a distressed and almost glittery pattern. Apply the adhesive using the paint brush the kit gives you to the areas you want, and then wait a couple of minutes (up to 30 minutes depending on which kit you buy) so the adhesive gets sticky.
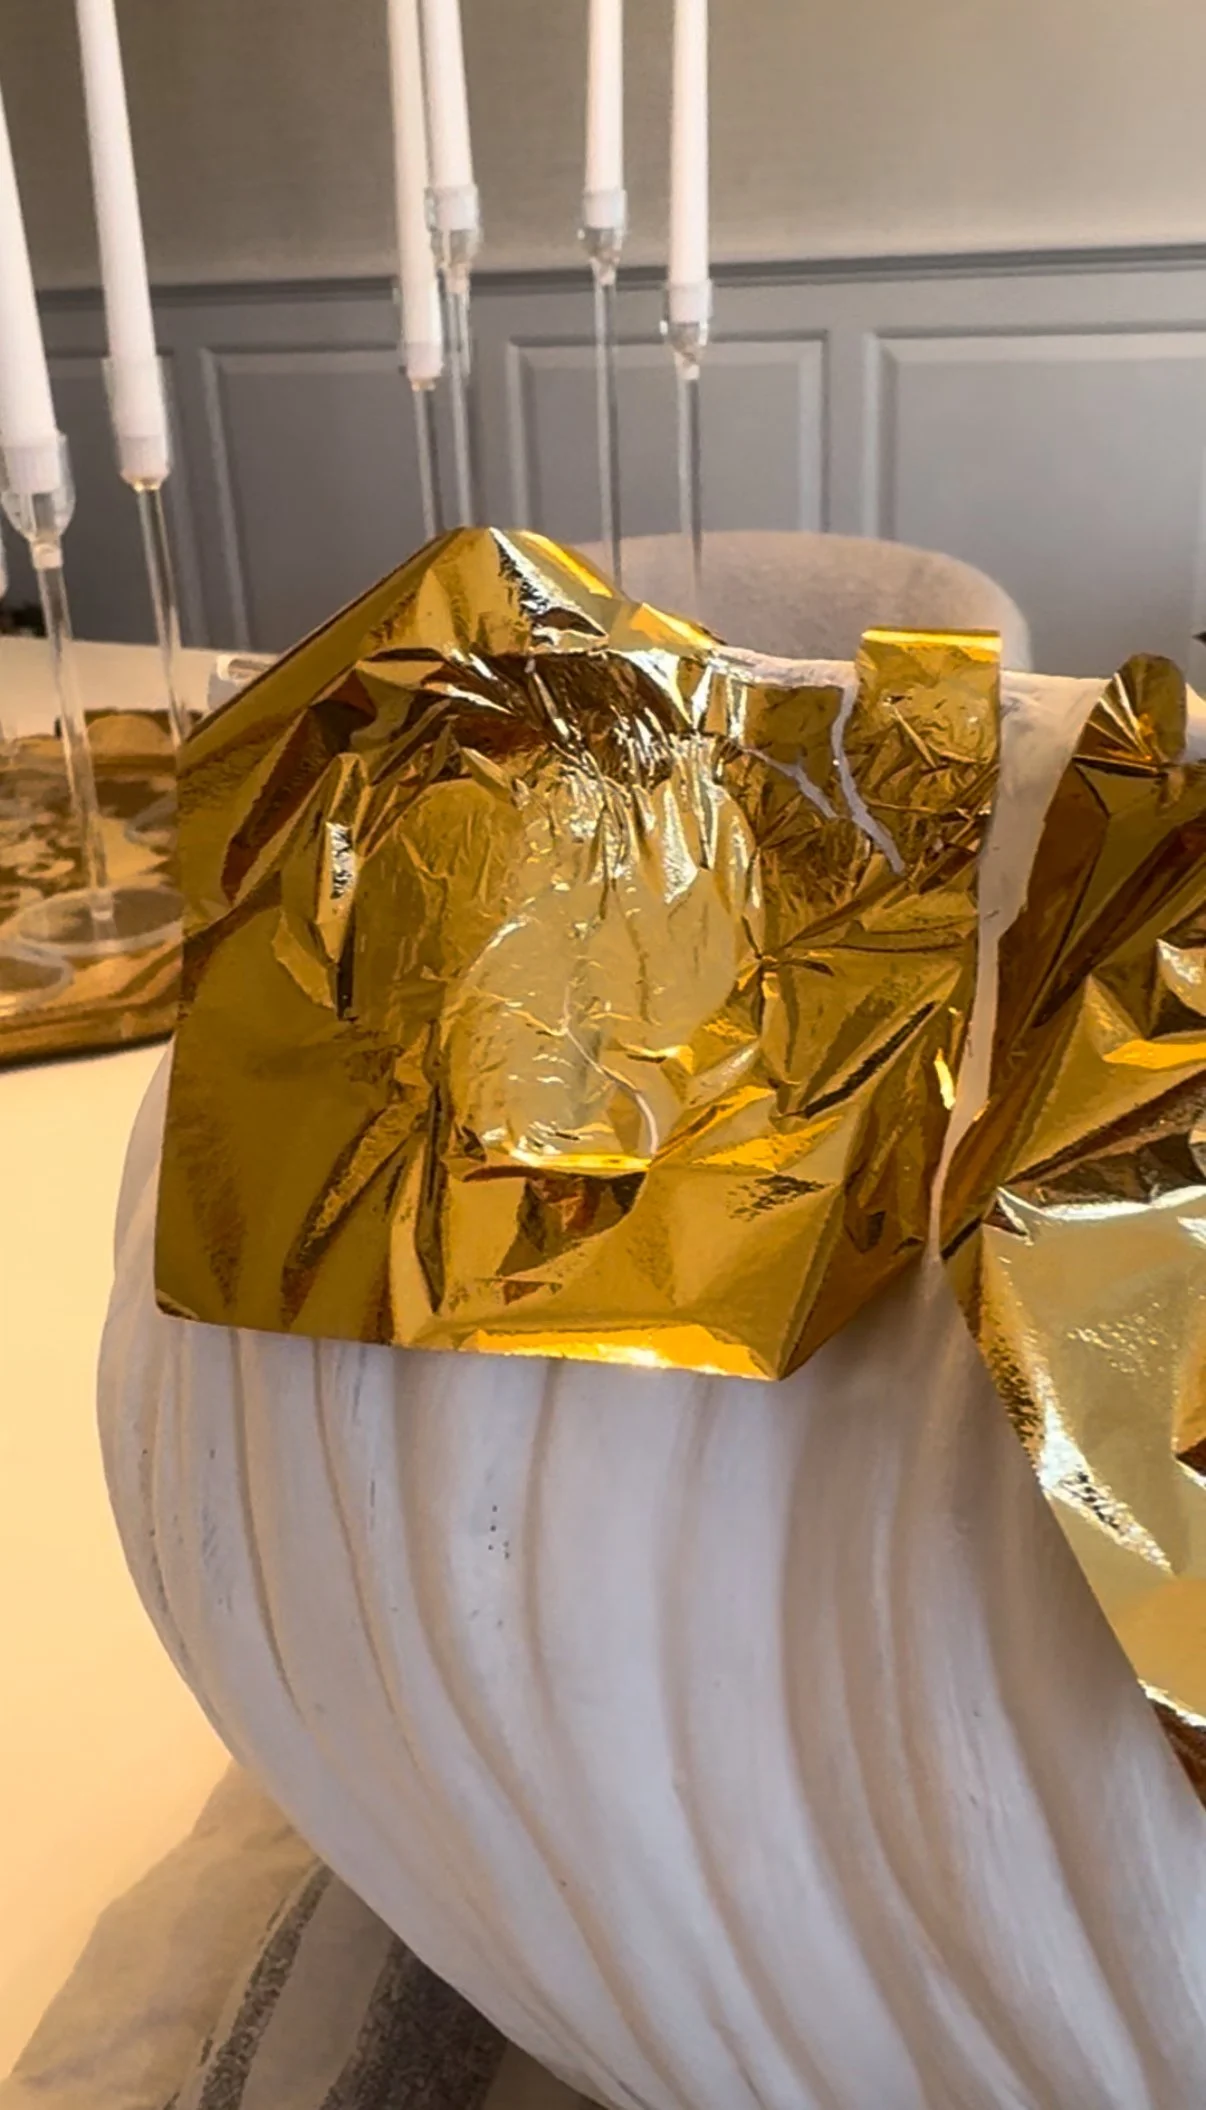
4. Once the adhesive is sticky, start applying the gold leaf sheets (according to the kit’s instructions) sheet by sheet until your entire desired area is covered.
5. Wait another couple of minutes and then start gently brushing the gold leaf with a dry paint brush. The parts attached to the adhesive will stick right to the bowl, and the rest will flake off (which is why this DIY can get messy!).
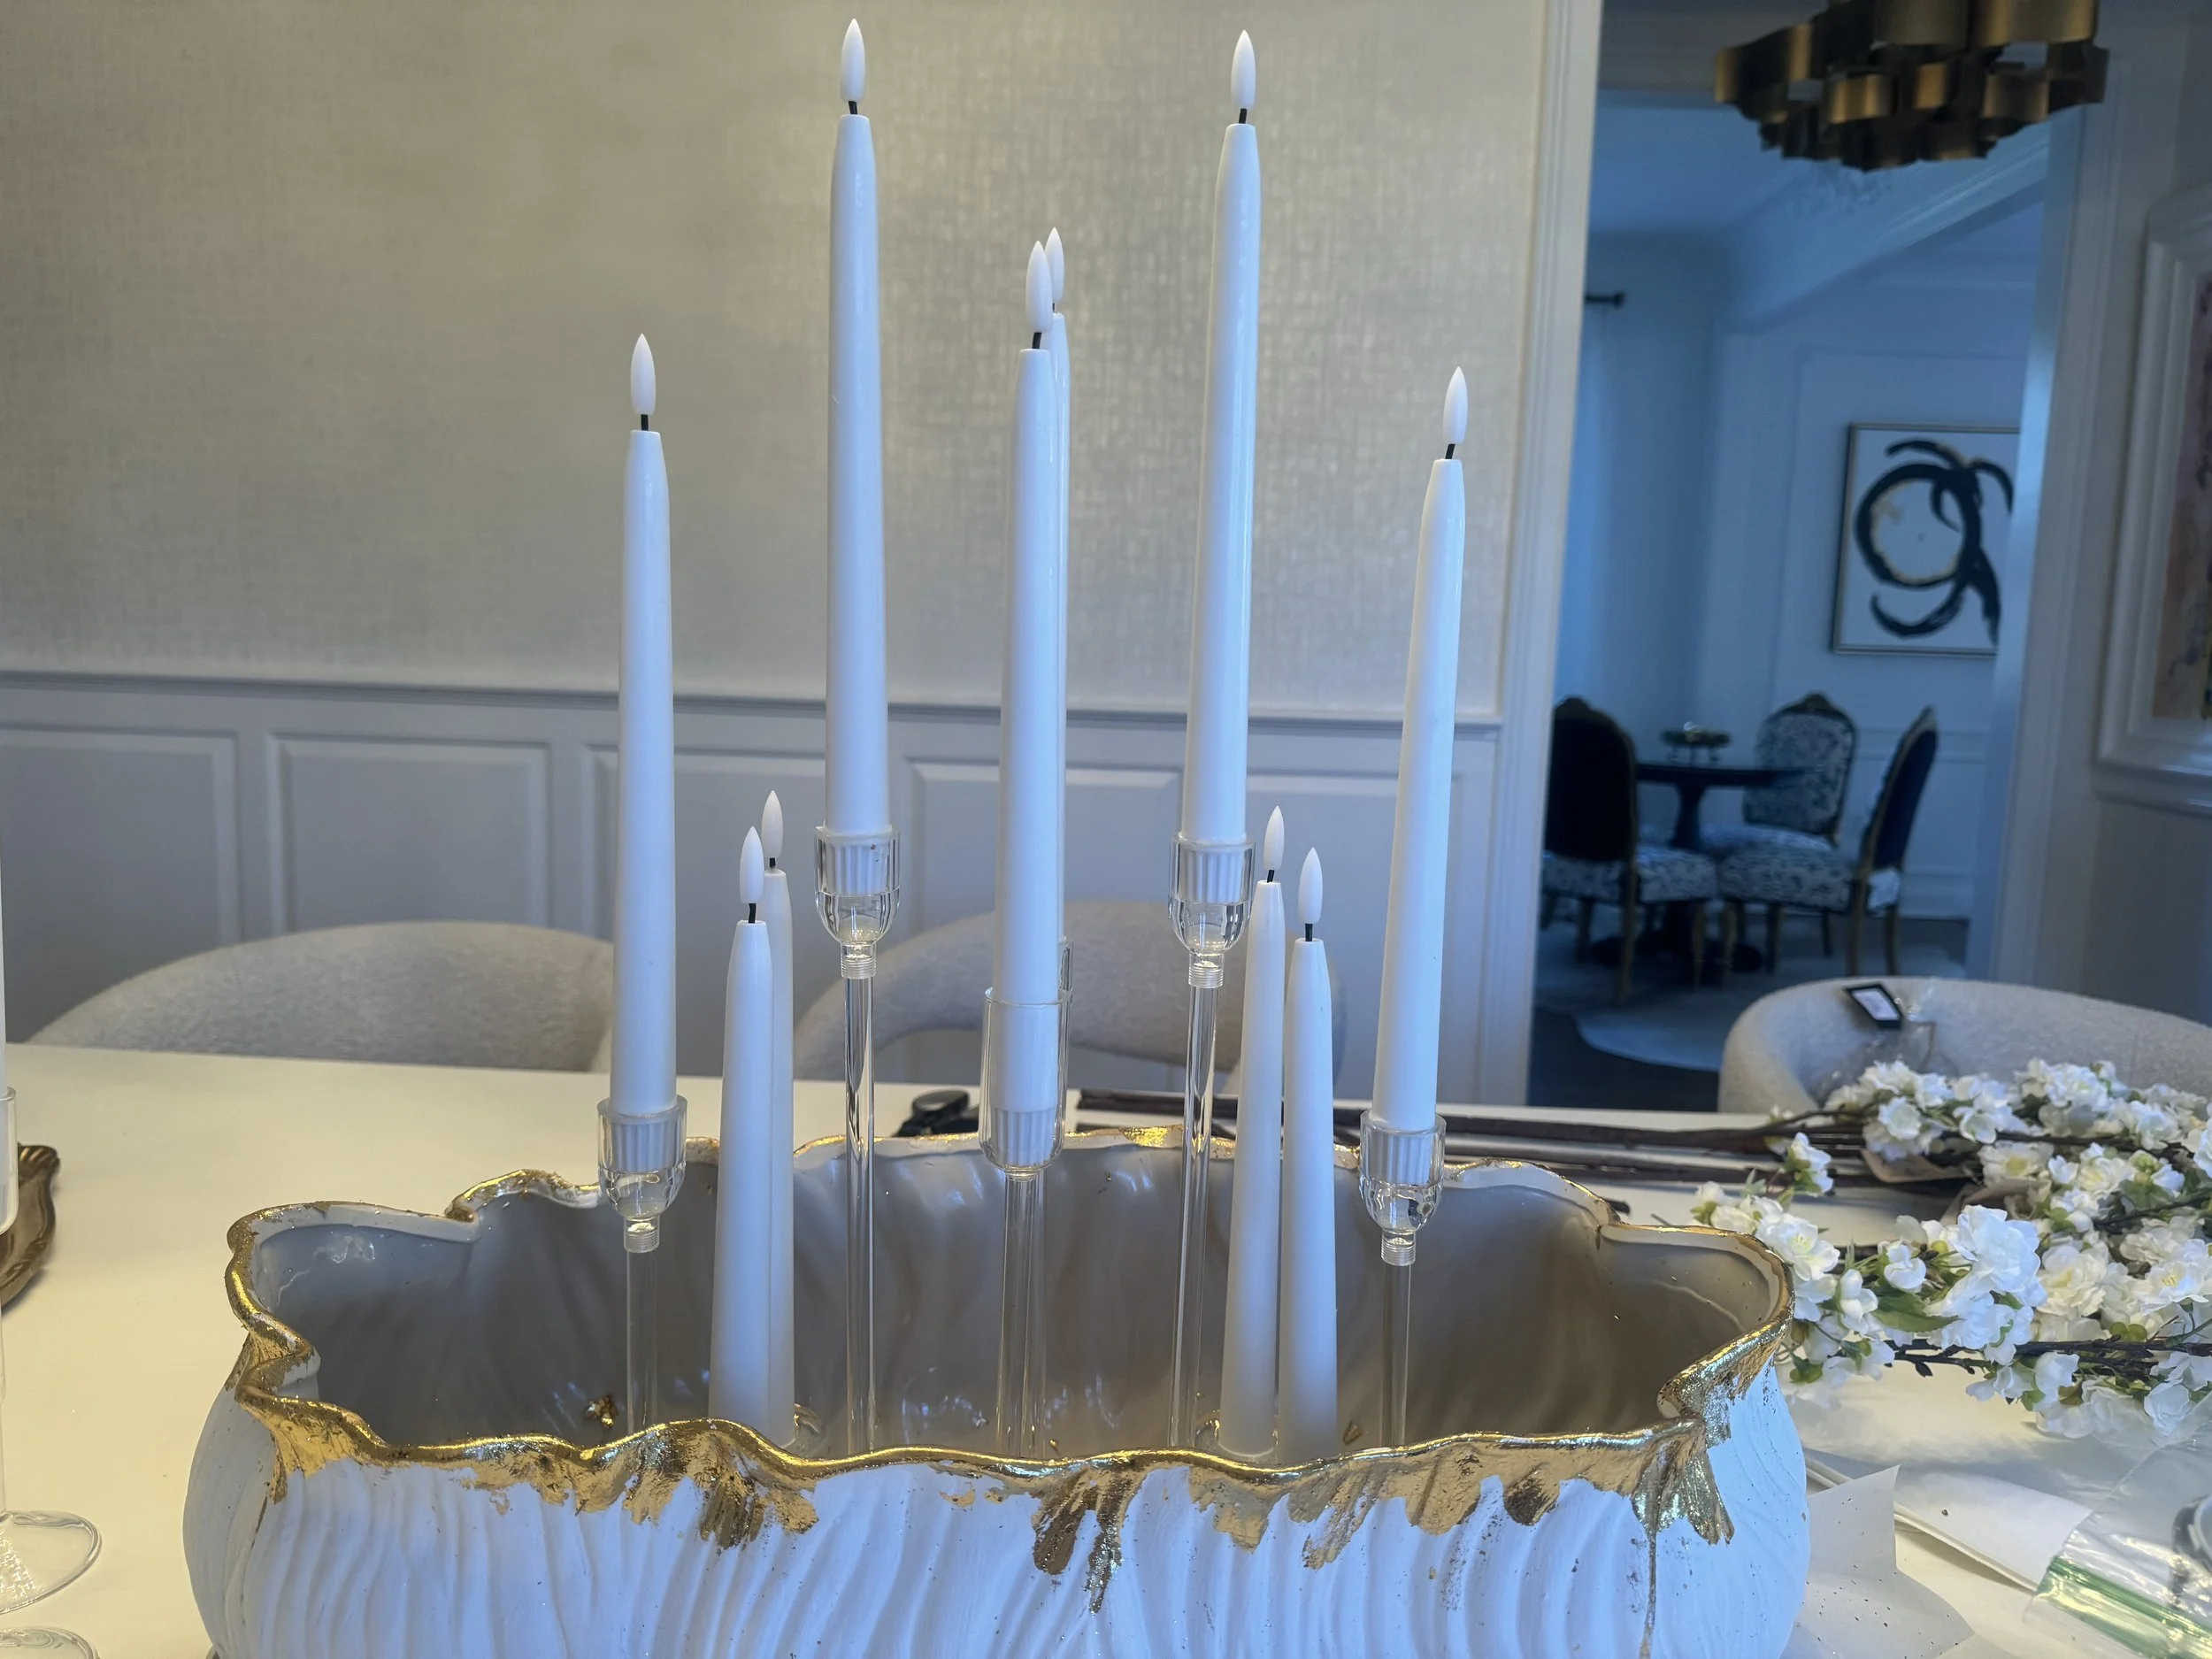
6. Once the bowl is gold leafed to your liking, place the tapered candles into the glass holders and set them inside the bowl, creating interest by mixing around the different height candles and taping them down with packing tape to keep them in place.
7. If necessary, cut the bottoms of faux cherry blossom stems and place them inside the bowl with the stems in toward the center and the florals pointing outward. I personally like cutting the stems to different heights and making sure the flowers drape around the vase at various heights for added interest rather than have them all be the same length.
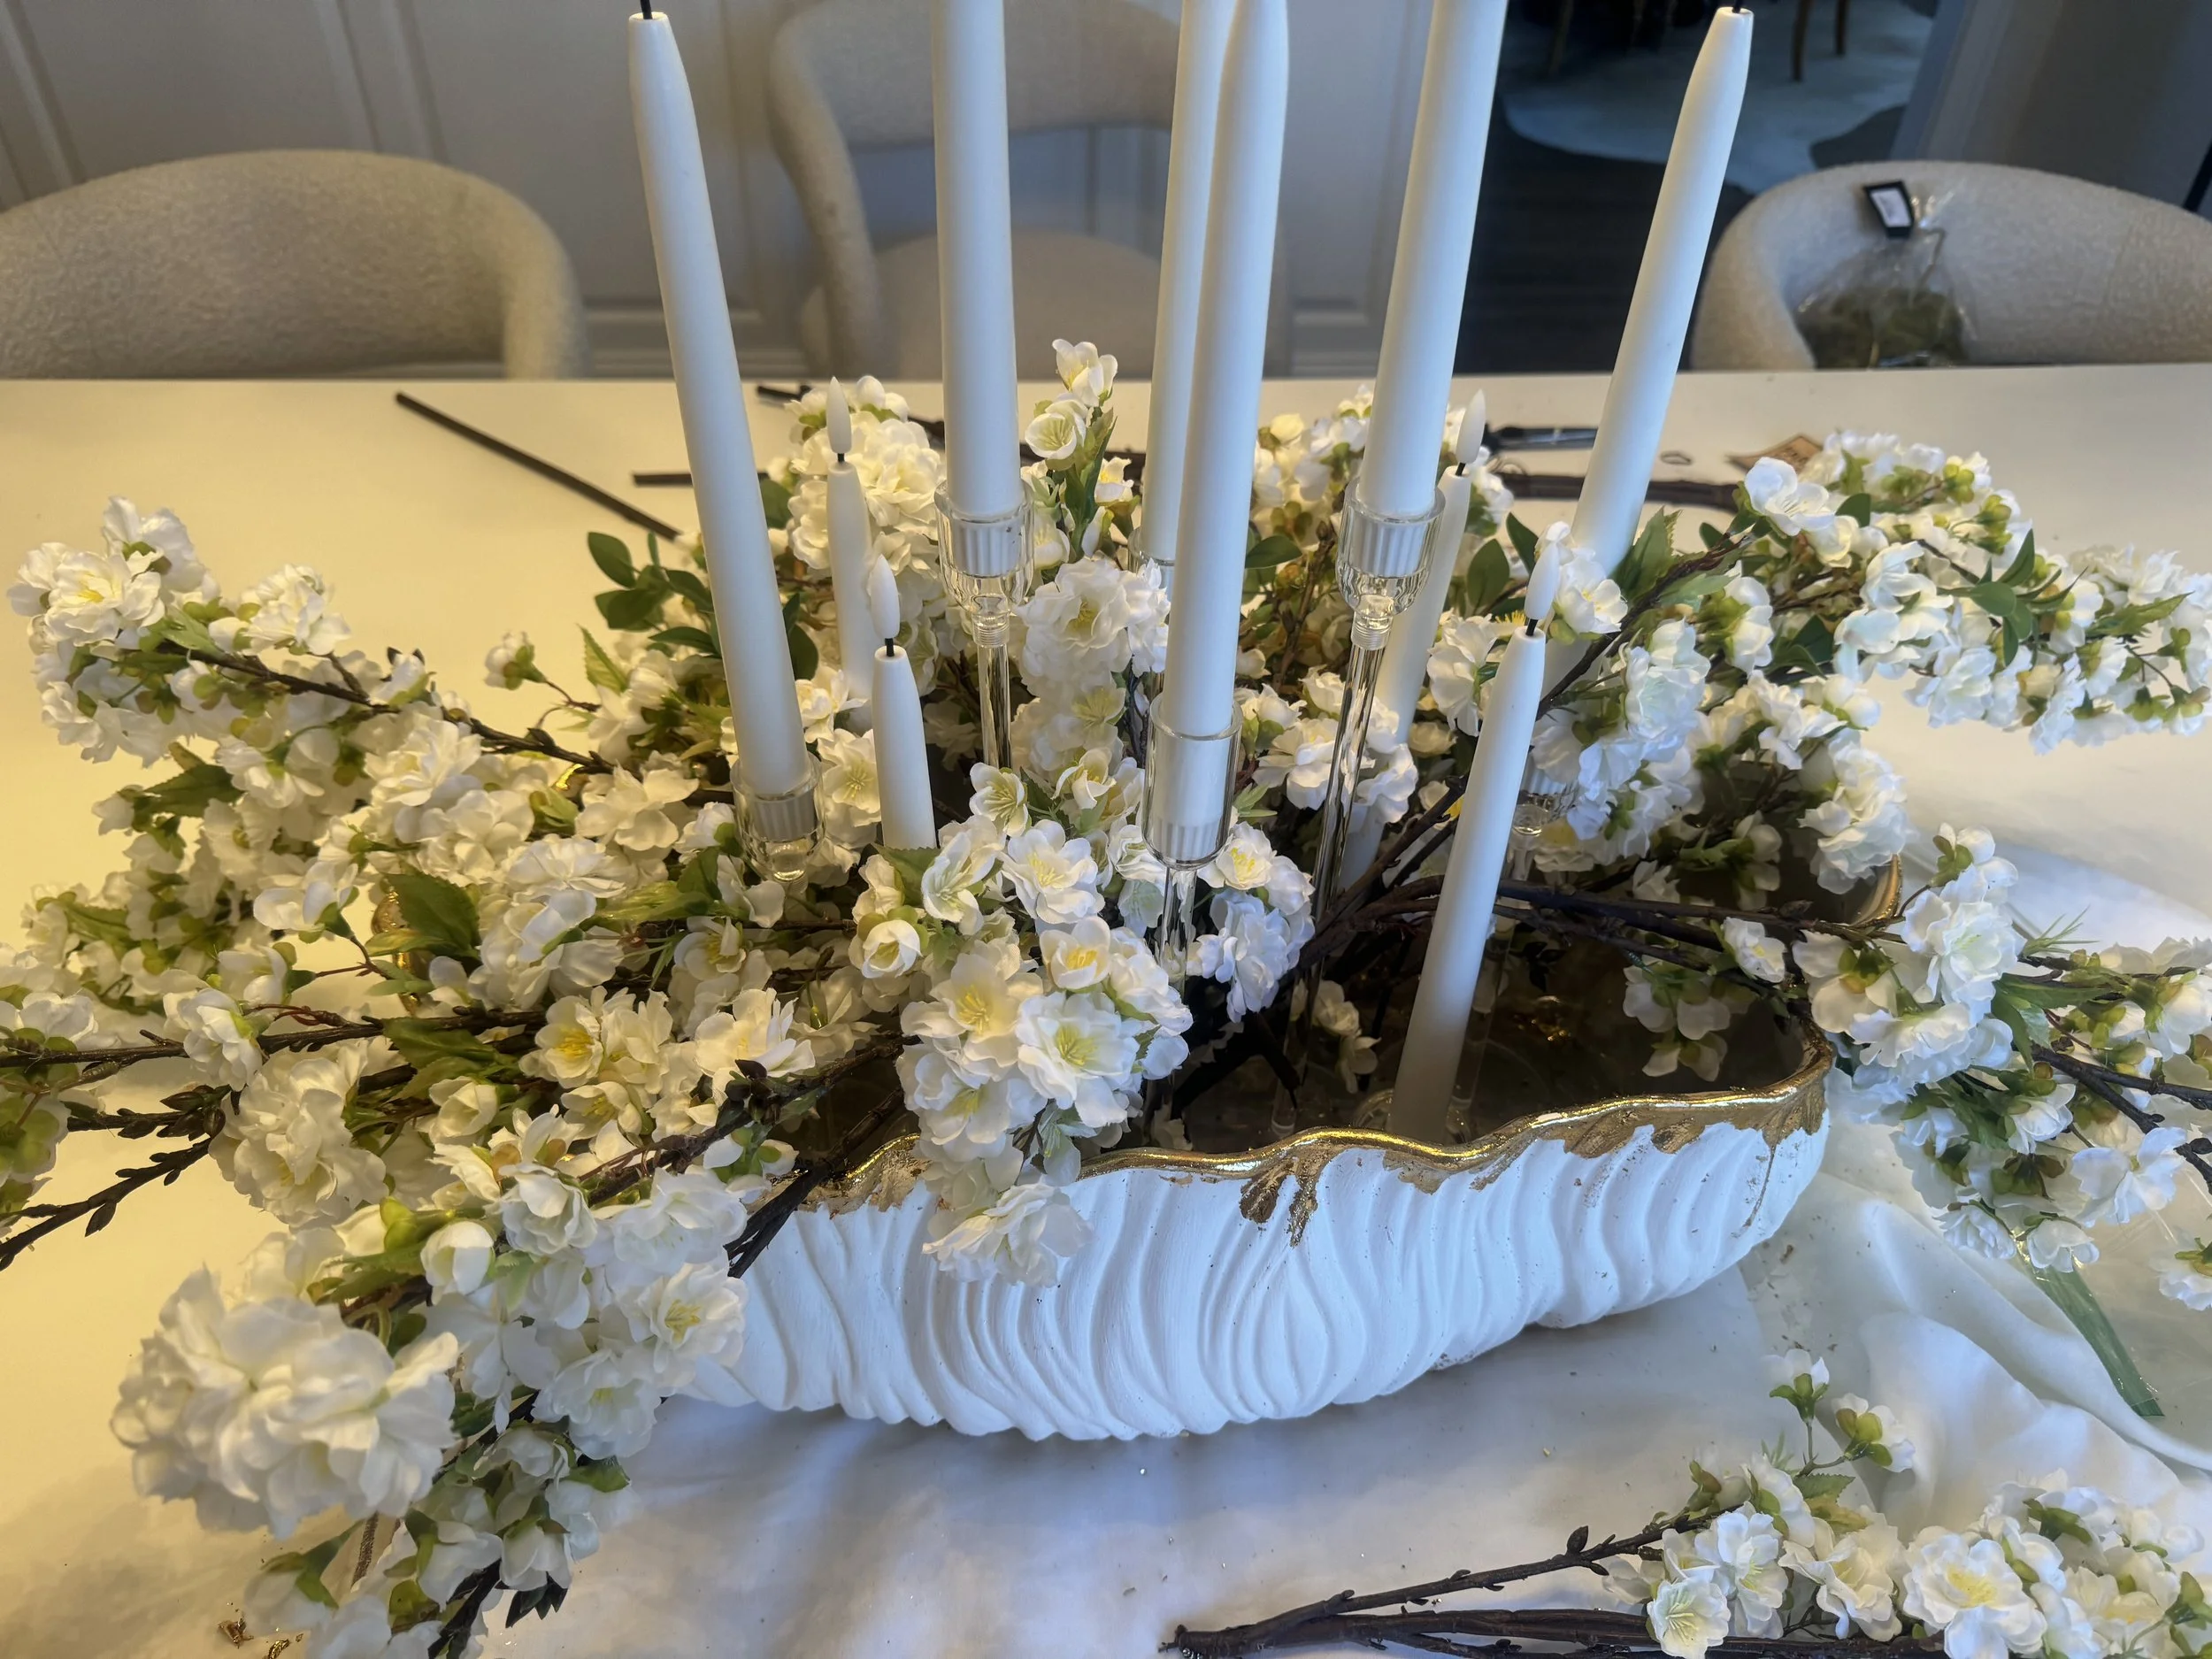
8. To finish, fluff and place moss inside the bowls around the candlestick holders and cherry blossom stems to cover any holes.

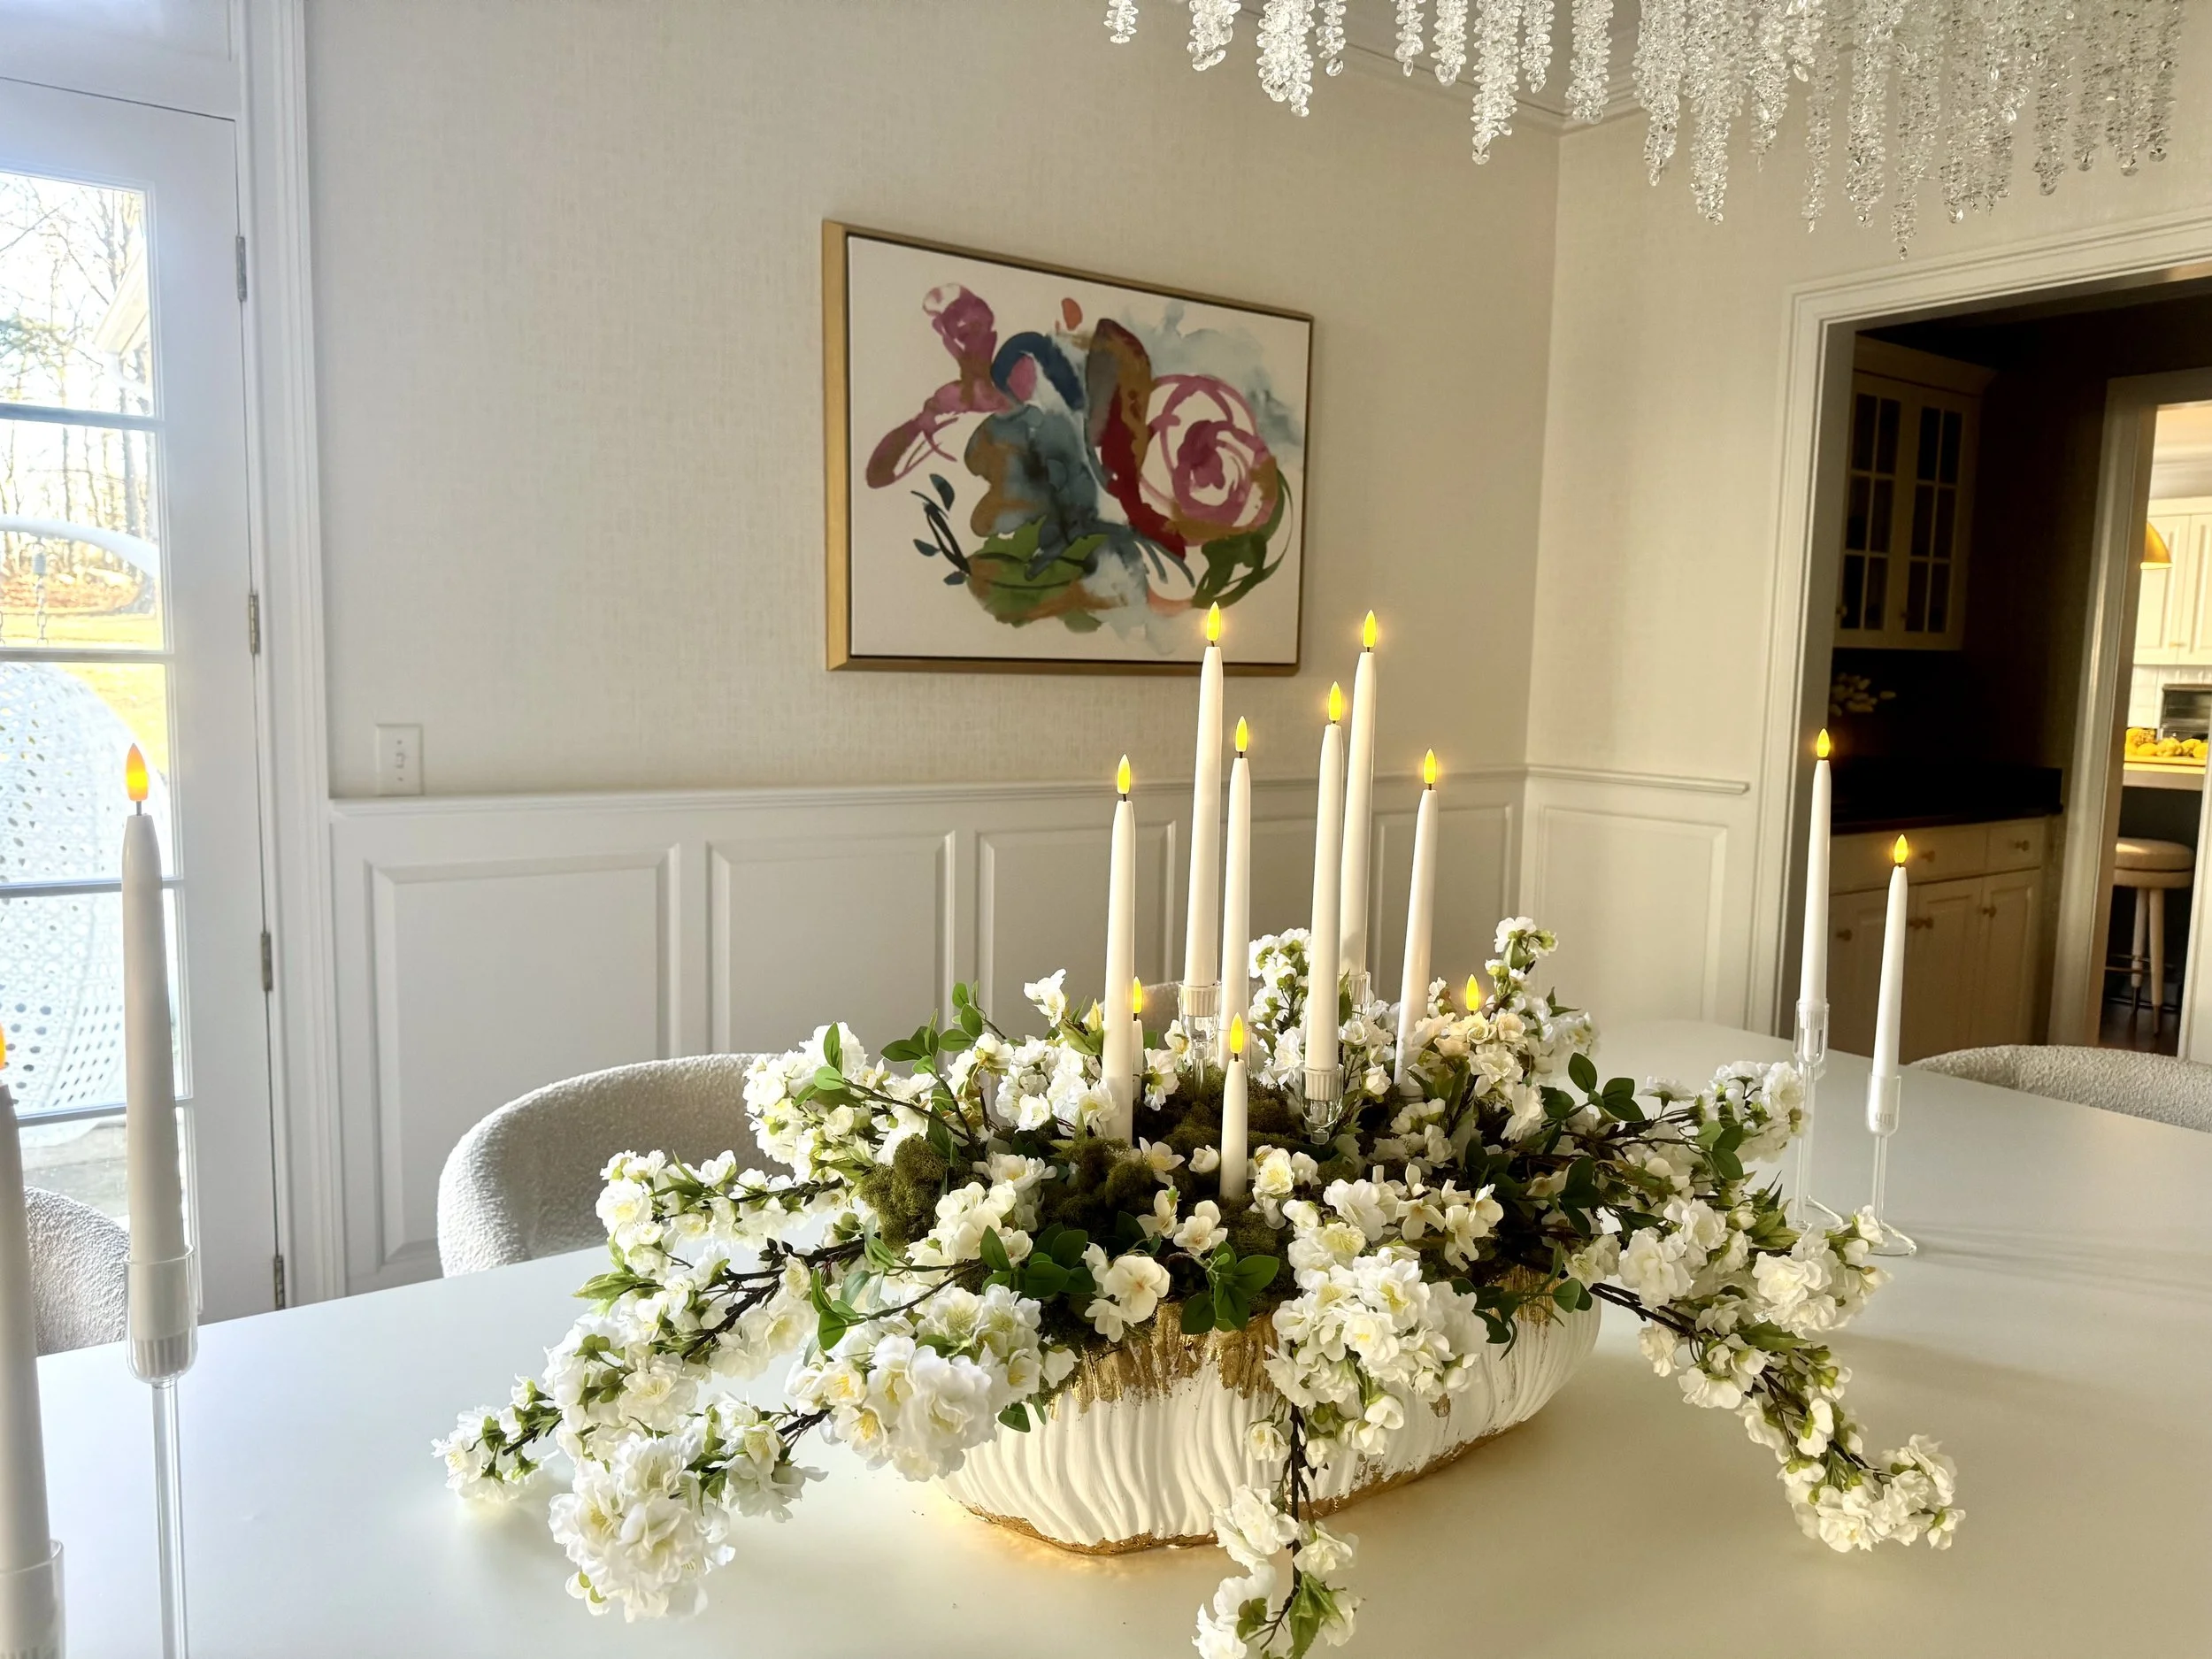
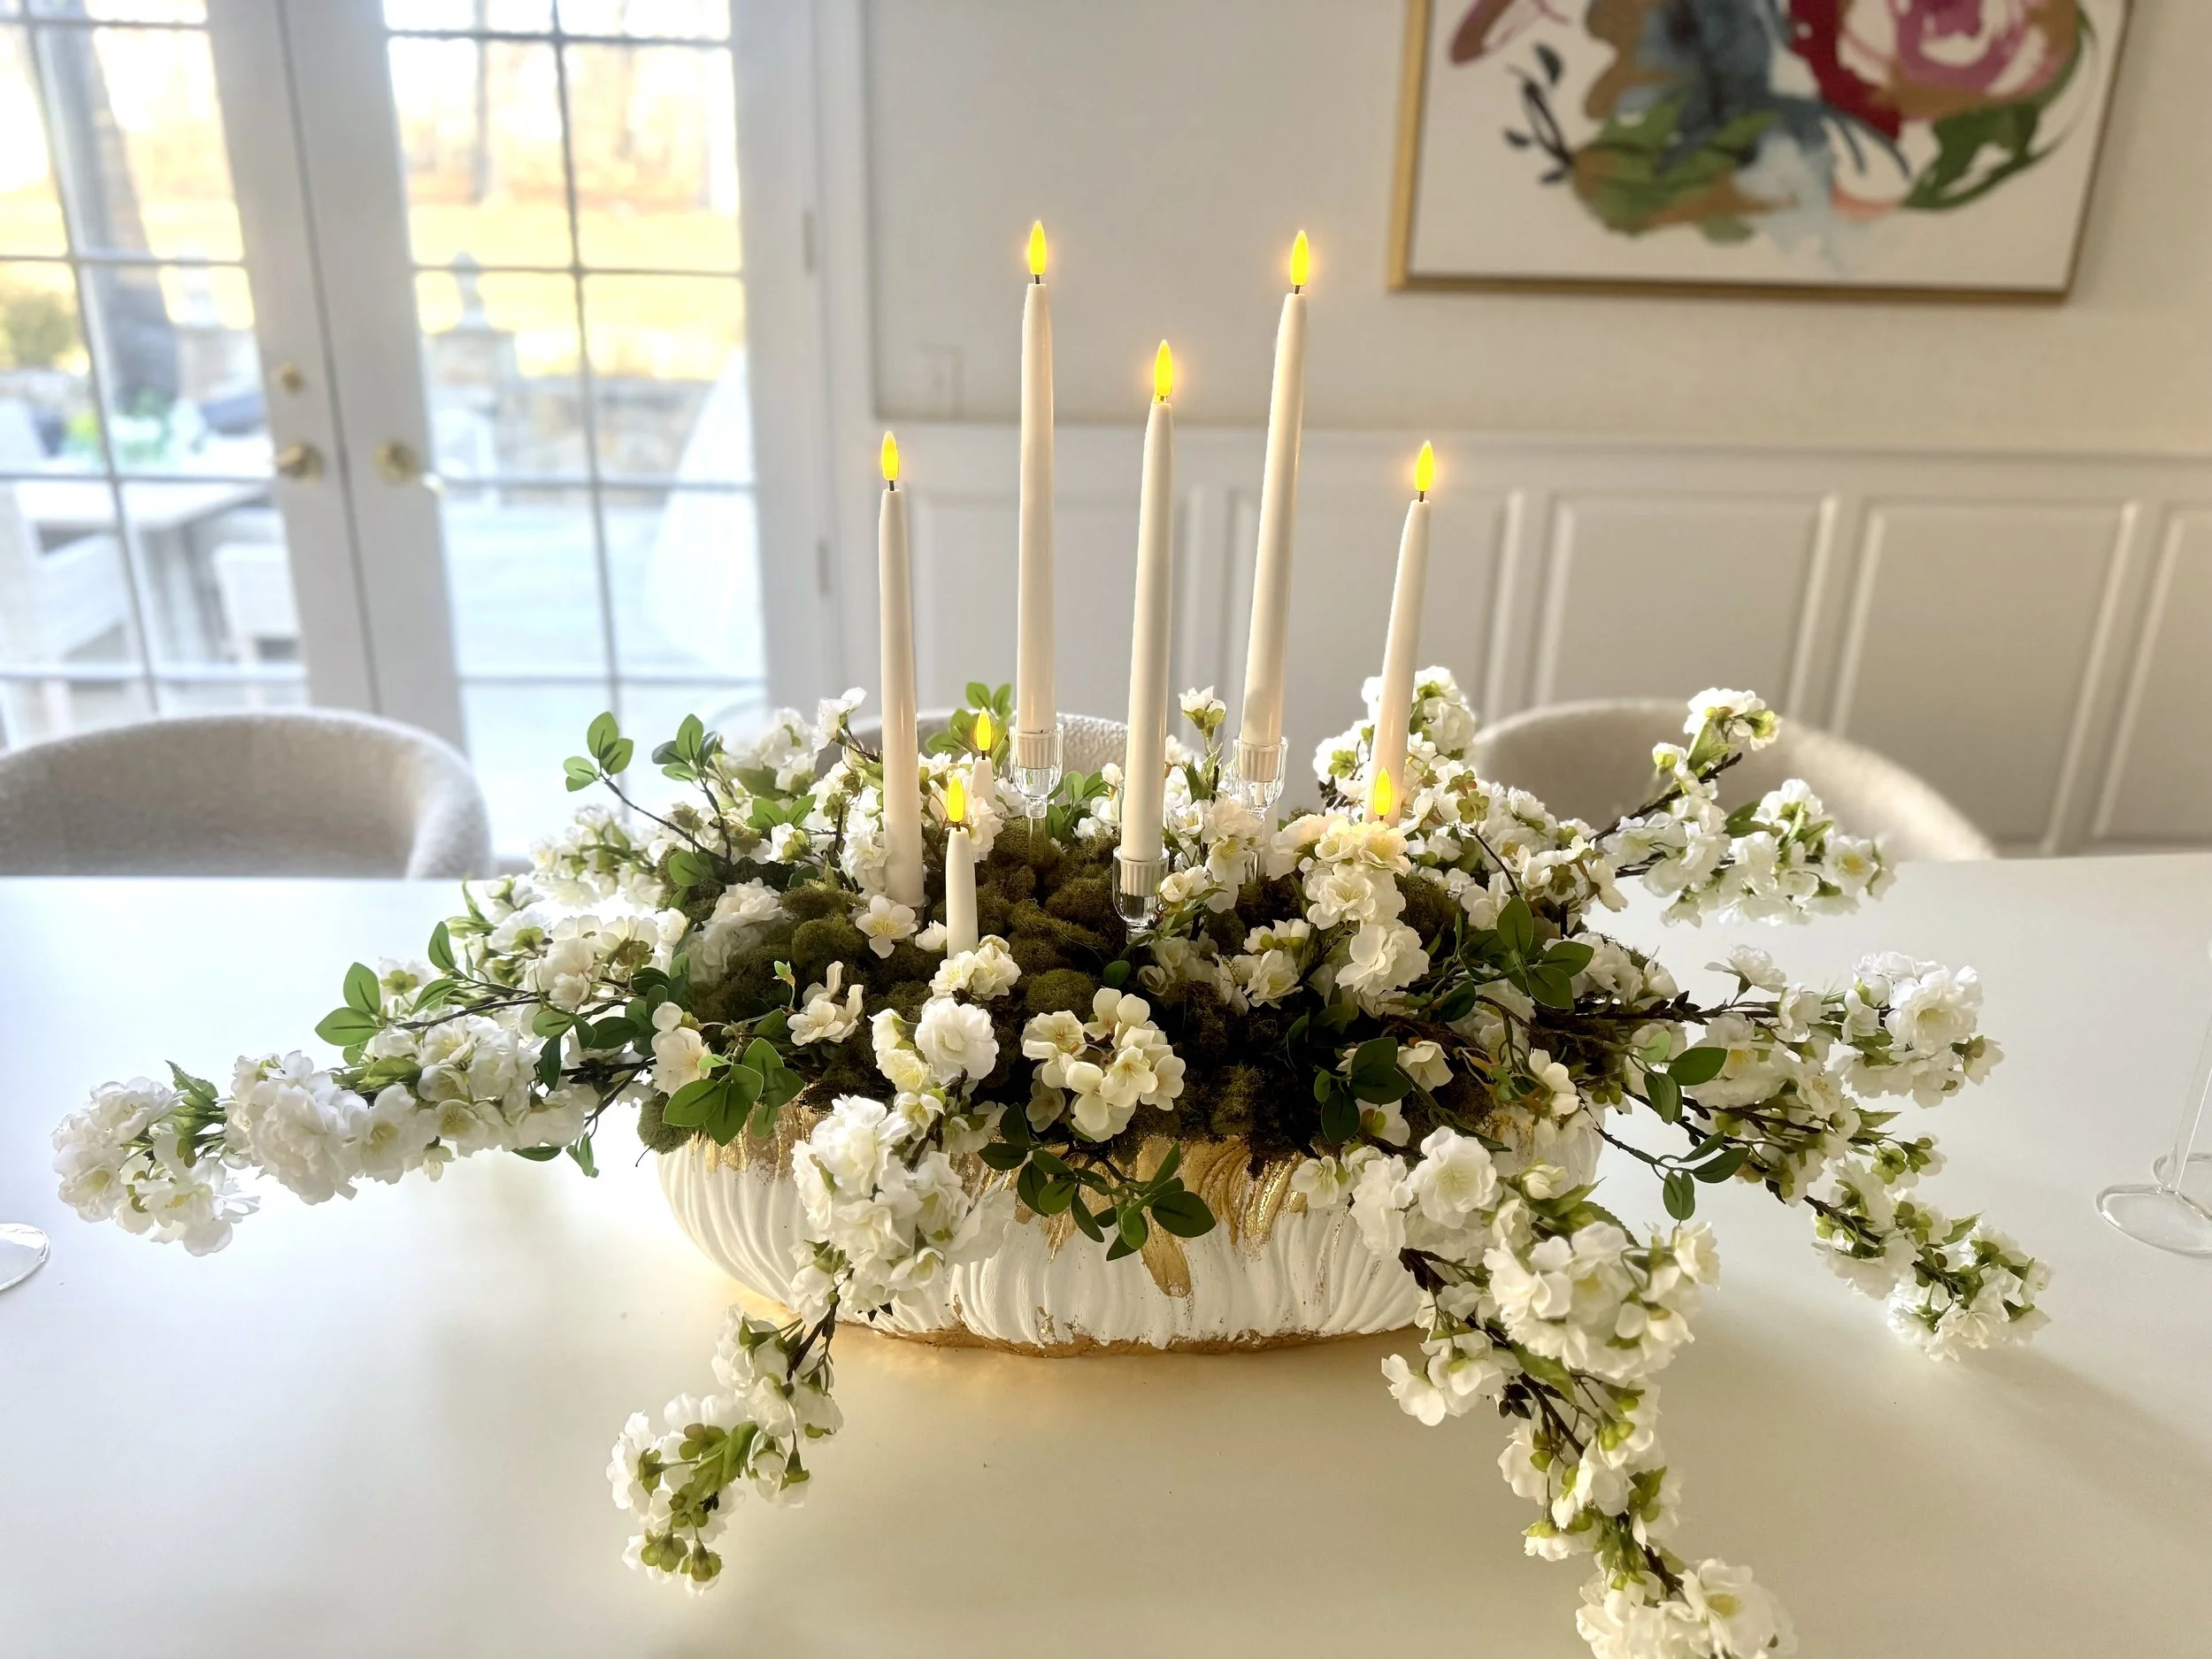
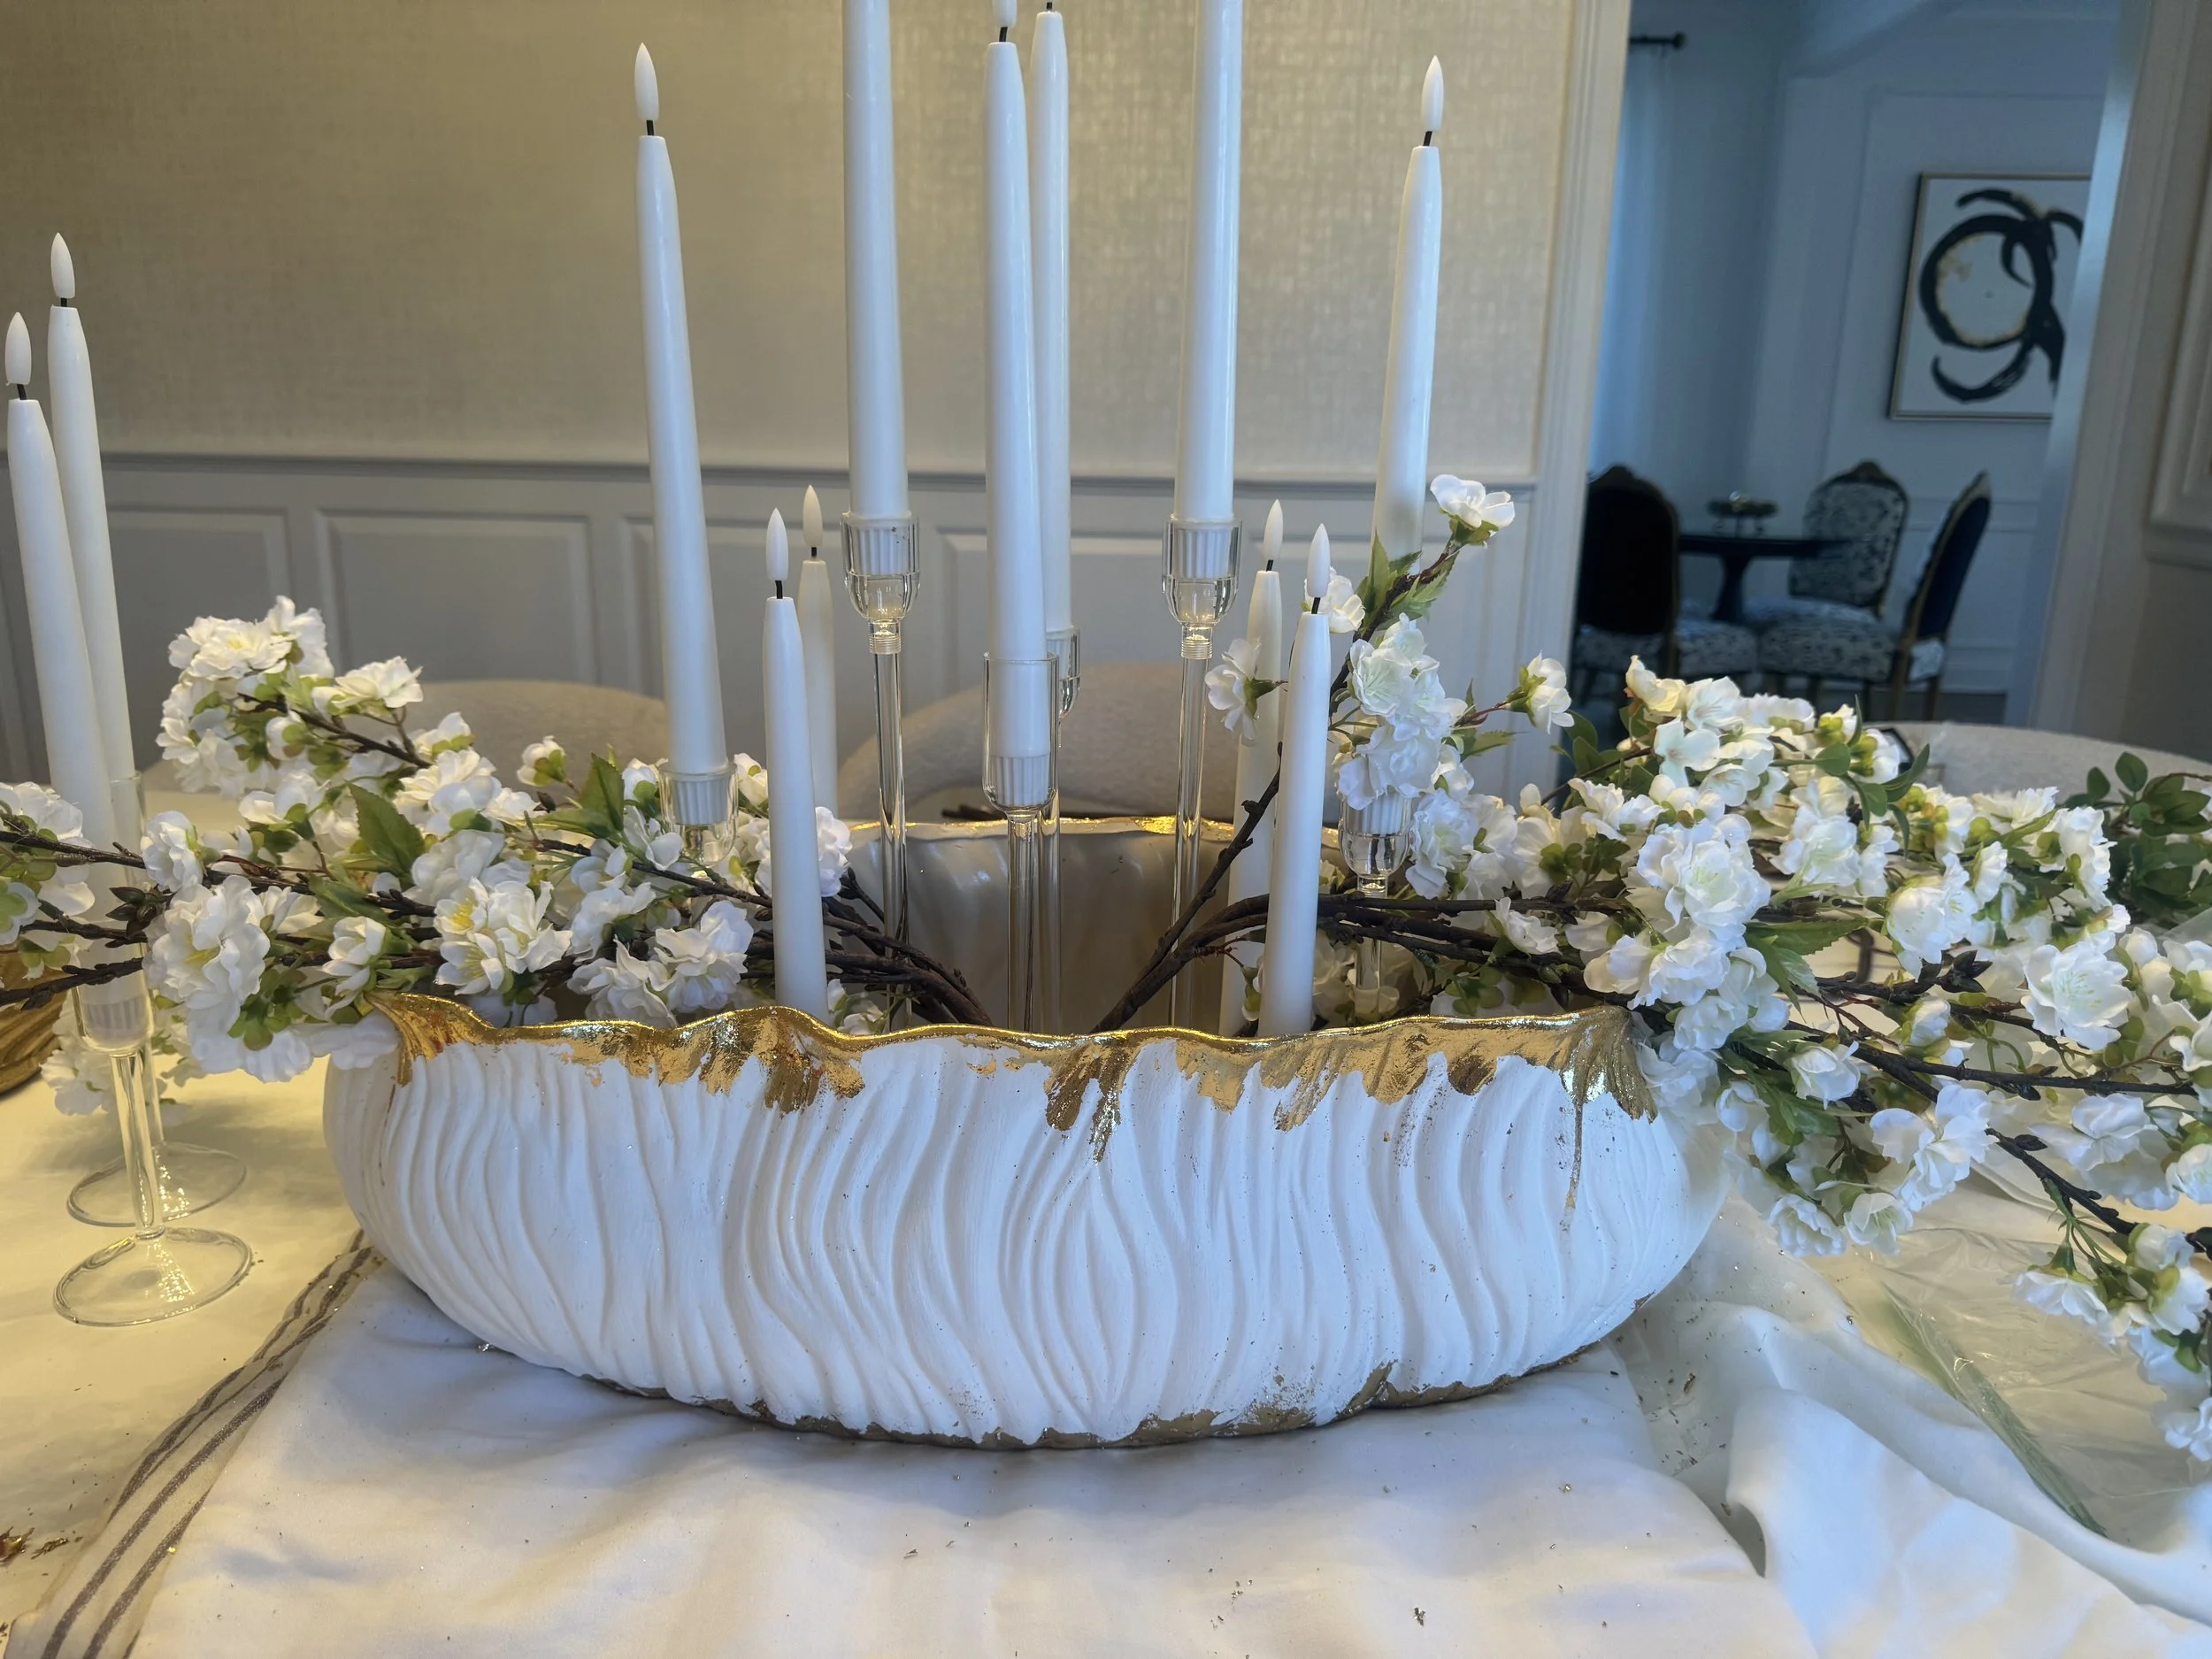
The Final Result
The final result is a show-stopping, high-end centerpiece that perfectly balances modern elegance with timeless charm. The combination of soft, matte white with the rich gold leaf detailing creates a luxe contrast that feels both effortless and intentional. Paired with delicate faux cherry blossoms and the warm glow of taper candles, this centerpiece brings an inviting, sophisticated touch to any dining space.
What I love most about this DIY is its versatility—you can customize the colors, florals, and even the arrangement to suit different seasons or occasions. Whether you're hosting an intimate dinner party or simply want to enjoy a beautifully styled home, this gold leaf ceramic bowl project is an easy way to add a touch of personality and glamour to your decor.