Gold Leaf + Rhinestone Bejeweled Cake Dish
Project Inspiration
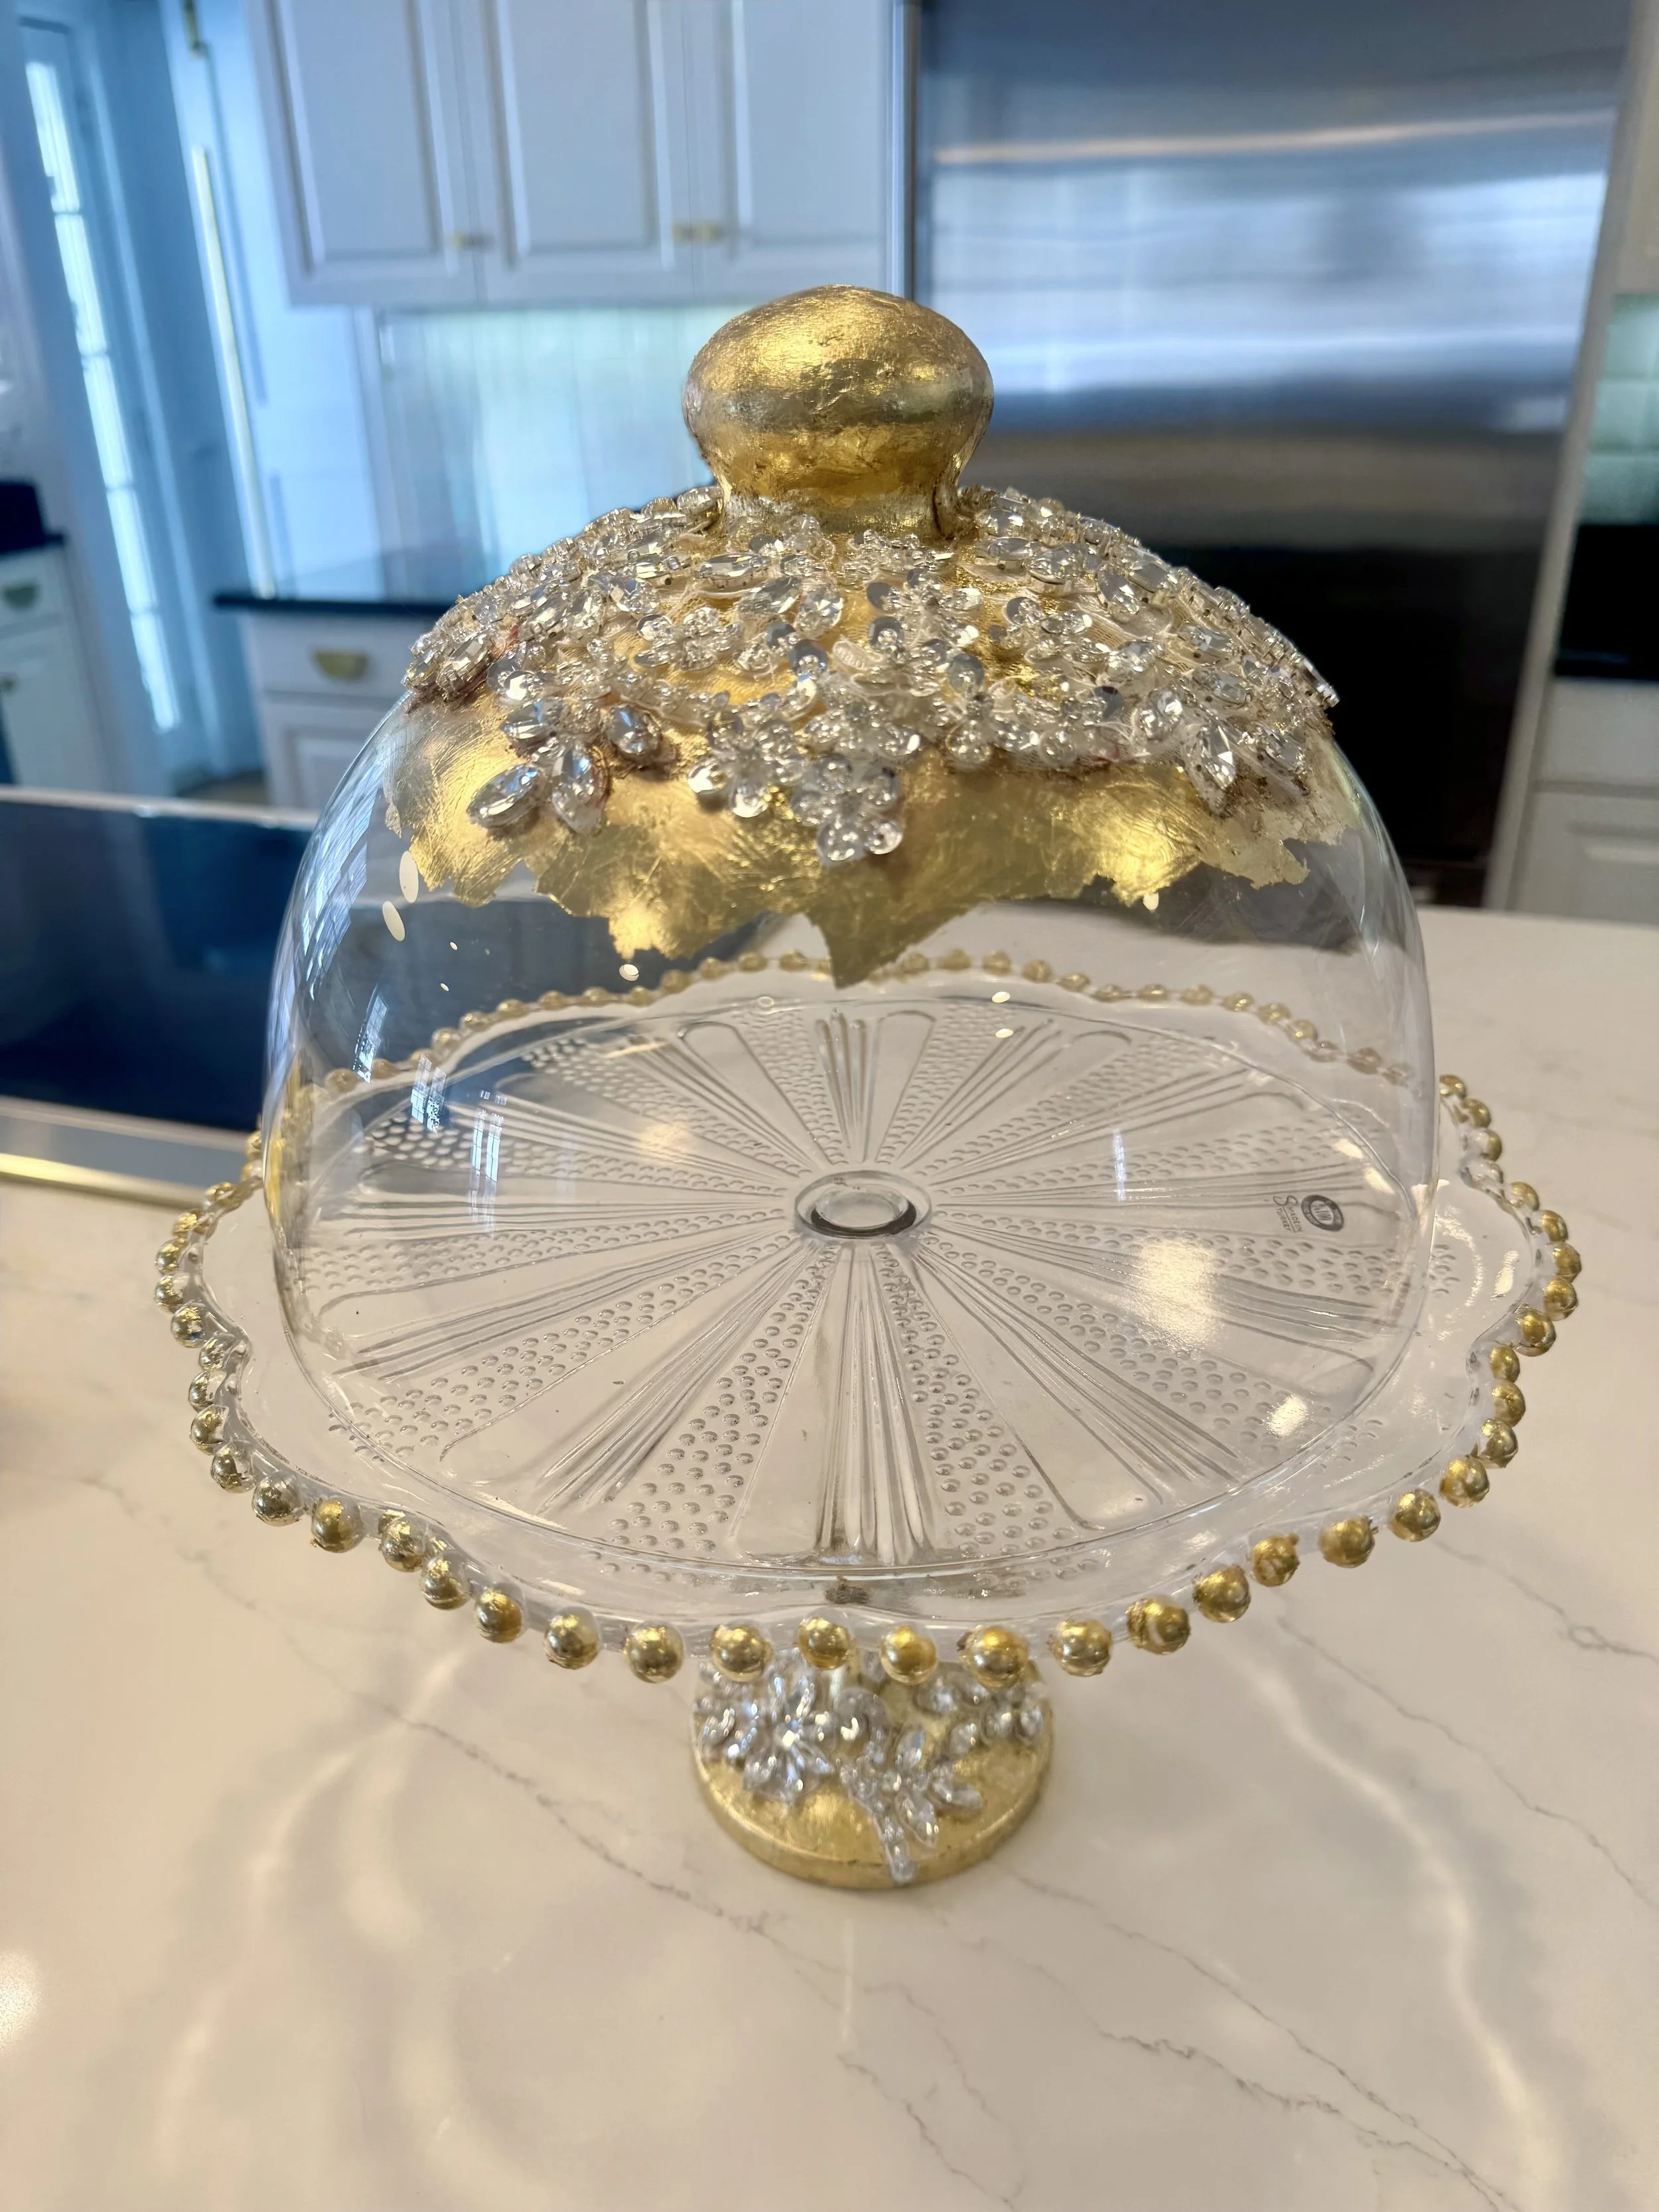
When I spotted this gorgeous glass cake plate and domed cover at HomeGoods for just $19.99, I knew it had potential. While it was already beautiful, I wanted to elevate it with a touch of glam. Enter: gold leaf and rhinestones! This simple DIY turned an ordinary cake dish into a luxe, eye-catching centerpiece perfect for any celebration or to have on display every day (like I do!).
Supplies List & Cost Breakdown
For this cake dish DIY, I purchased…
Cake dish with top from HomeGoods (similar on Amazon here) - $19.99 (a fantastic price!)
Total Supplies Cost = $19.99
I also used a few things I already had:
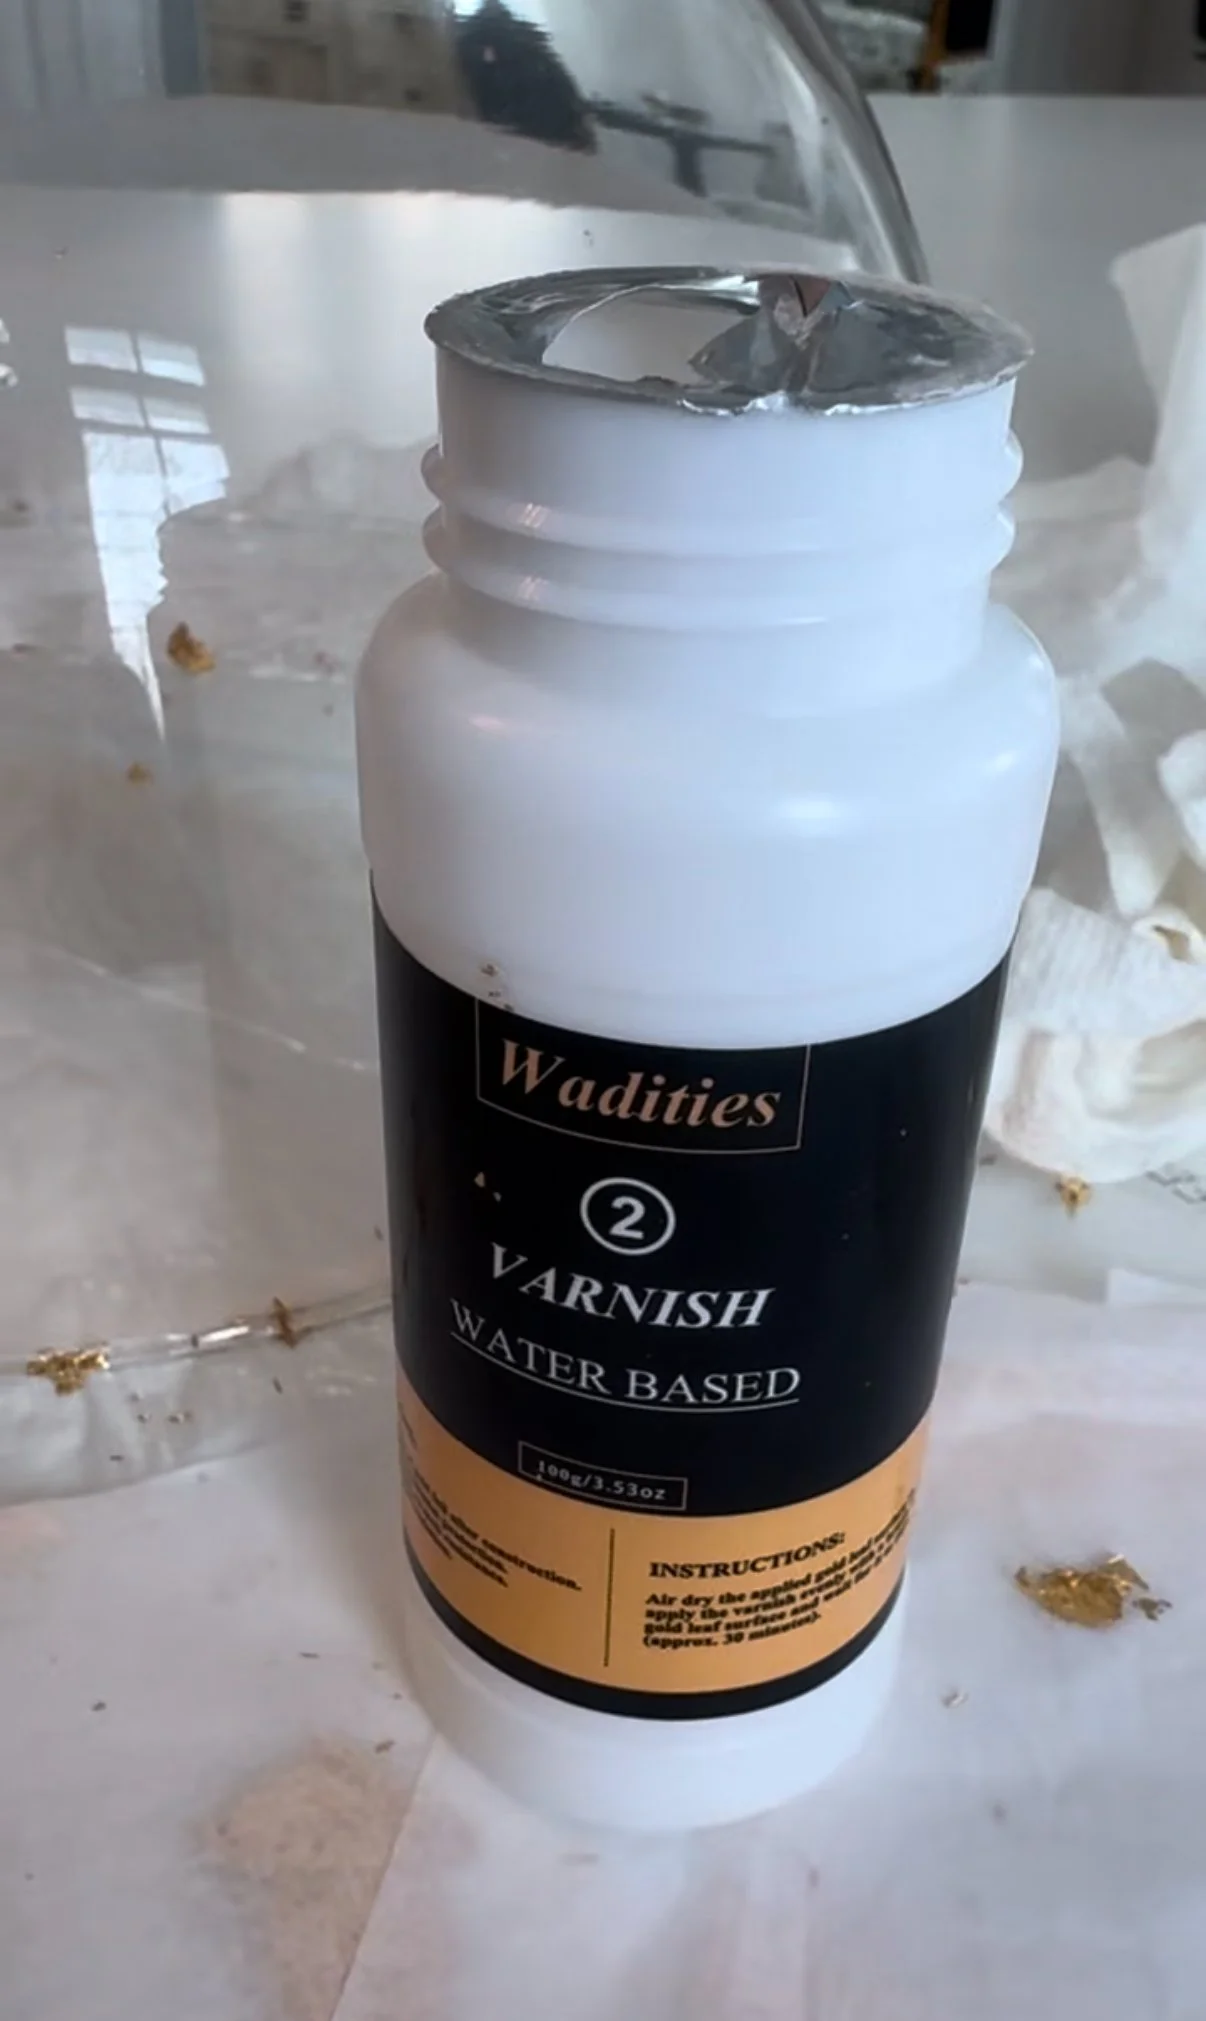
Gold leaf gilding adhesive kit from Amazon - This kit has everything you need! It contains the adhesive, the gold leaf pieces, brushes and the varnish.
Rhinestones and gems (I love adding some sparkle to many of my DIY projects, so I bought this bag of crystals awhile ago and use them here-and-there for various projects.)
My trusty hot glue gun (I’ve had this for forever!)
The Secret
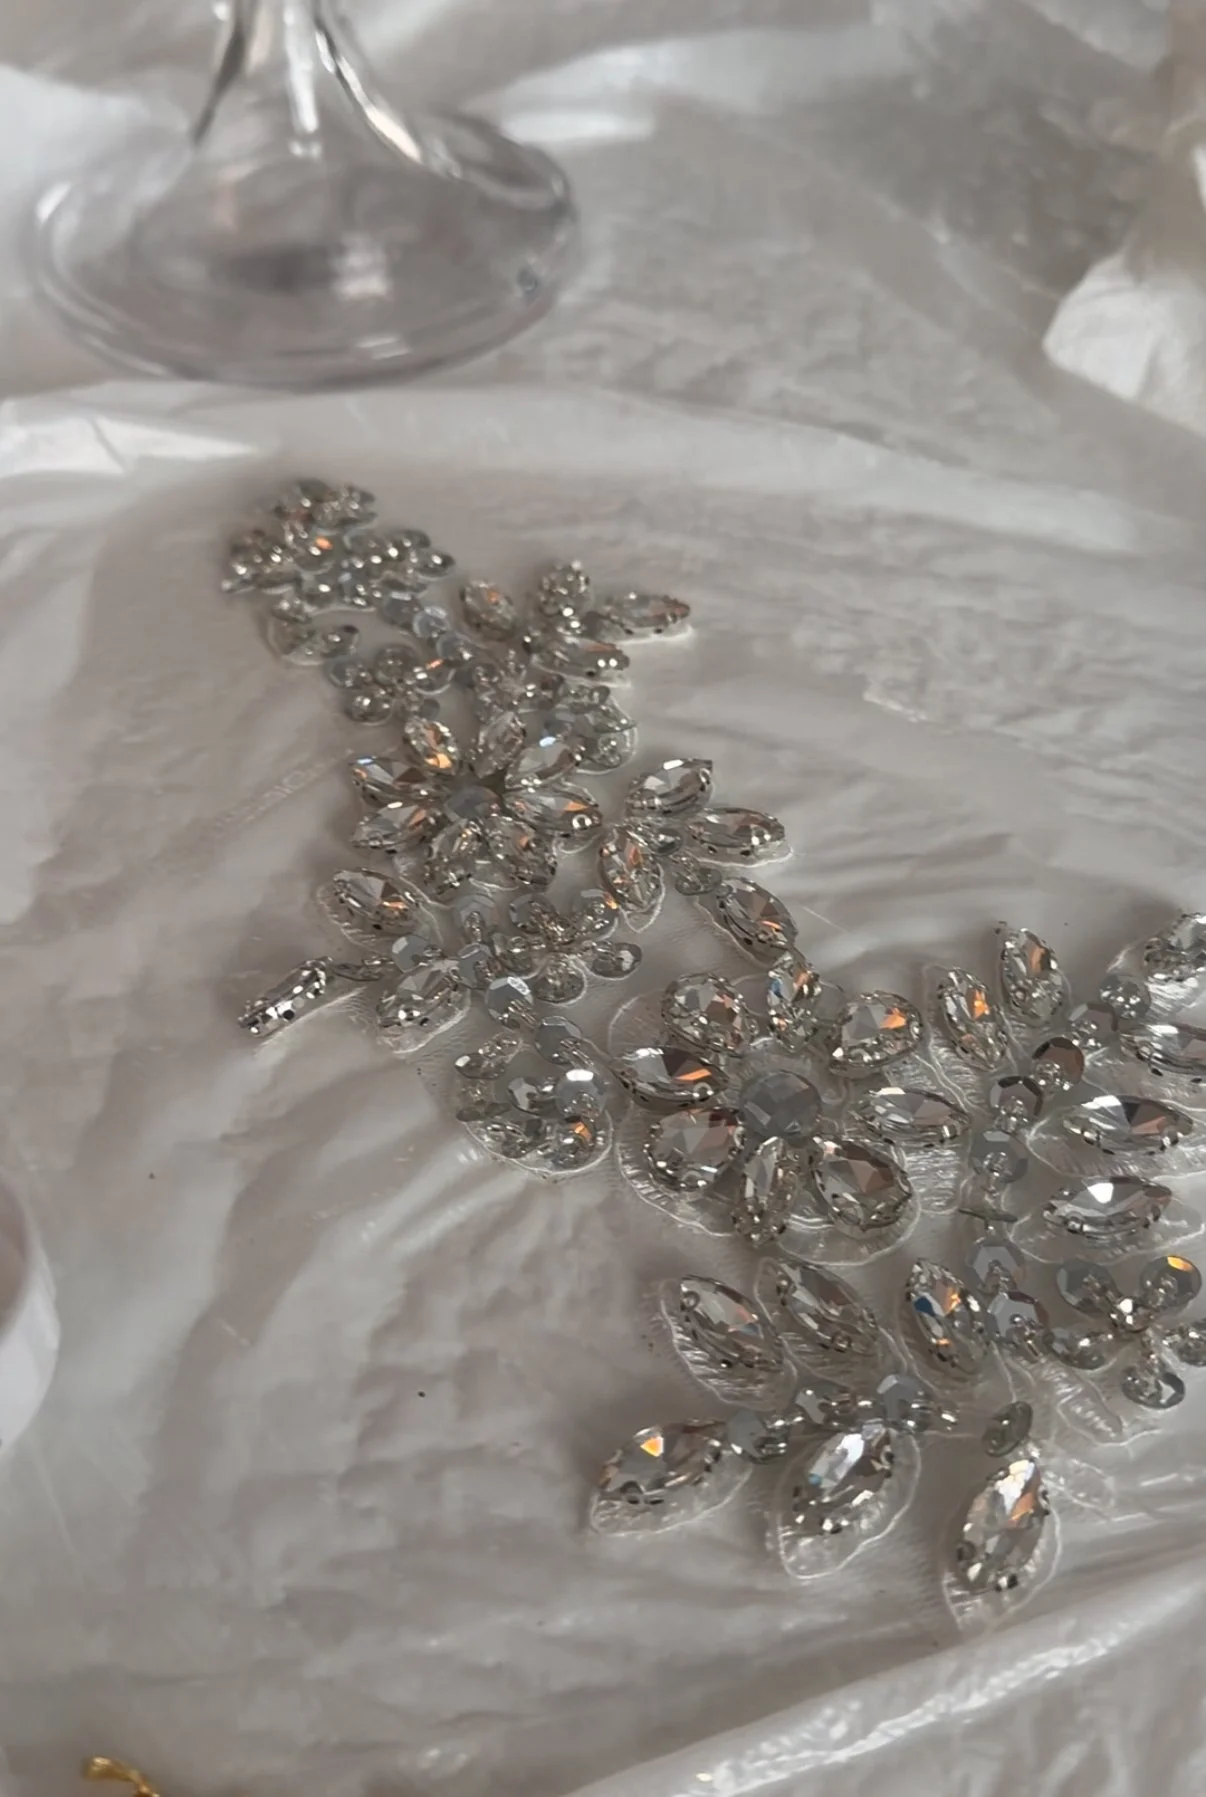
The key to making this DIY truly special? Rhinestones! Adding just a few sparkling accents made the cake dish feel like a designer piece. Over the years, I’ve learned that using anything but traditional materials (like a standard flower pot or plain glassware) elevates even the simplest items. Oftentimes, I use bridal embellishments and trim for my home DIY projects since they hands down are the best quality and value for the price. This cake dish is proof that a little creativity goes a long way!
Step-By-Step Instructions
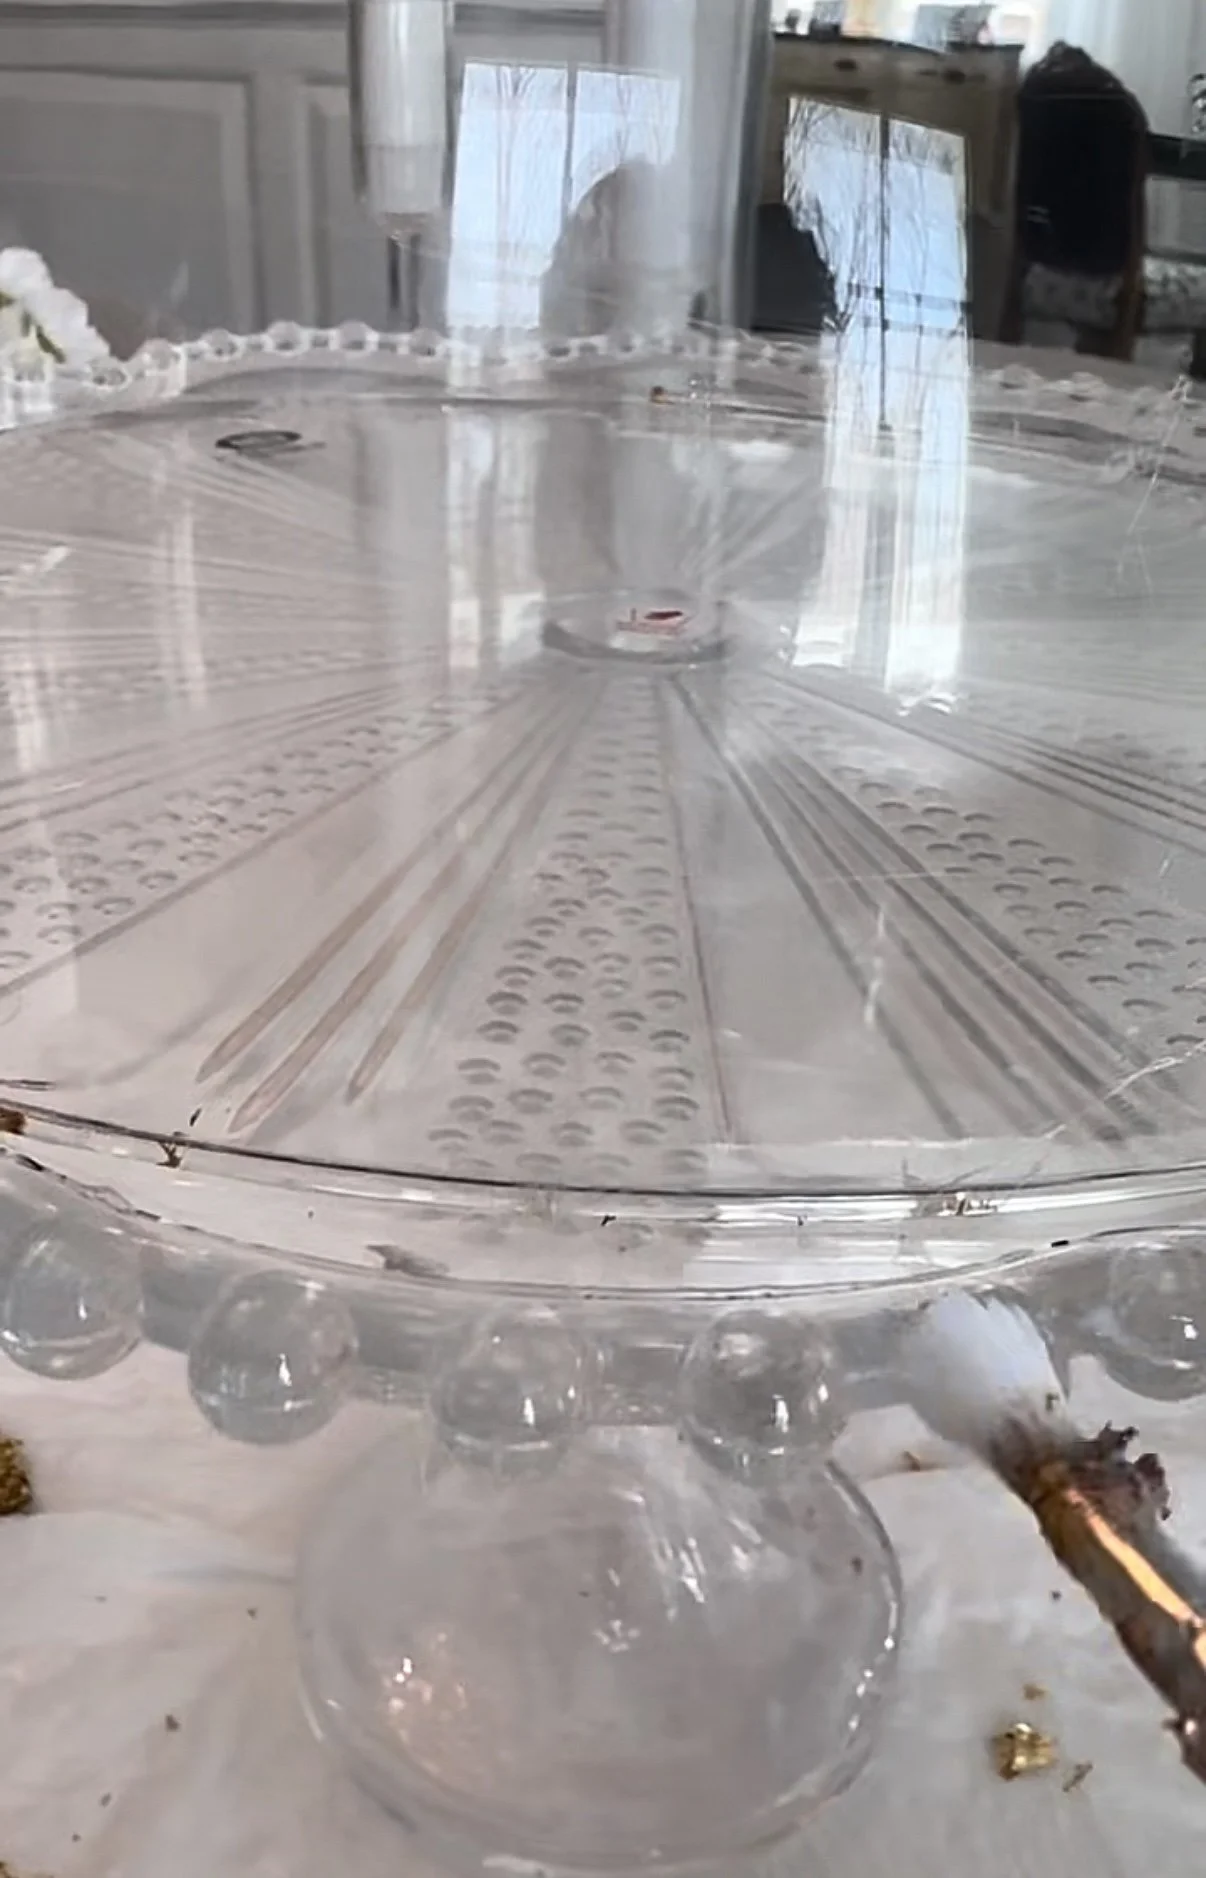
Clean the Cake Dish – Make sure your surface is free of dust and fingerprints before applying any adhesive or embellishments.
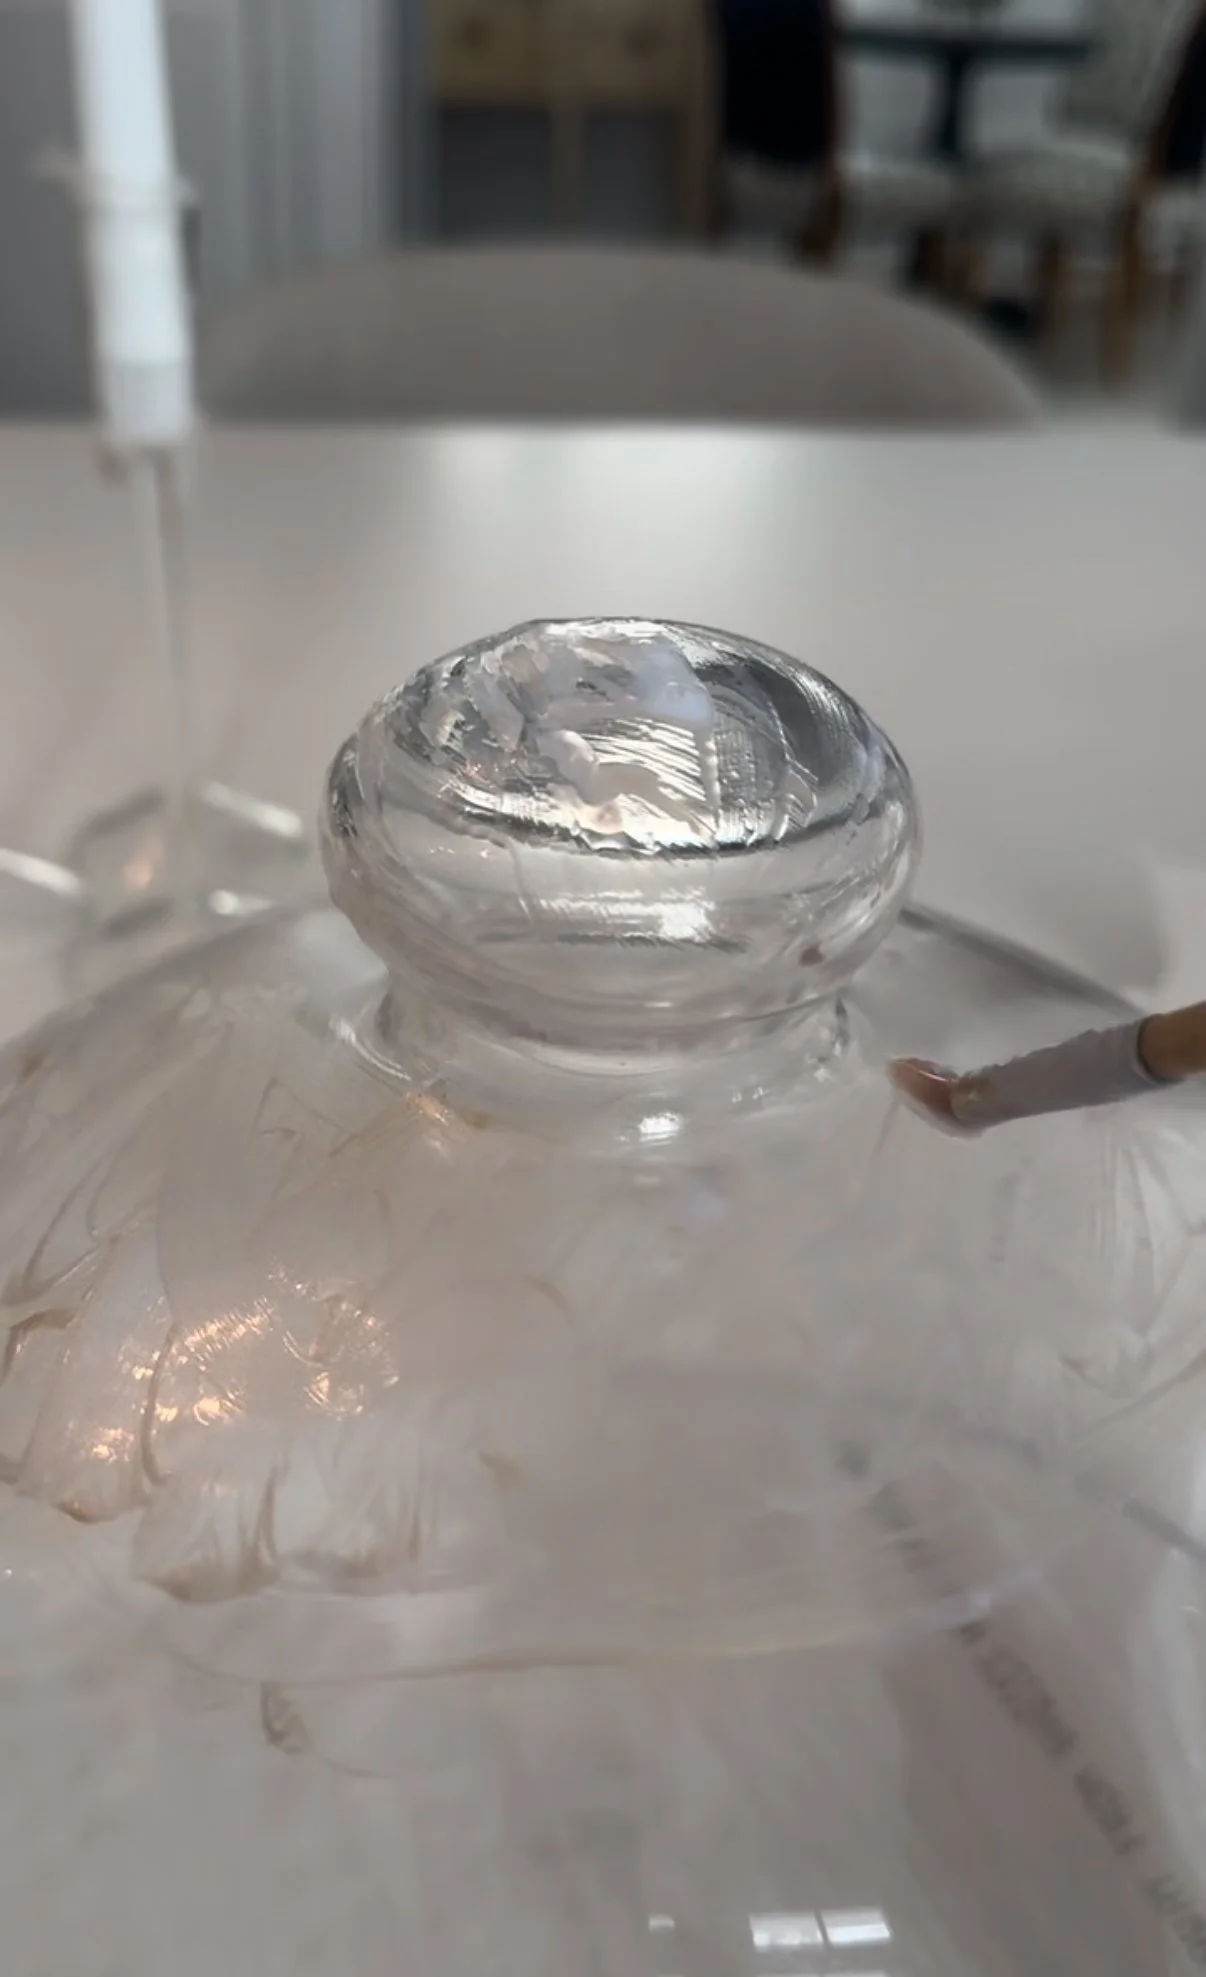
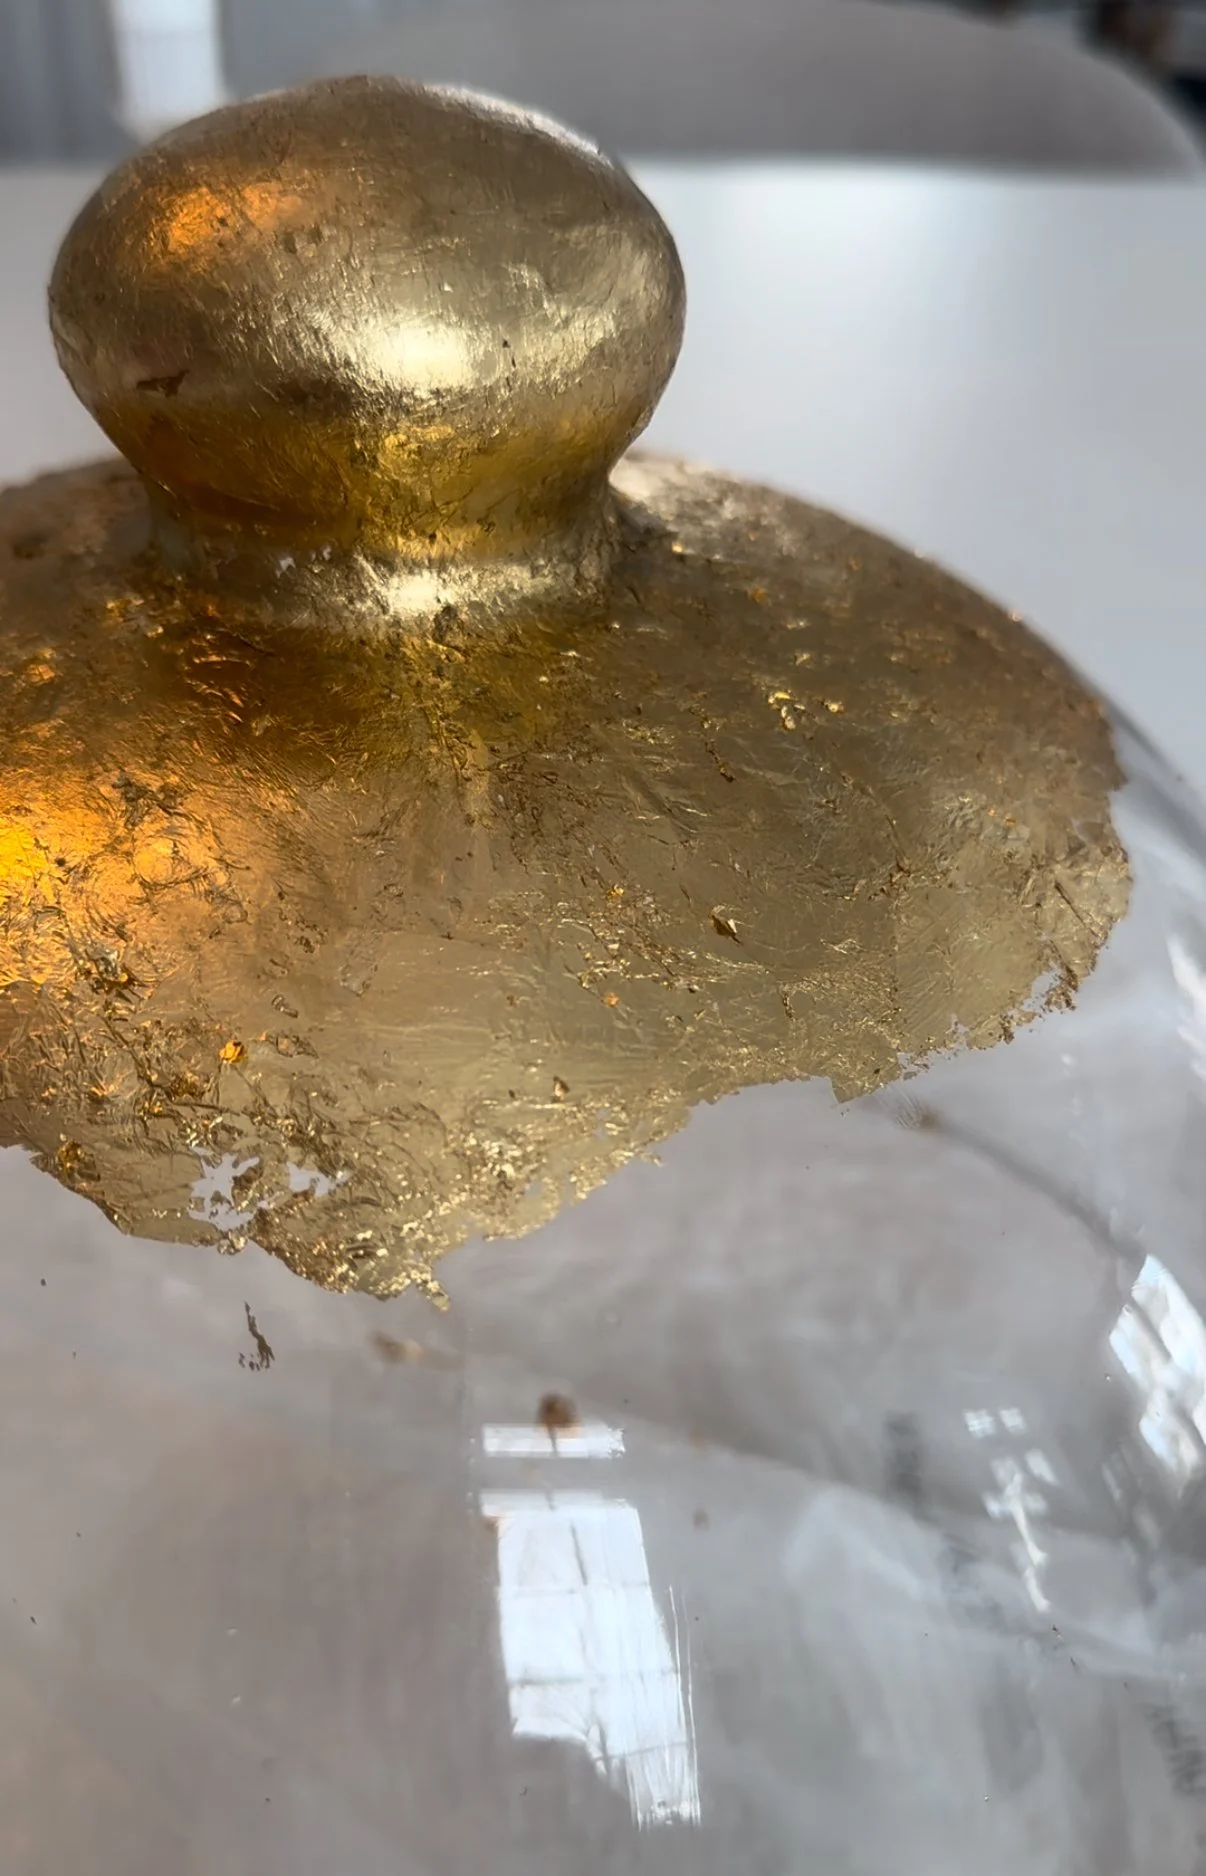
Plan Your Design – Decide which areas you want to gold leaf. I chose the handle and top of the dome, the decorative beads around the plate edge, and the base and stem of the stand for a distressed, glitter-like effect.
Apply the Adhesive – Use the brush from your gold leaf kit to apply adhesive to the areas you want to gild. Let it sit for a few minutes (up to 30, depending on the kit) until tacky.
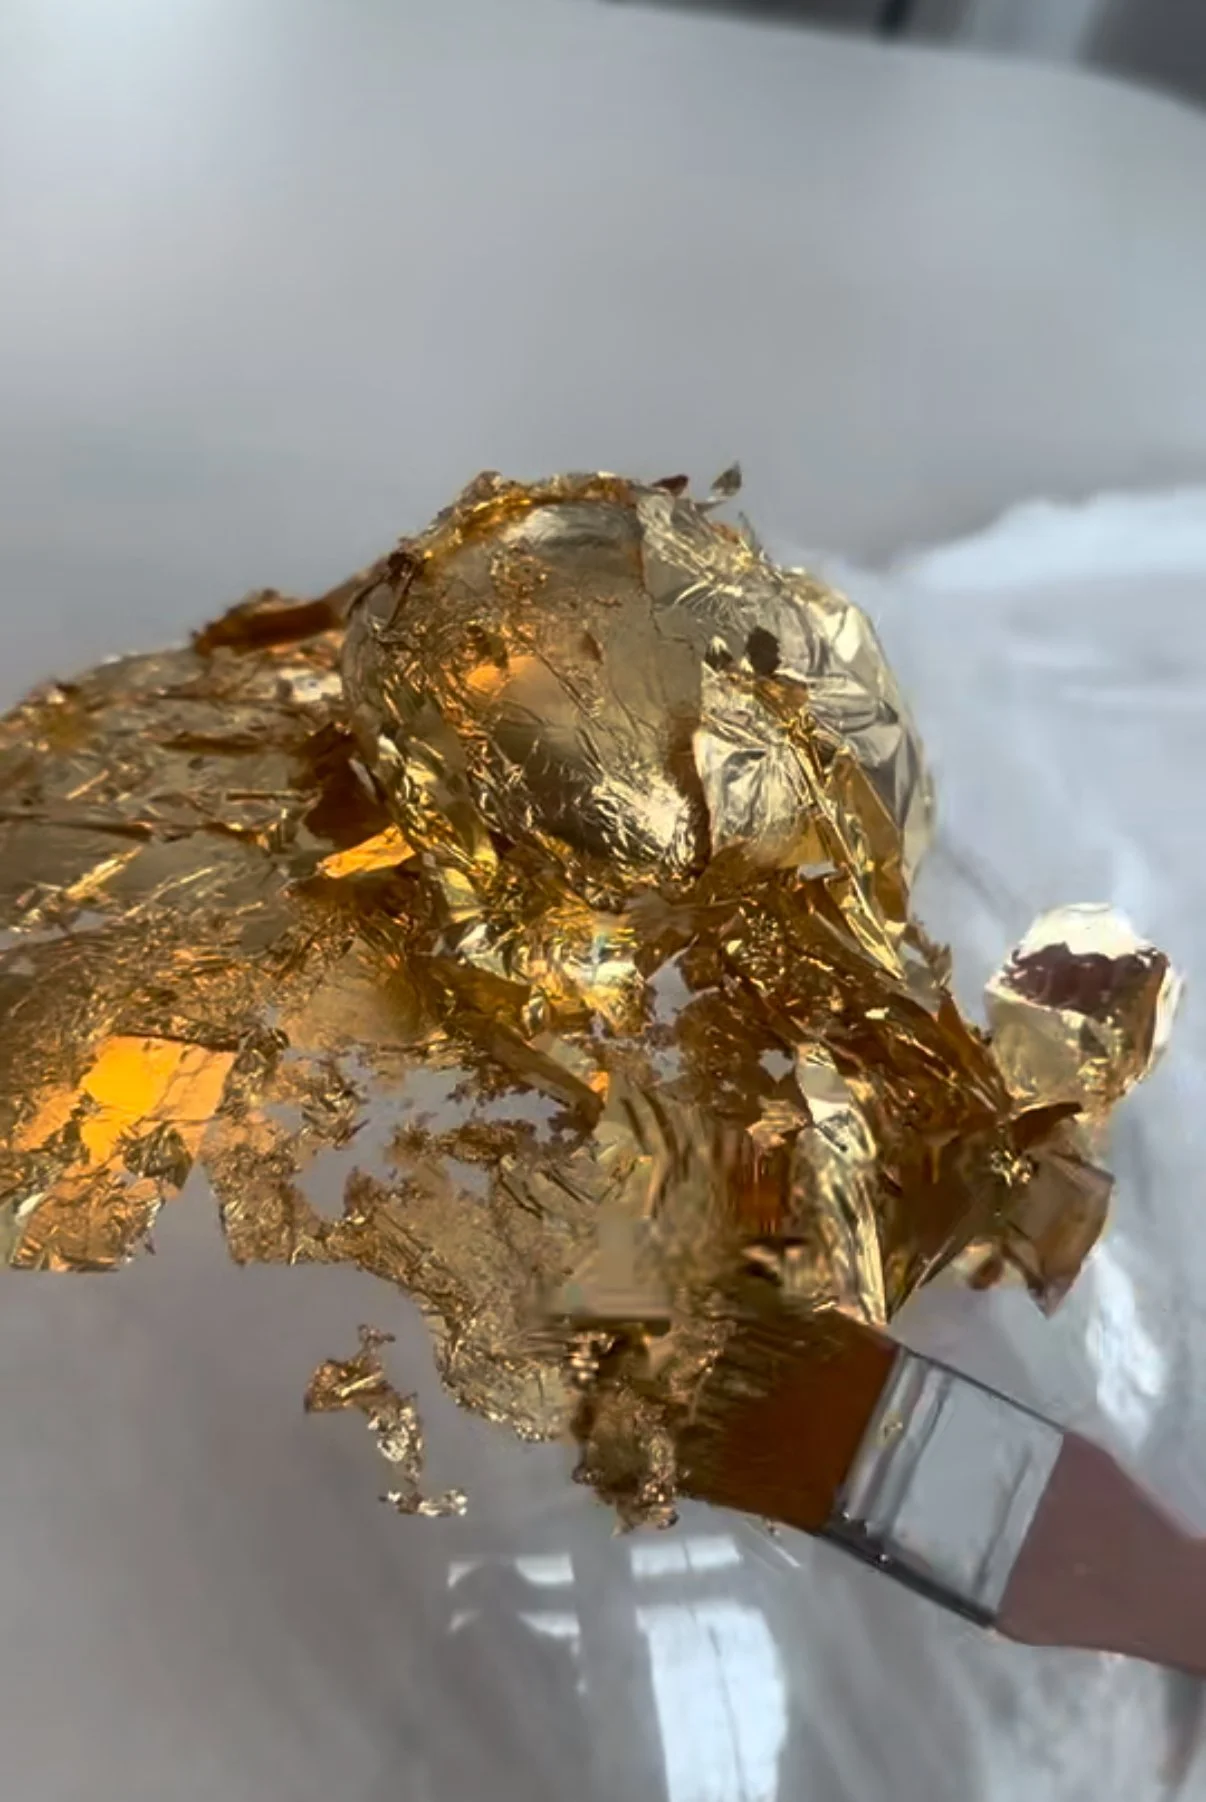
Apply the Gold Leaf – Place the gold leaf sheets over the sticky areas, following the kit instructions. Cover the entire desired area.
Brush Off Excess – After a few minutes, gently use a dry paintbrush to remove any loose gold leaf. The adhered areas will stay put, while the rest flakes off (pro tip: work over a tray to contain the mess!).
Add Rhinestones – Once the gold leafing is complete, decide where you want the rhinestones. I placed mine on the gold-leafed areas of the dome and the bottom of the stand.
Attach Rhinestones – Heat up your glue gun and apply a small dab of glue where you want each rhinestone. Press the rhinestone into place and hold for a few seconds until secure. Repeat for as many gems as you’d like!
Final Clean-Up – Give everything a gentle wipe-down before placing food inside.
Enjoy! – Your new bejeweled cake dish is ready to shine at your next gathering!
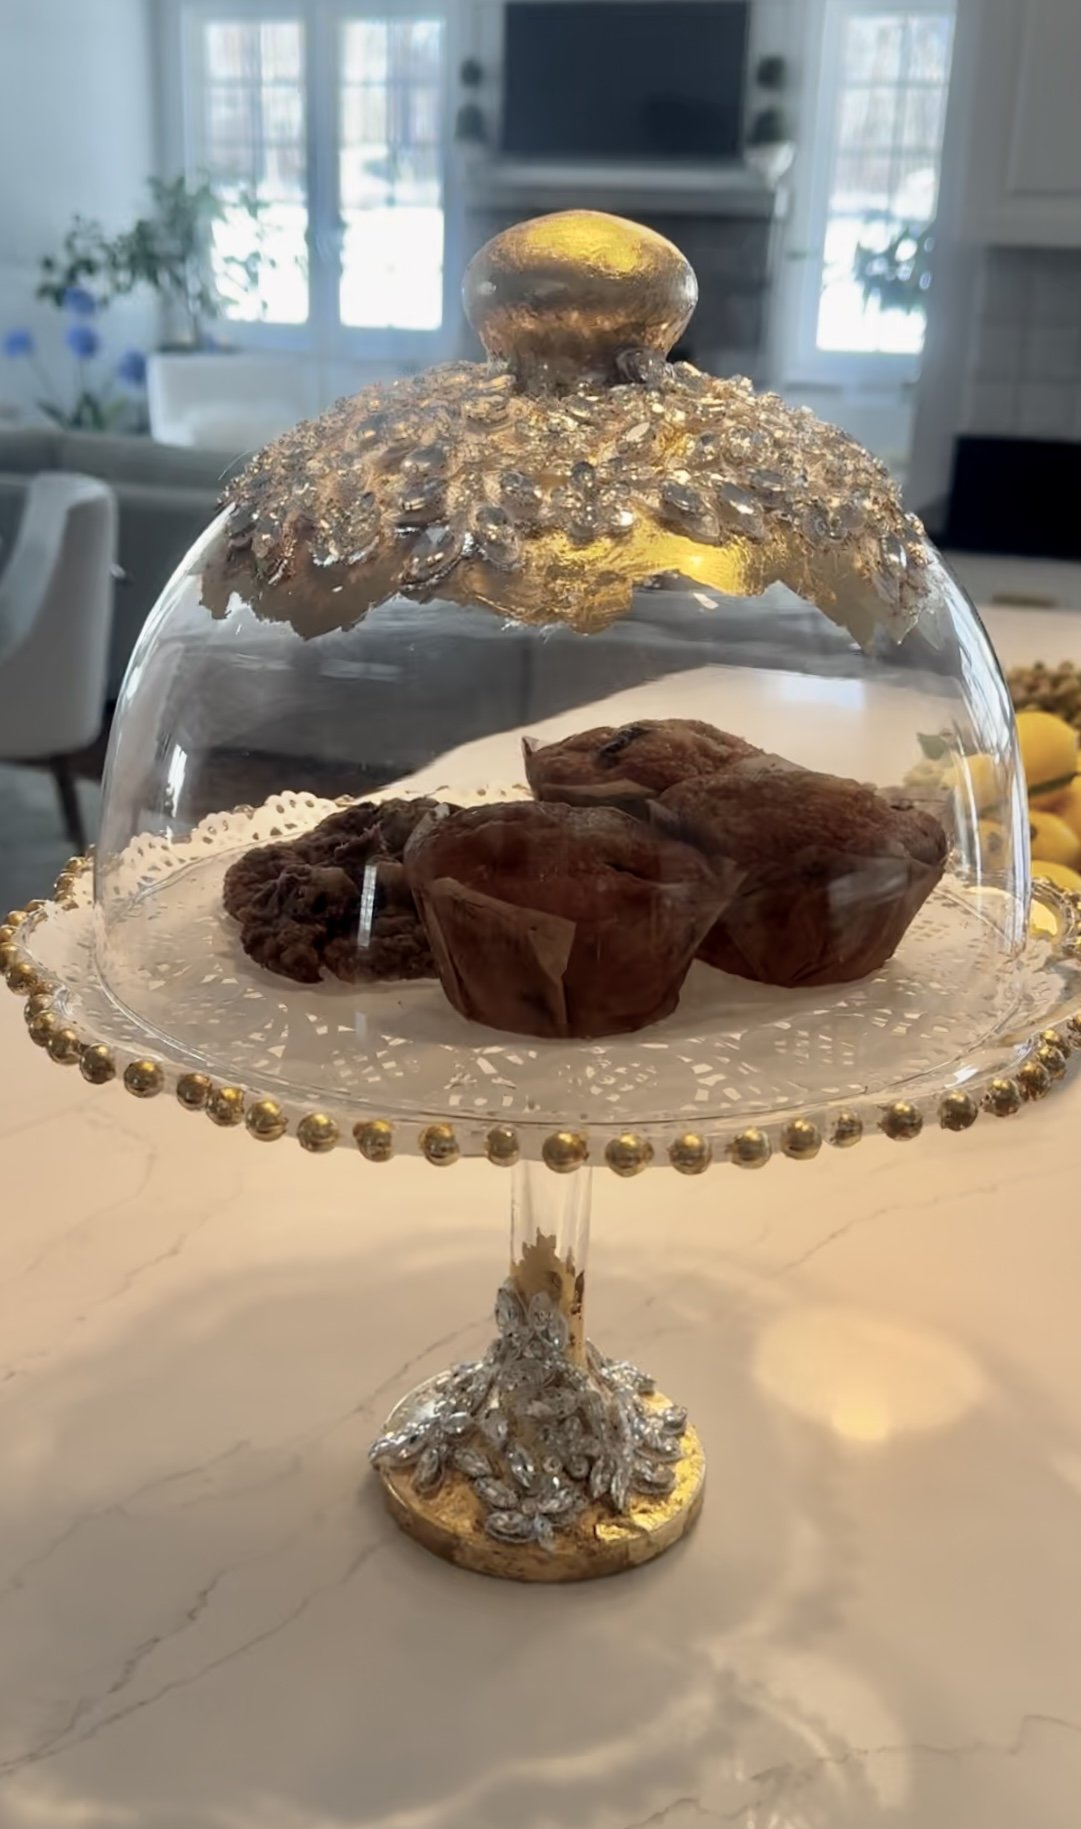
Final Result
With just a few easy steps, this DIY transformed a simple cake stand into a stunning, high-end-looking piece. The gold leaf adds an elegant shimmer, while the rhinestones bring just the right amount of sparkle. Whether you're displaying a homemade cake or simply using it as a decorative piece, this cake dish is sure to impress!